Project 6: Final Project
For my final project, I wanted to make something fun to finish up the quarter. That’s why I decided to design a puzzle!
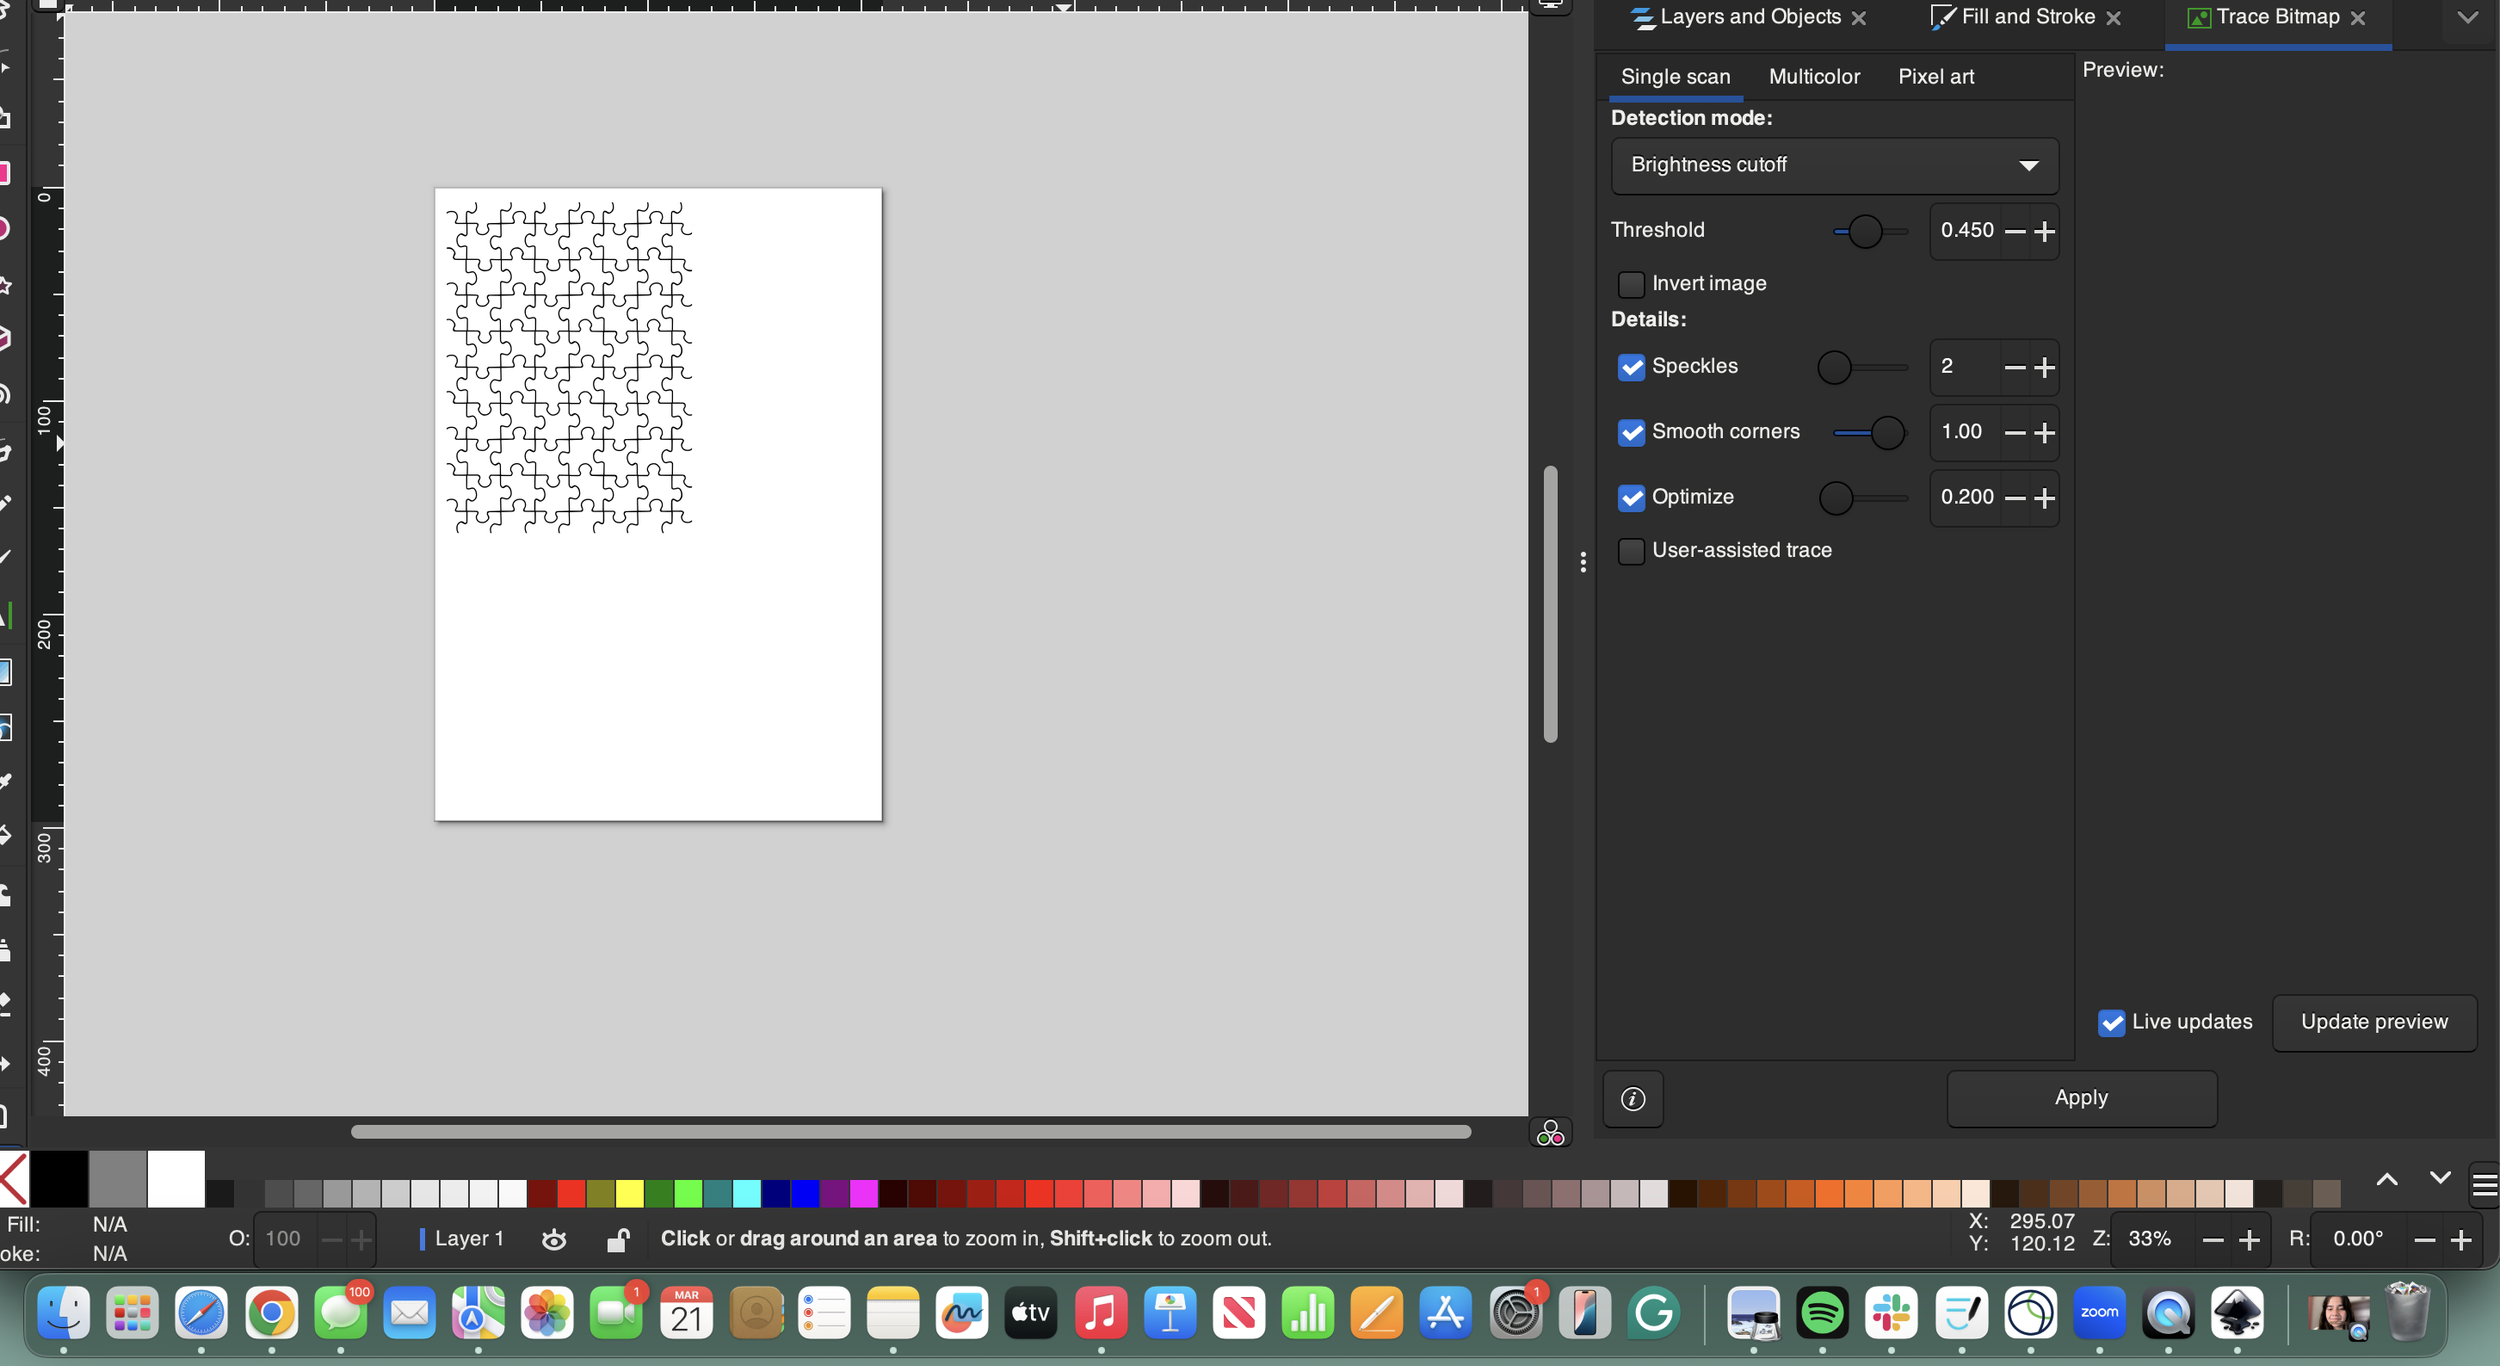
For this project, I first started by looking for a puzzle template on the internet, and I kept browsing until I found one that I liked.
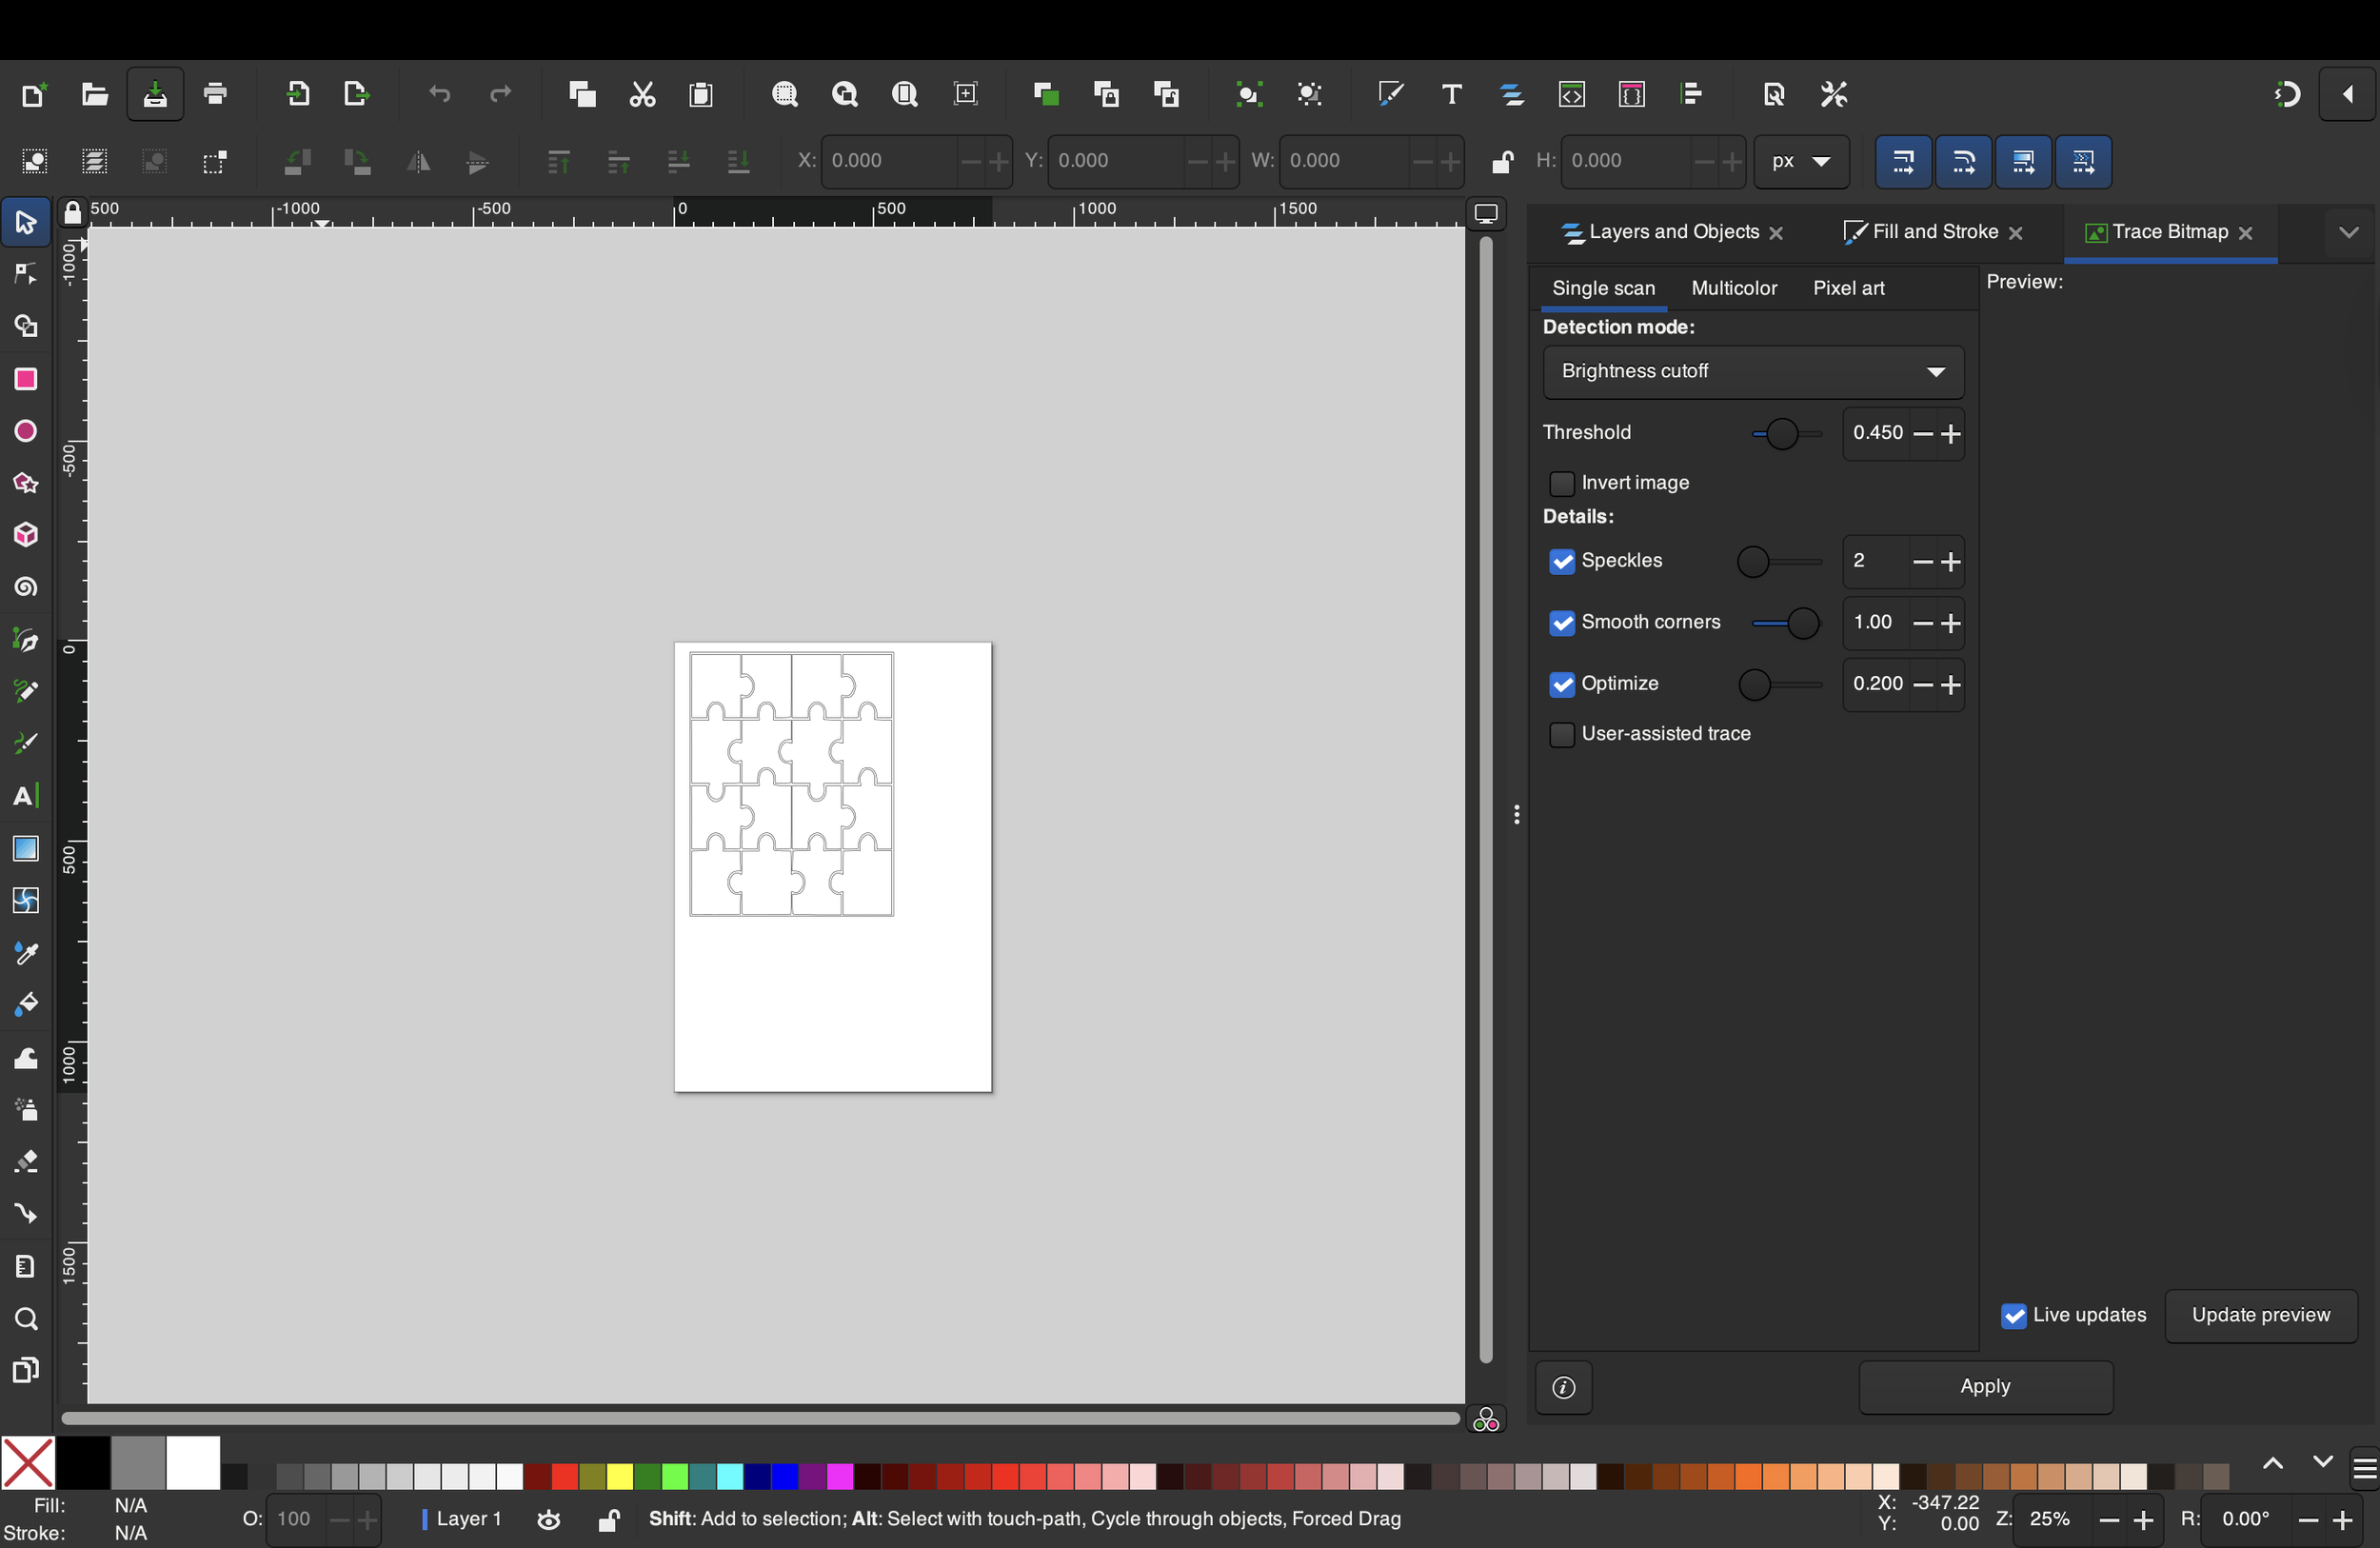
After I found my template, I moved on to Inkscape, did a trace bitmap to get just the components I wanted and not the whole image, and then moved on to finding a design to raster on my puzzle.
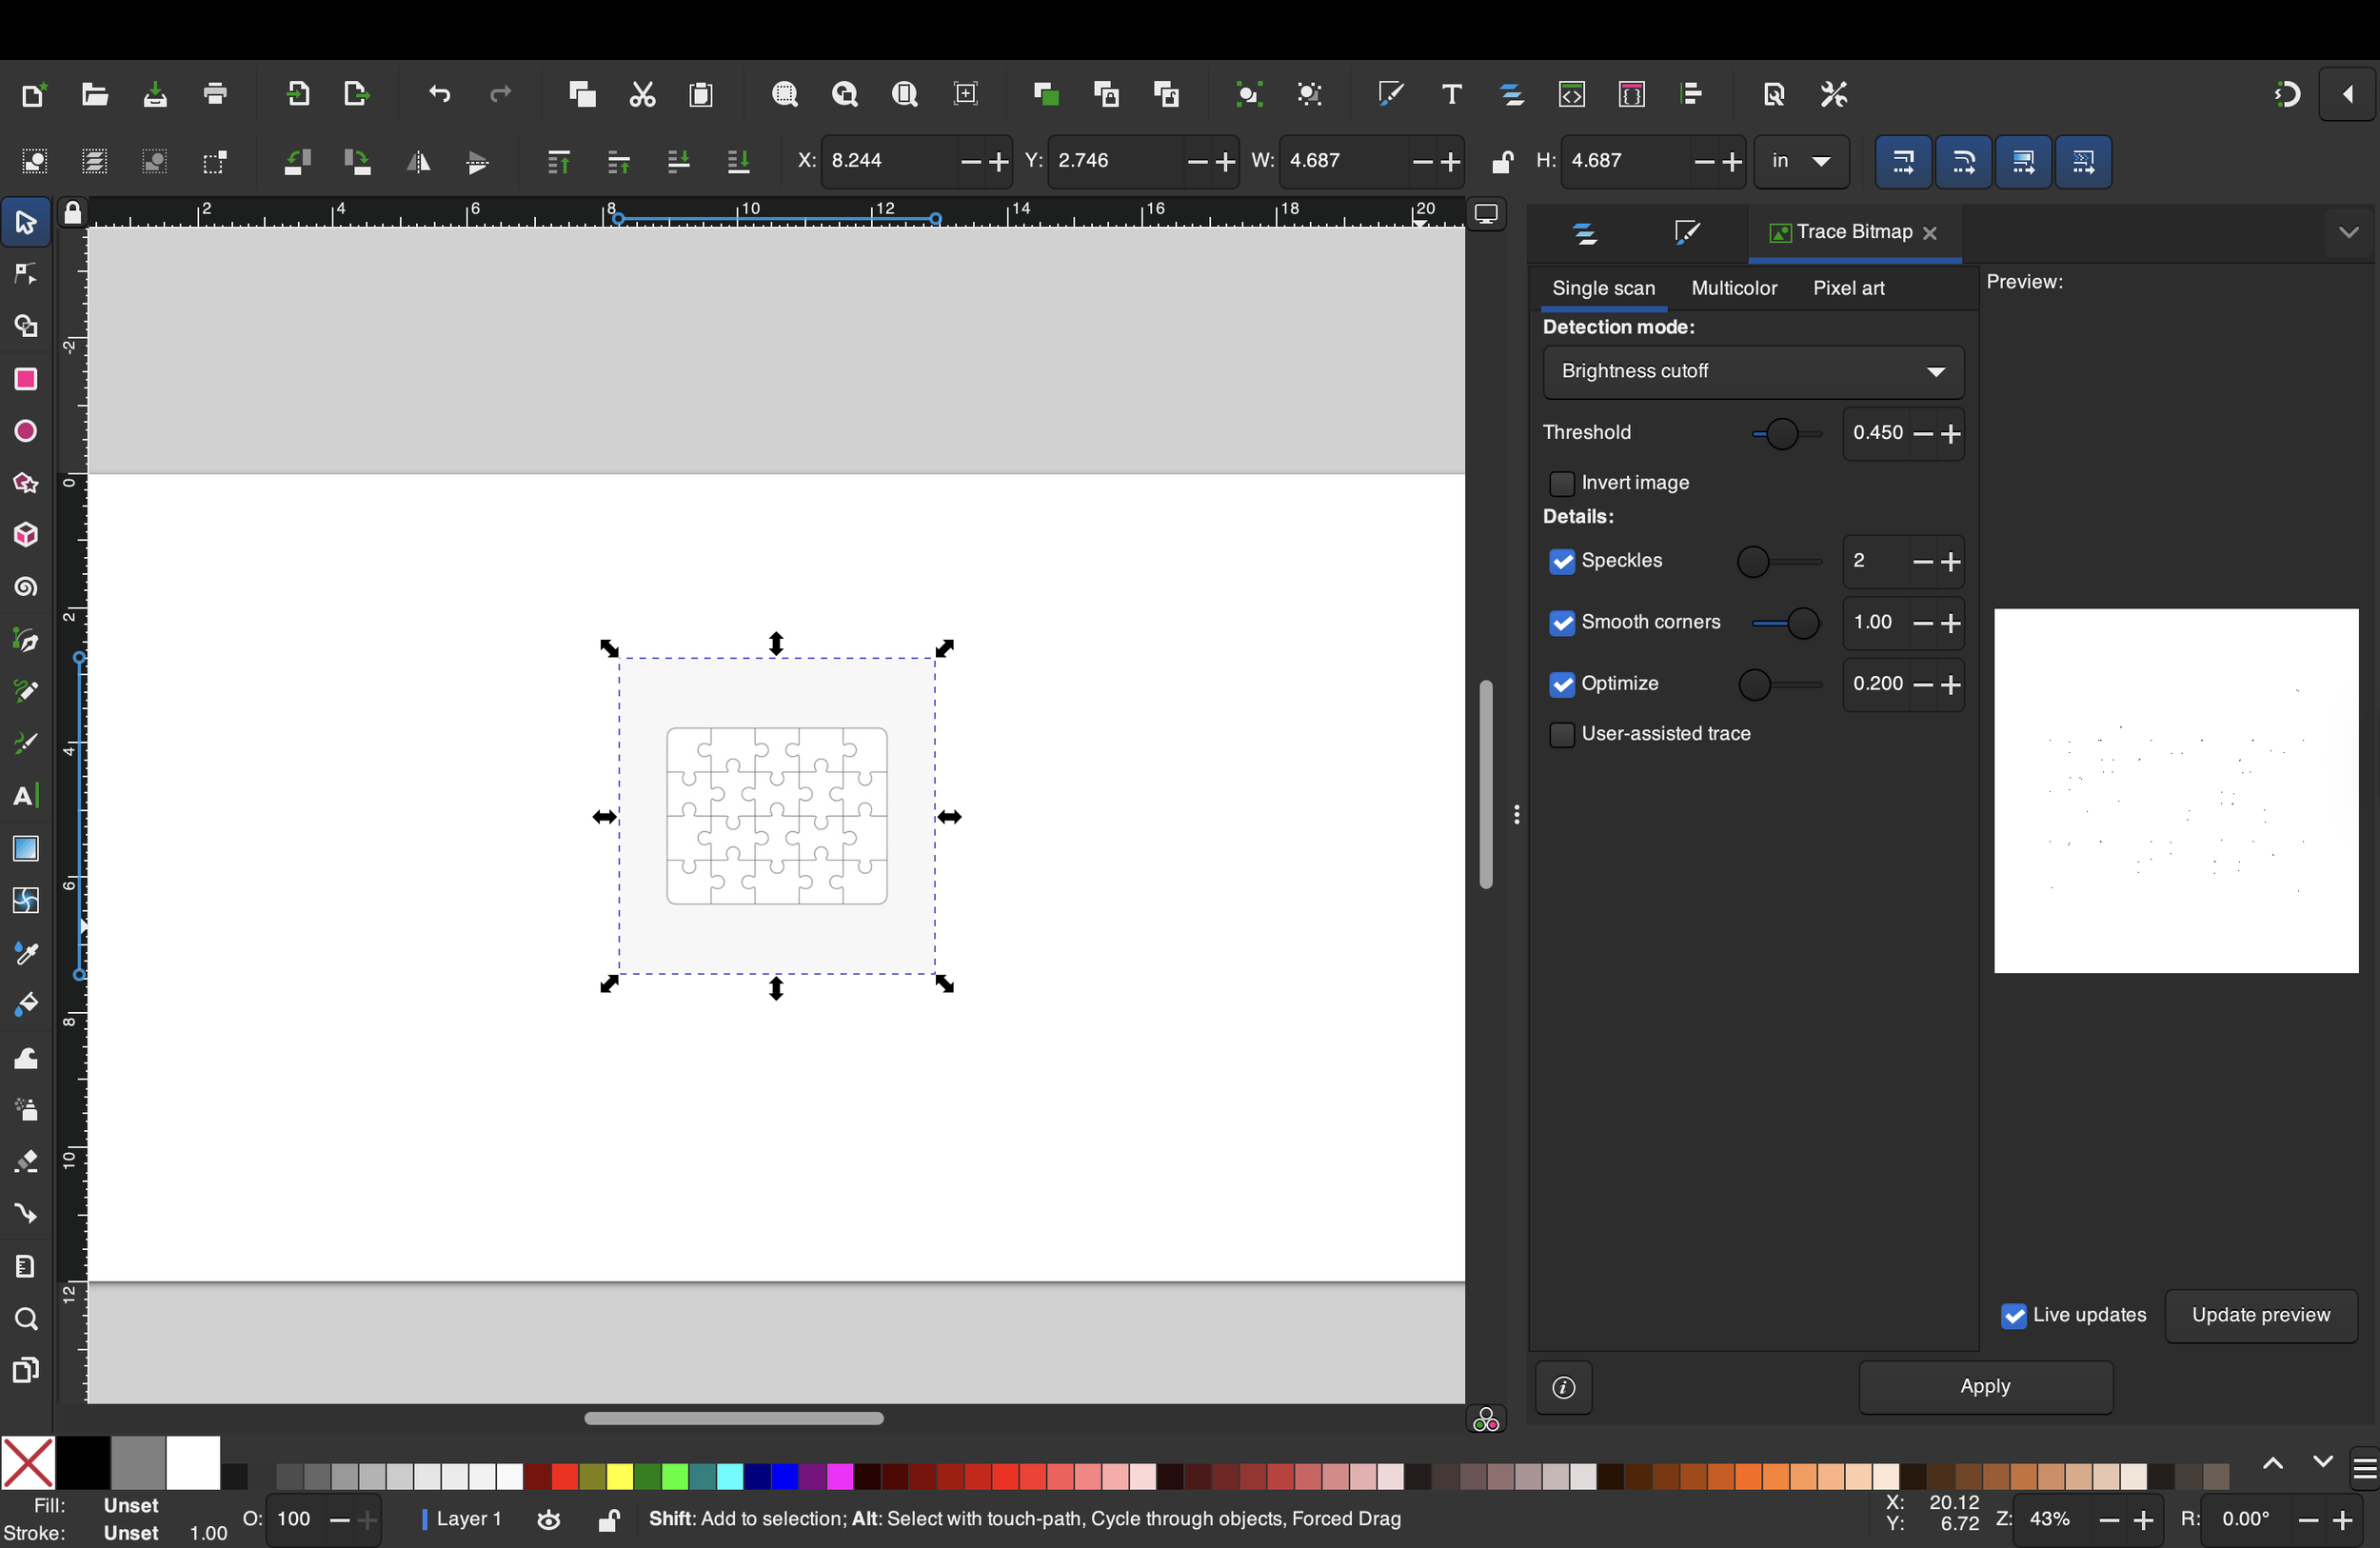
For my test cuts, I opted to use an image of Bucky for the rastered components. i just got a picture, sent it to Inkscape, did trace bitmap , and deleted the outside nodes because i only wanted the image of bucky and not all of the outside stuff.
time spent: 1 hour
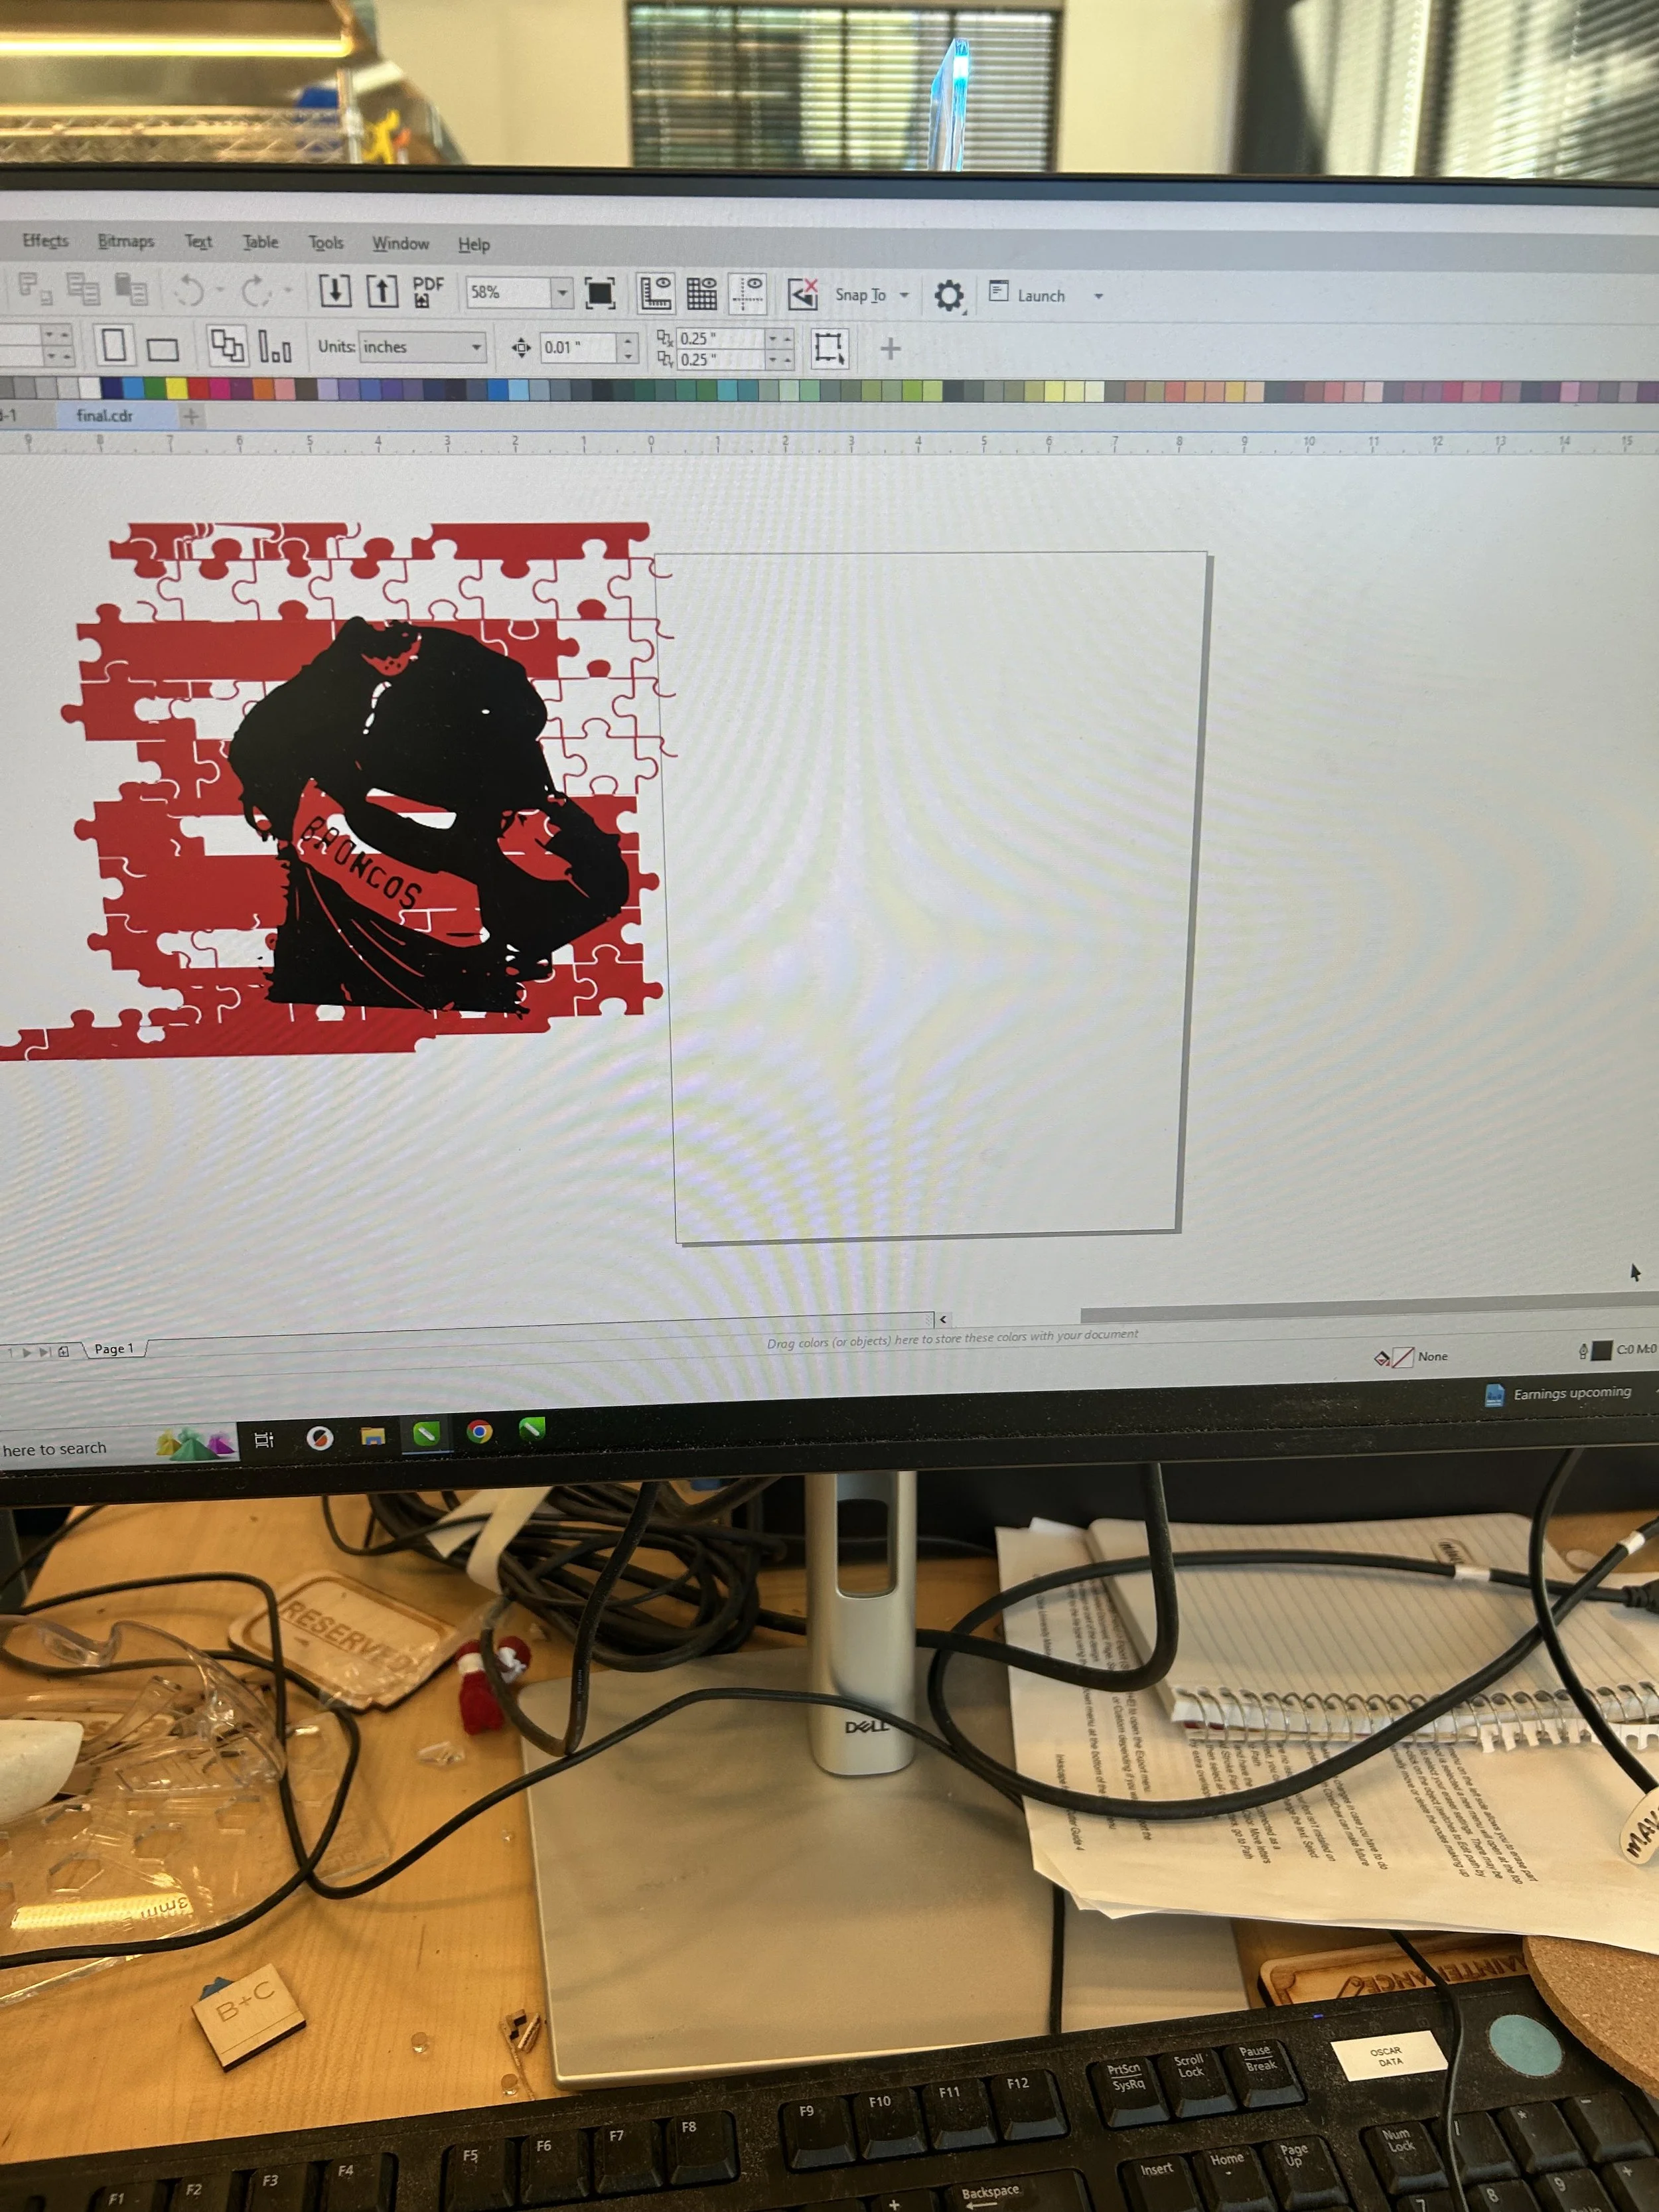
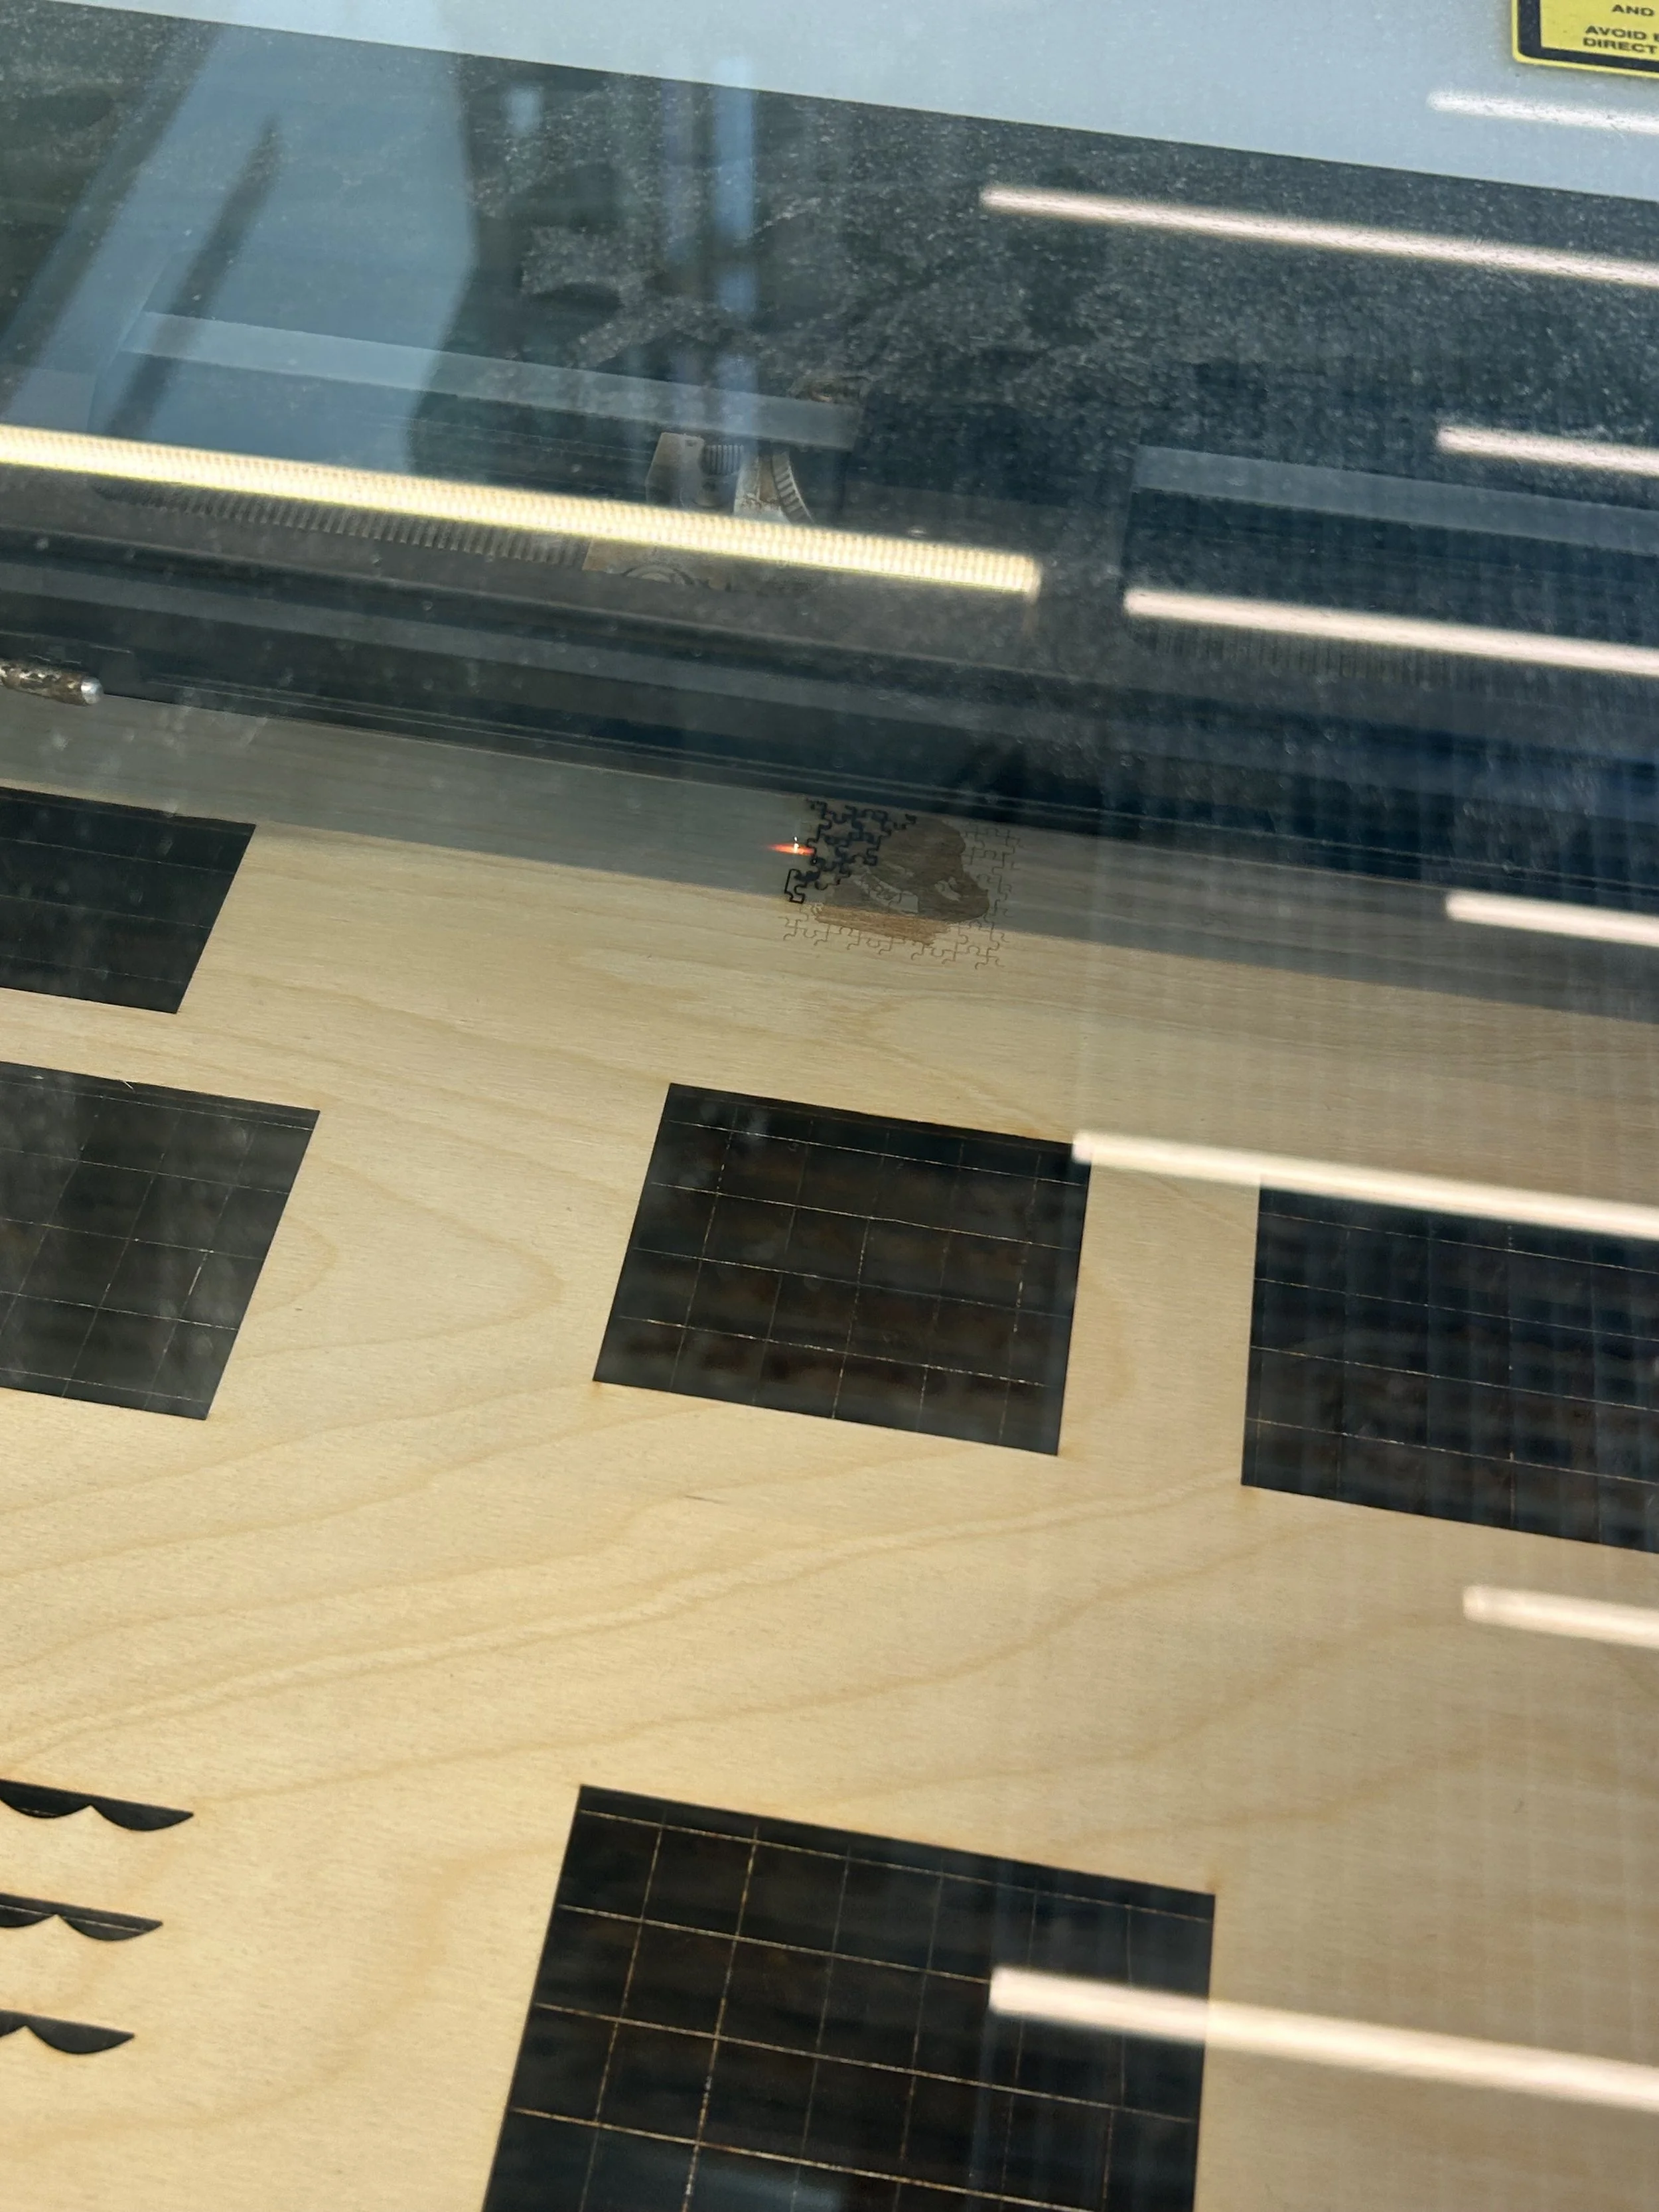
When i sent my design to CorelDRAW, I noticed that it came out wrong. i thought that it was a mistake on my end, so I tried again, and the same thing was happening. That’s when I realized that it was not going to be pussible to have the rastered and the vector cut stuff on top of each other, so i decided to send each piece separately to CorelDRAW and then combine it there
i did all my test cuts in wood. However, my mistake that i did was that i made the design too small when i adjusted it in coreldraw that when i sent it to the laser cutter, the rastered component wasnt really visible since it was a bit burnt.
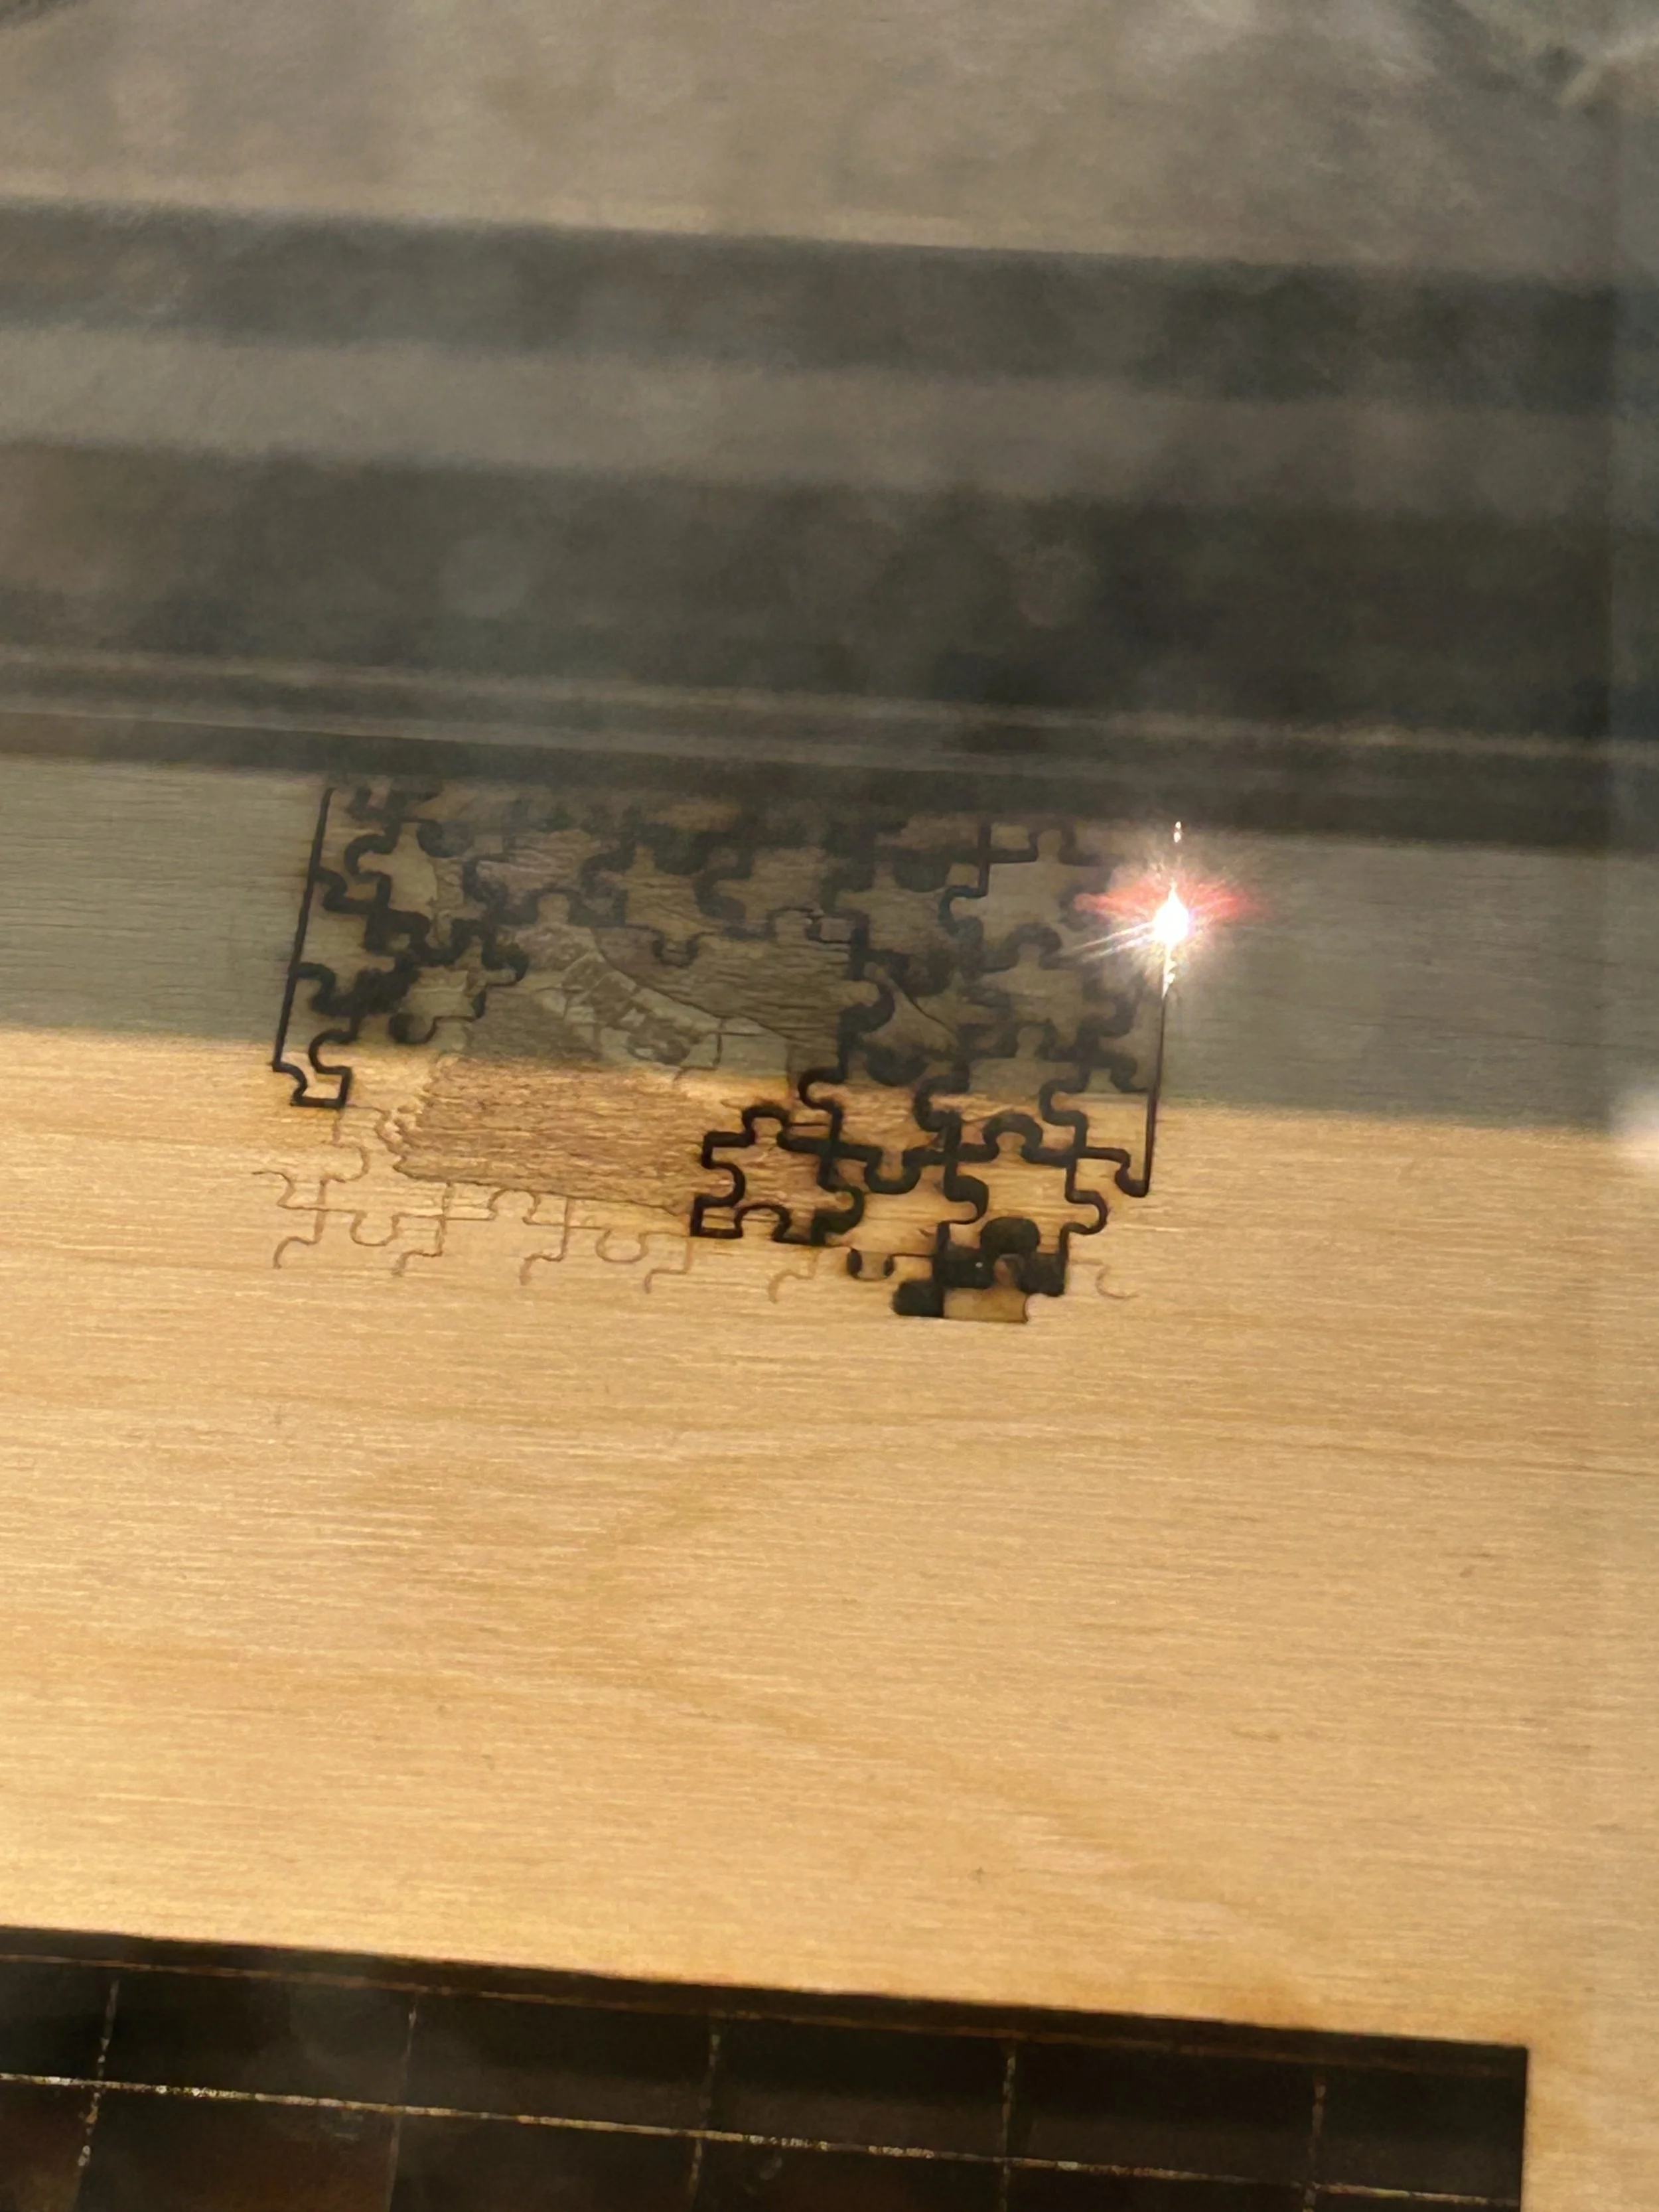
time spent: 1 hour
also, when i did the rastering part, i realized how the more deep the rastering was, the worse my deisgn was going to look. So i did 0.5 and it wasn't’t as good as i wanted it to be because it was a small design and it was also hard to tell what some of the components were.
the actual size of my test design
bigger puzzle pieces
i tried doing another design with bigger puzzle pieces because i noticed how long the smaller ones took and i also wondered if they were going to look better. This was just me trying to see which one would be more convenient. However, my final design was made with the smaller ones, and I used acrylic as the material.
PART 2: Puzzle Board
time spent: 5-7 mins
For the second part of my design, I moved on to make the board.
My original design was going to be all fully made out of wood, but when I started doing test cuts, I kept thinking about what it would look like if I decided to make it out of Polylactic Acid (PLA) on the 3D printer.
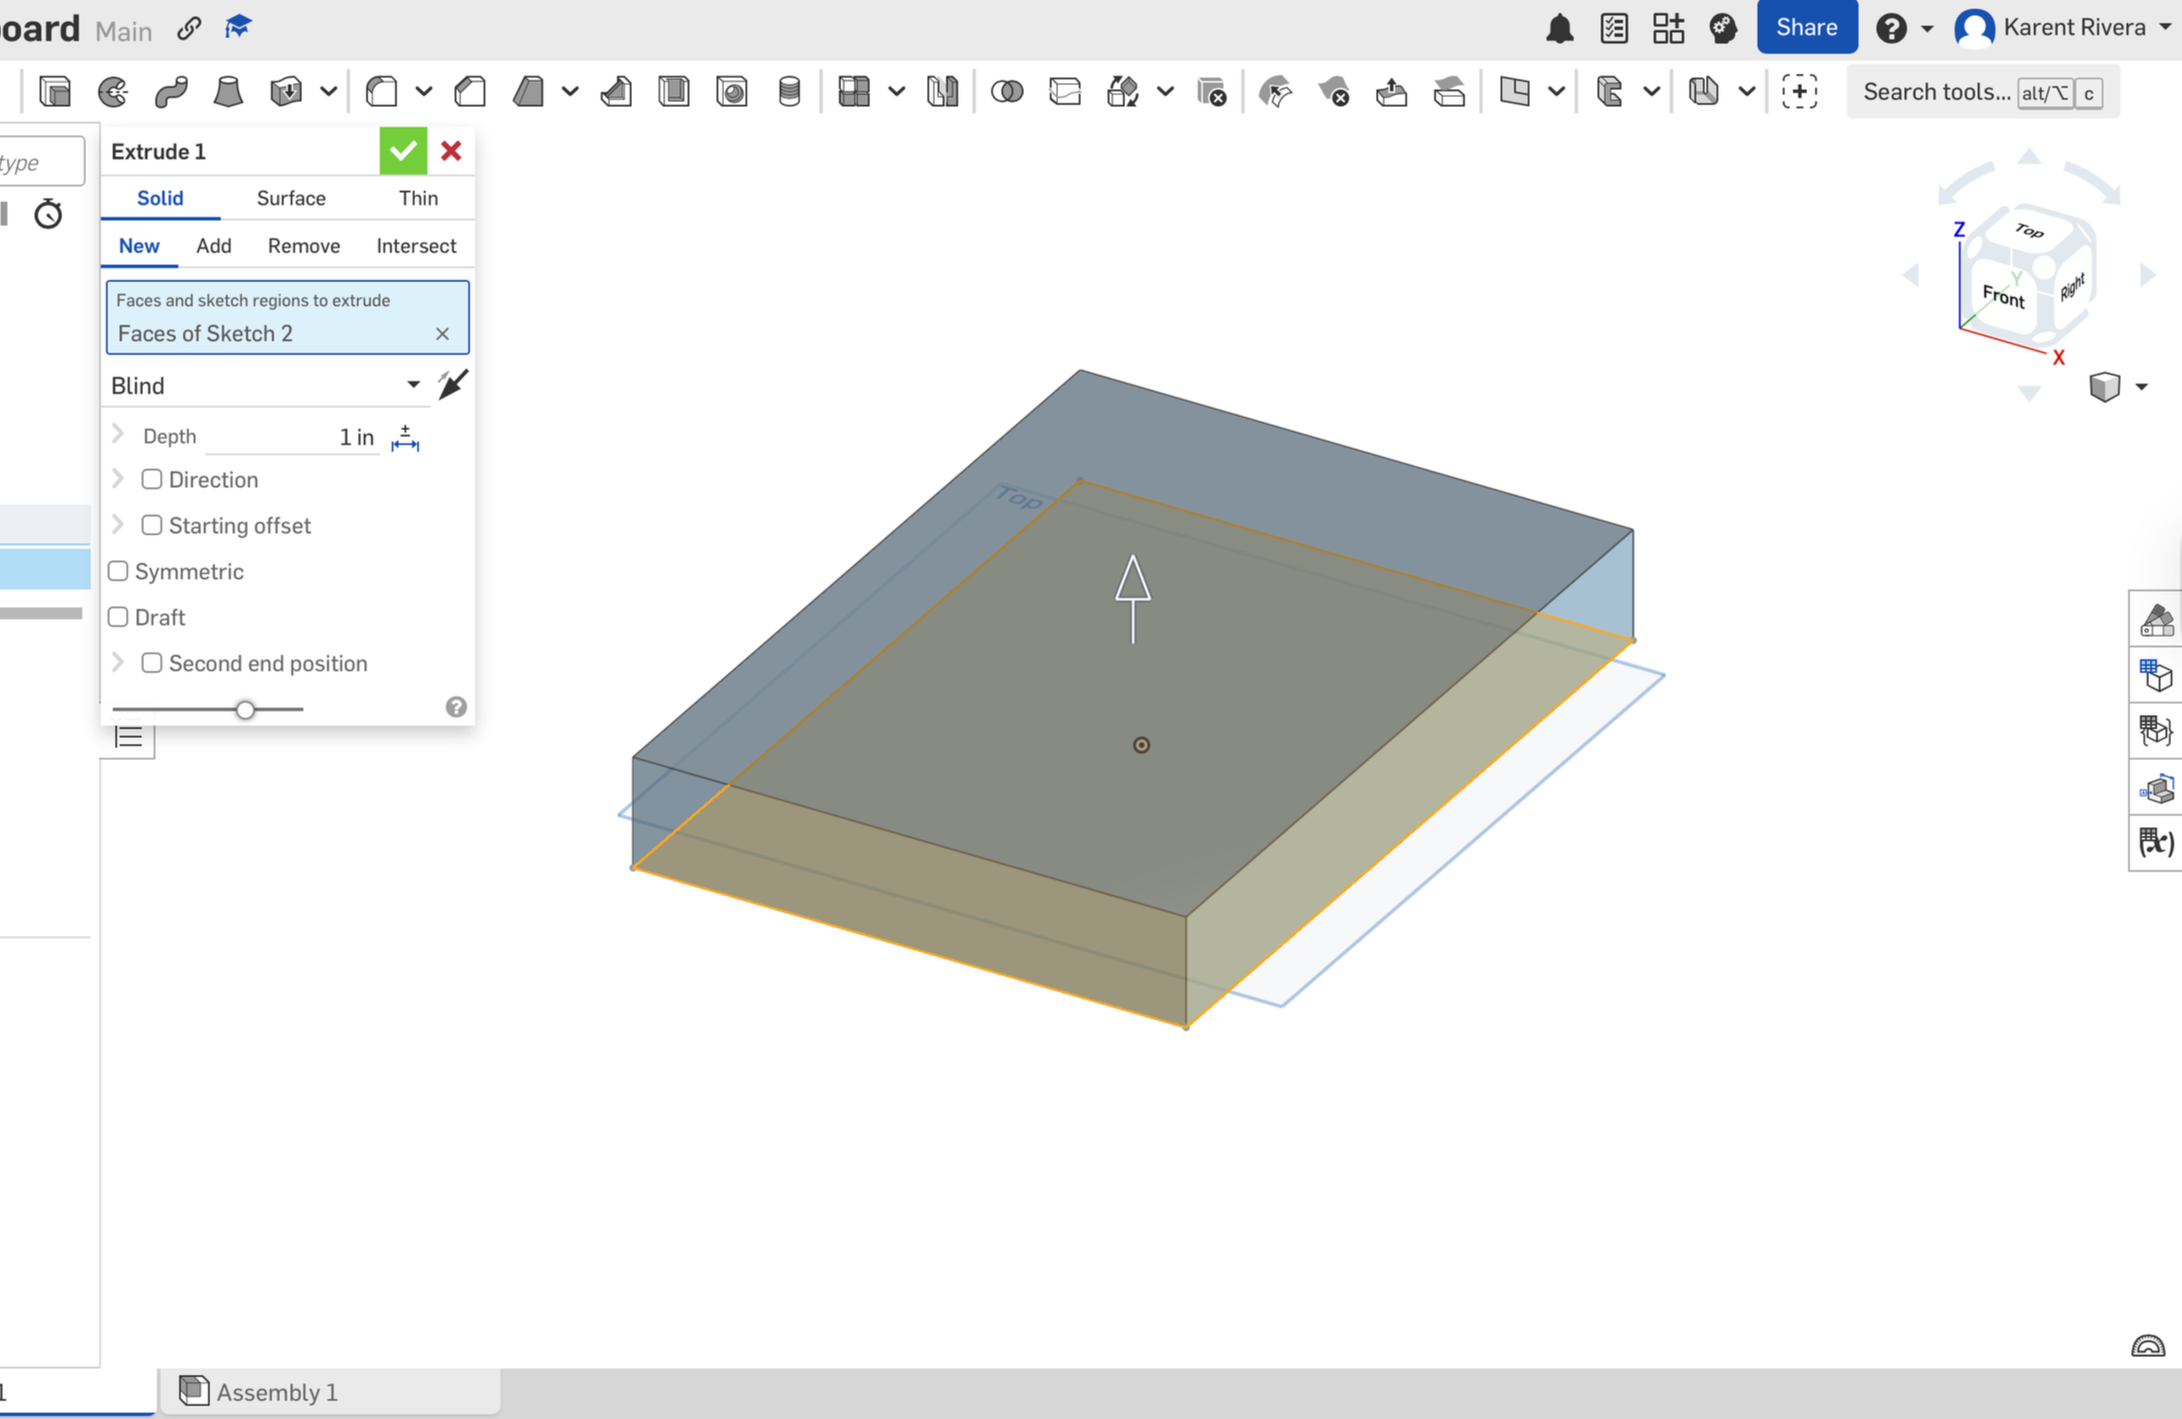
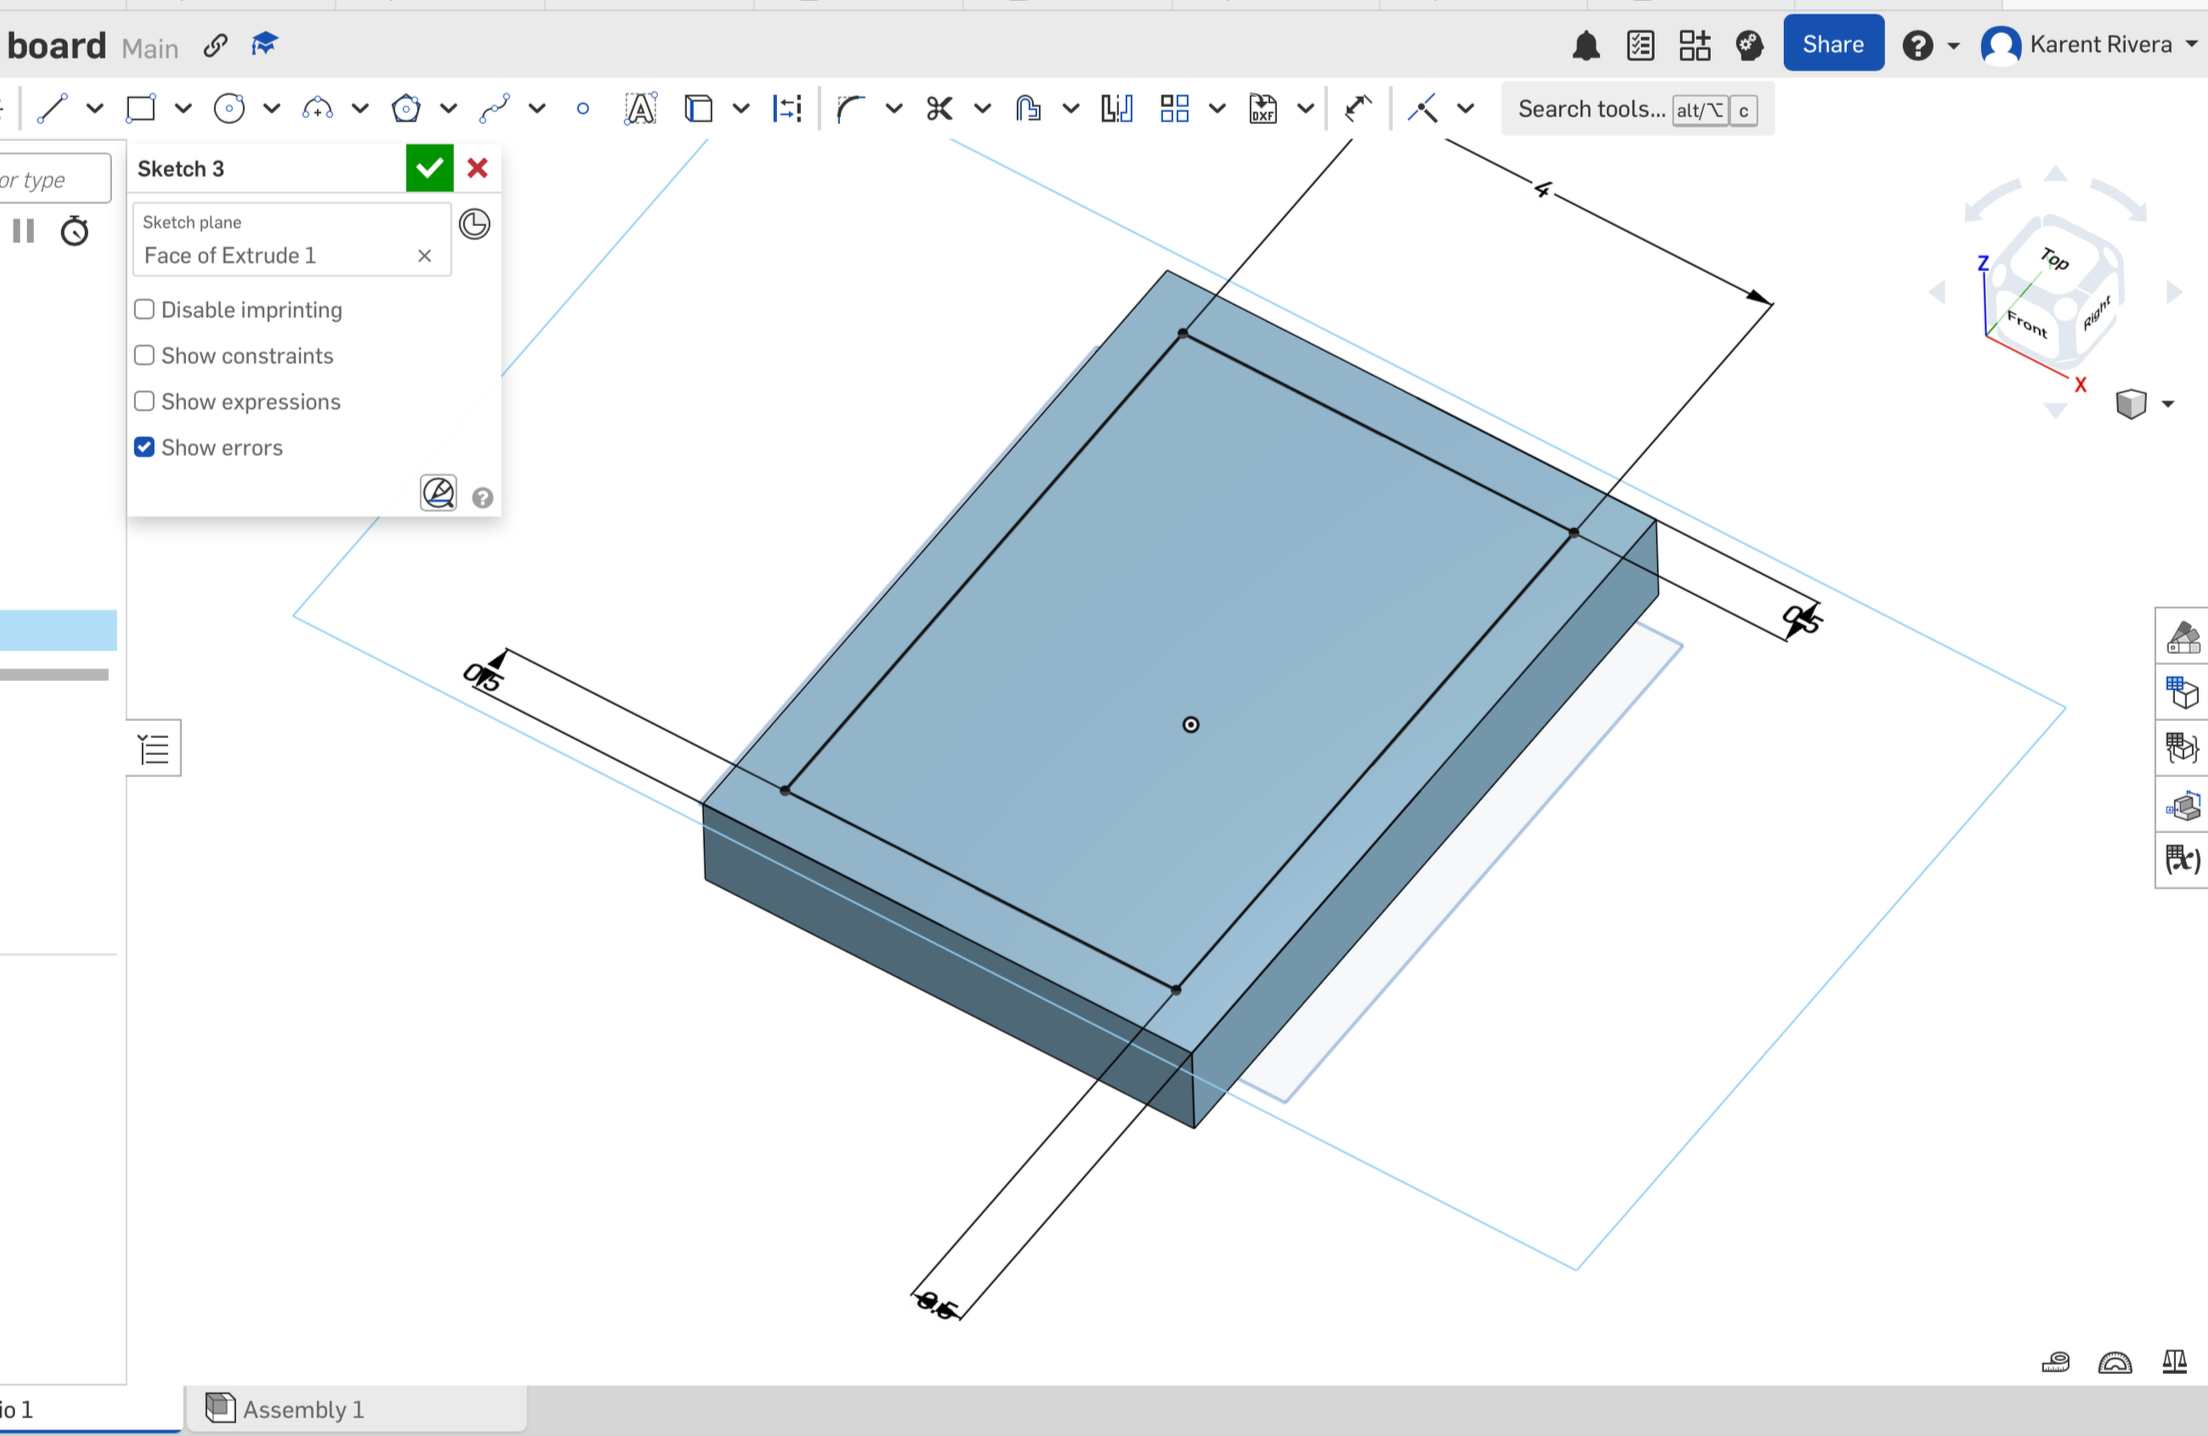
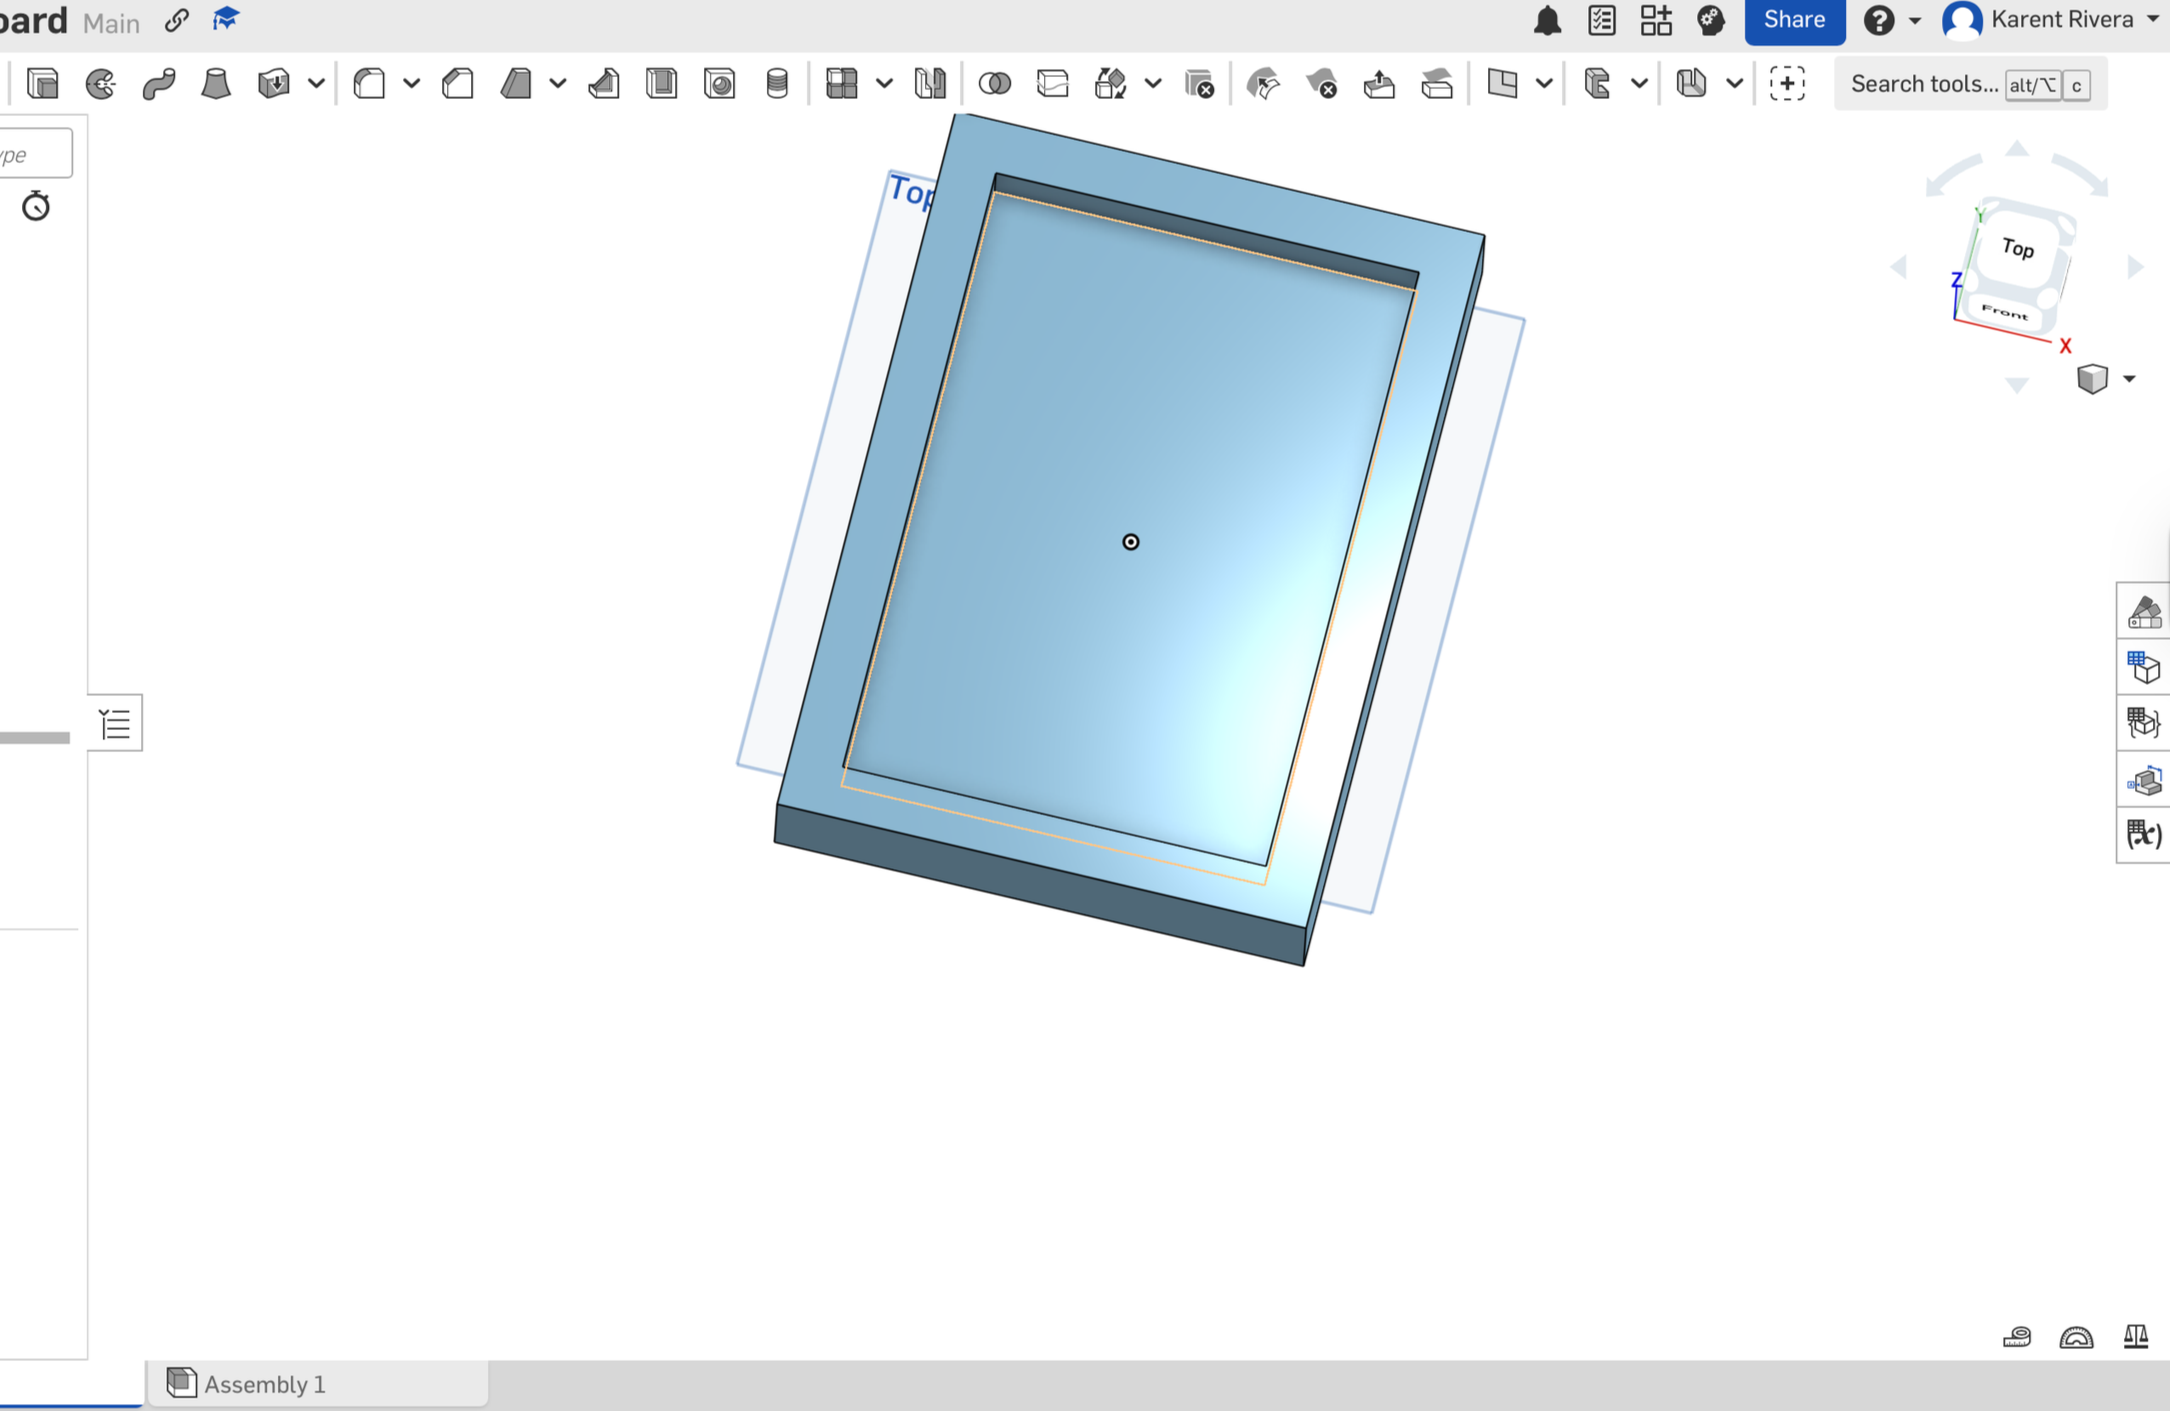
I started by designing my base in onshape. it was a pretty easy thing to do. i just did a 5×7 inch rectangle and i extruded it by 1 inch thicness. i left a 0.5 inch thic margin so that i could cut another rectangle by a depth of 0.5 inches.
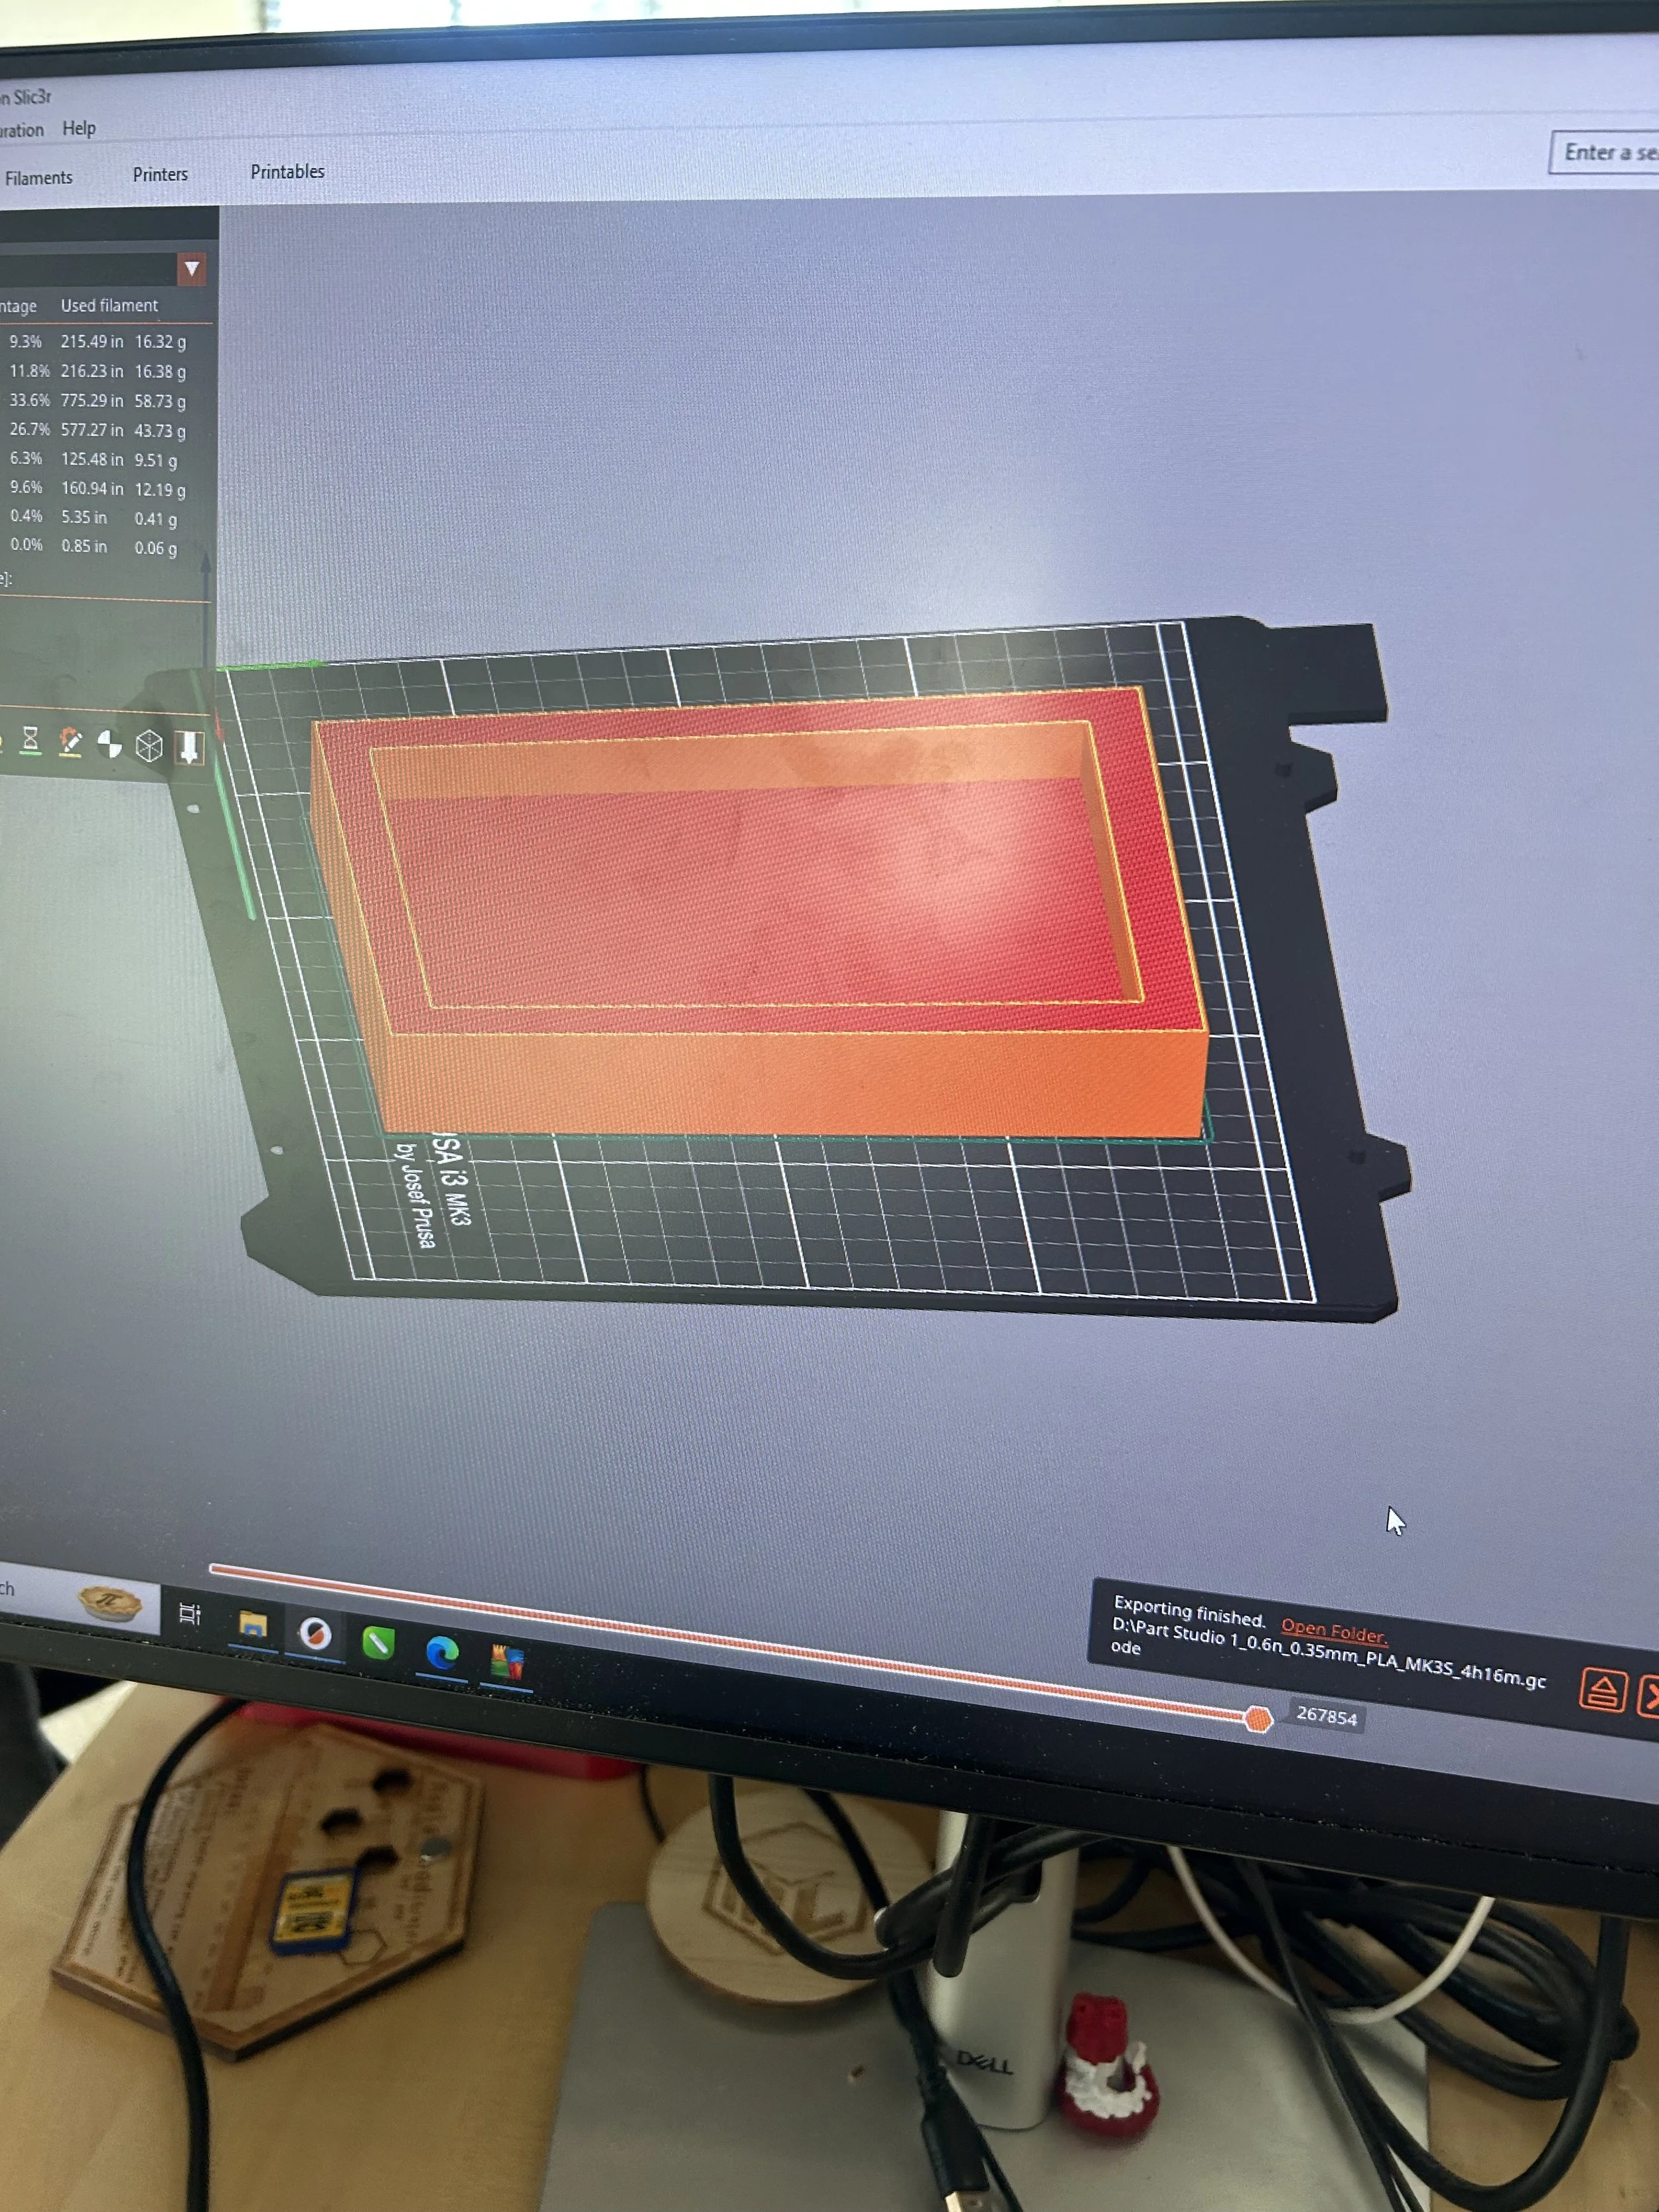
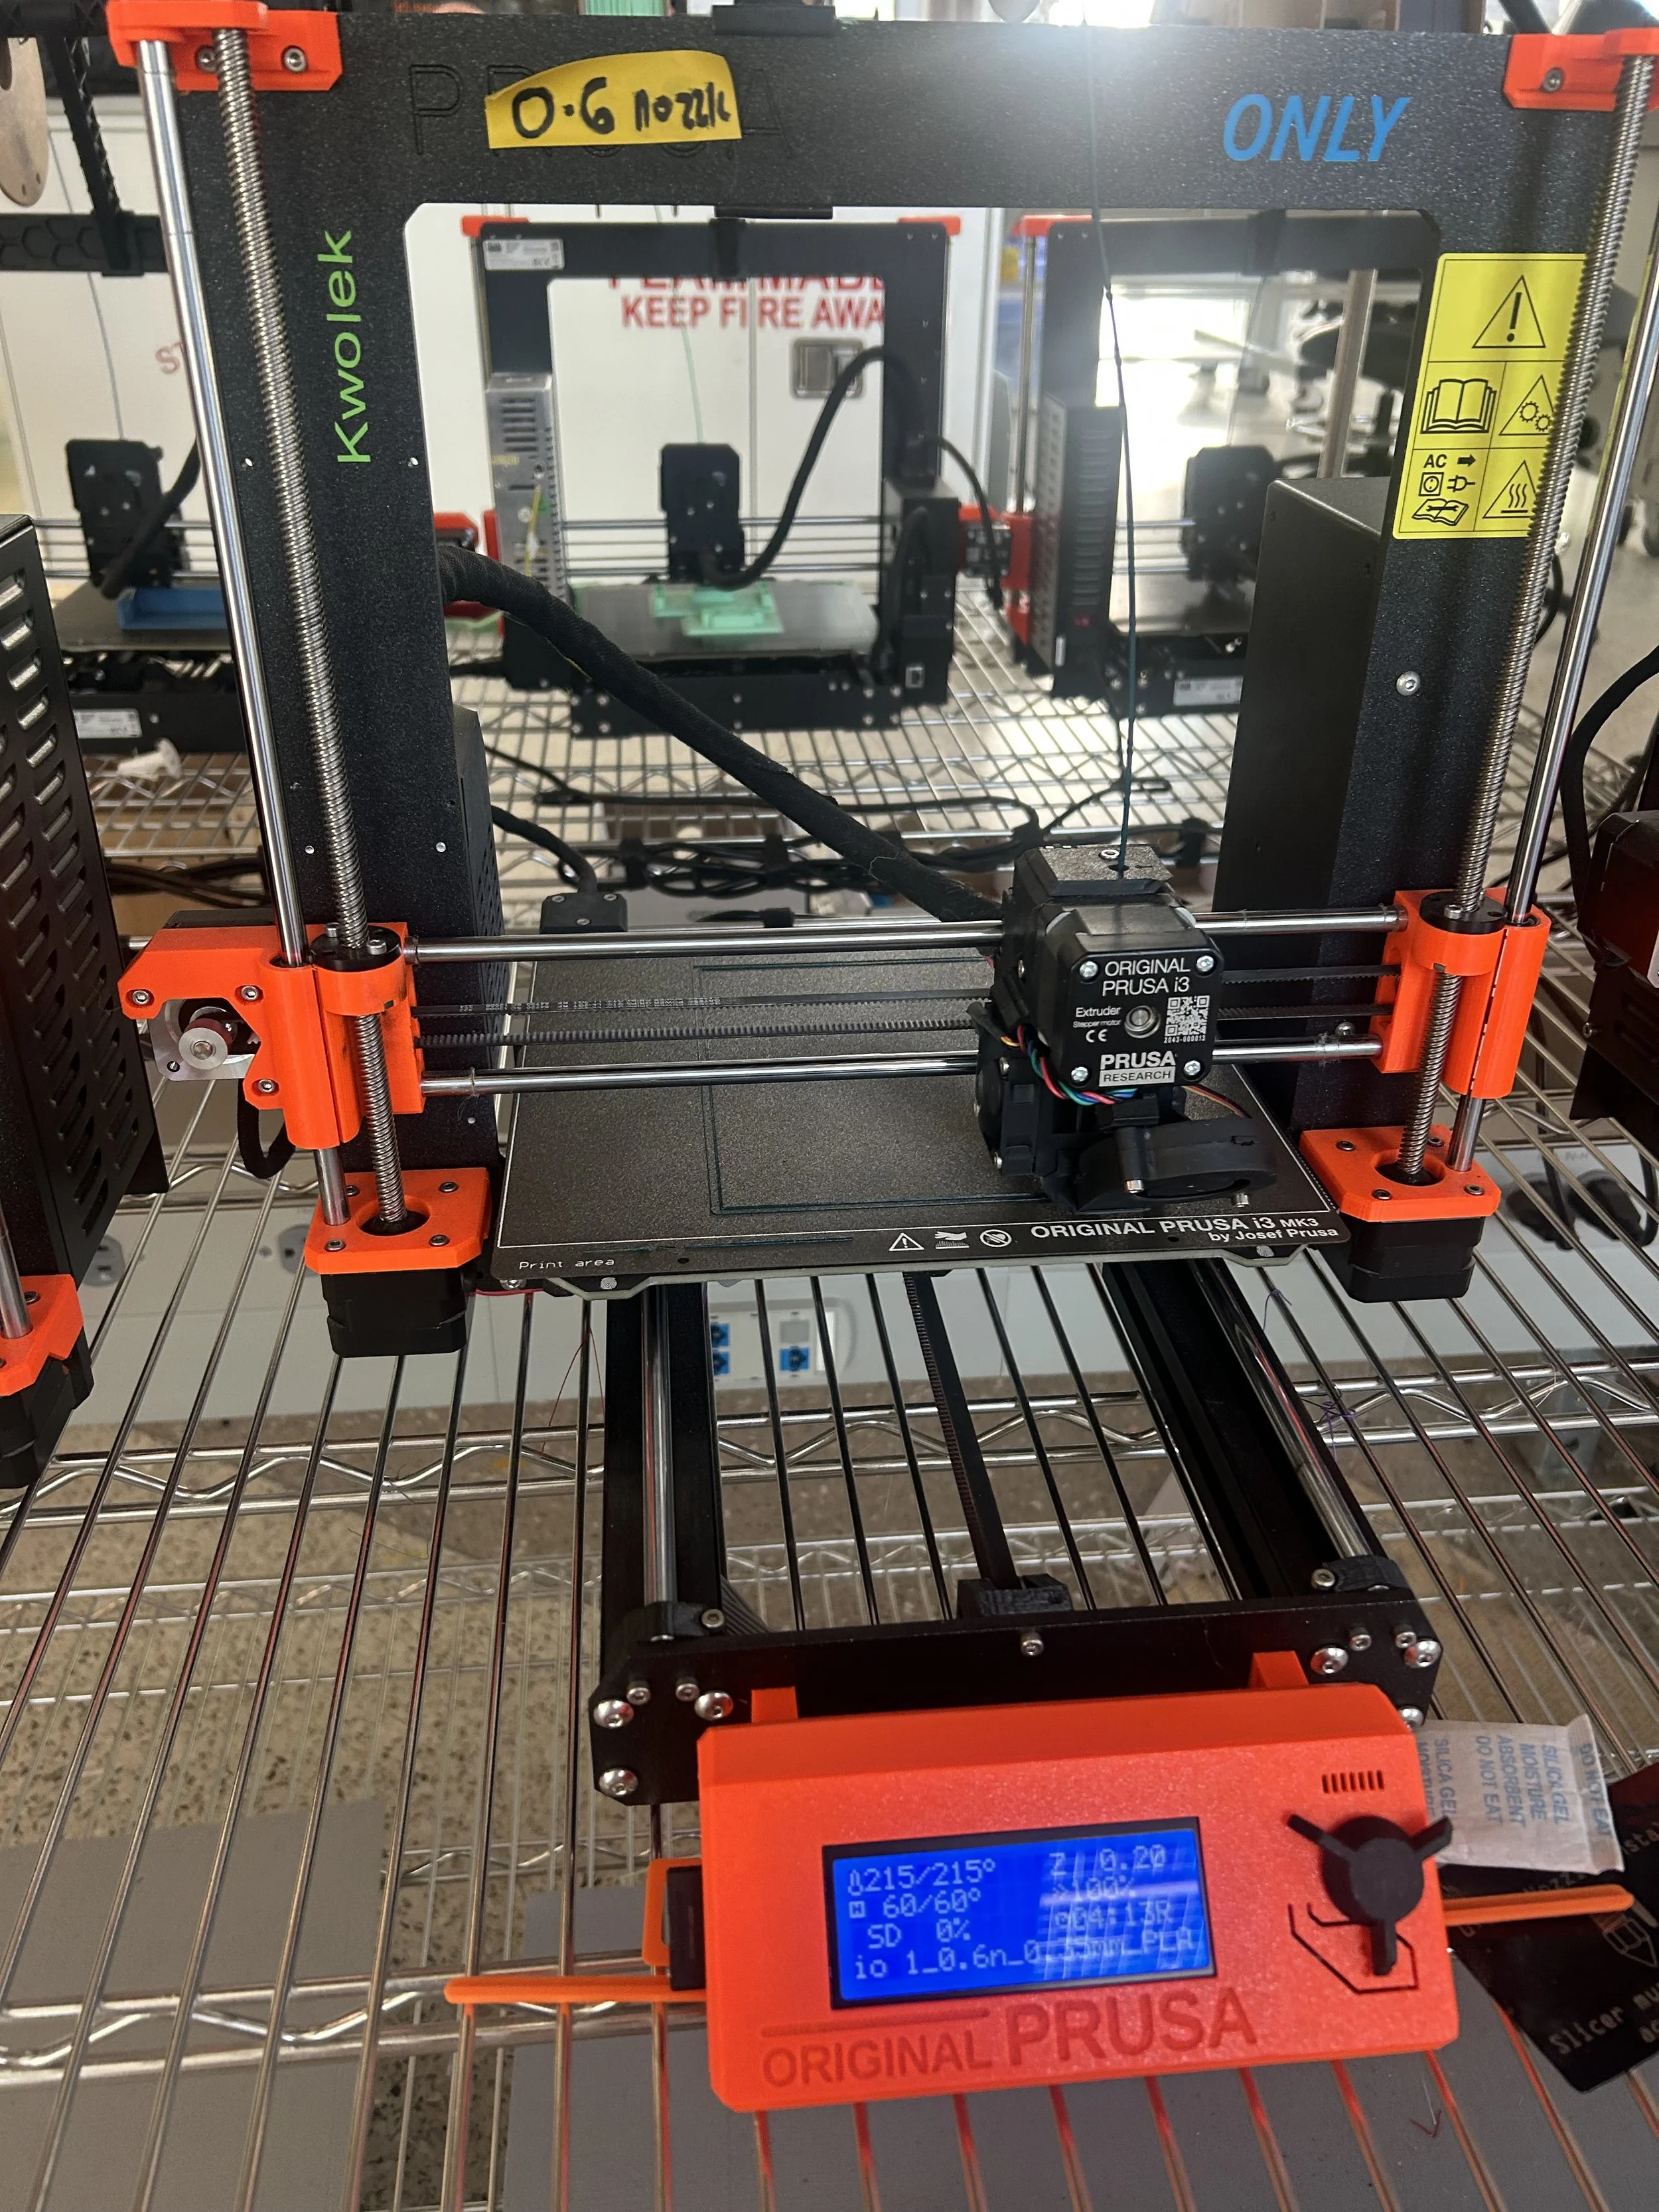
Sent to printer.
Estimated printing time: 4 hours 16 mins
Material: PLA
Cost: $4
i sent my base to the 3d printer. I used a dark green PLA filament because it was the easiest and most common to use for prints like this one.
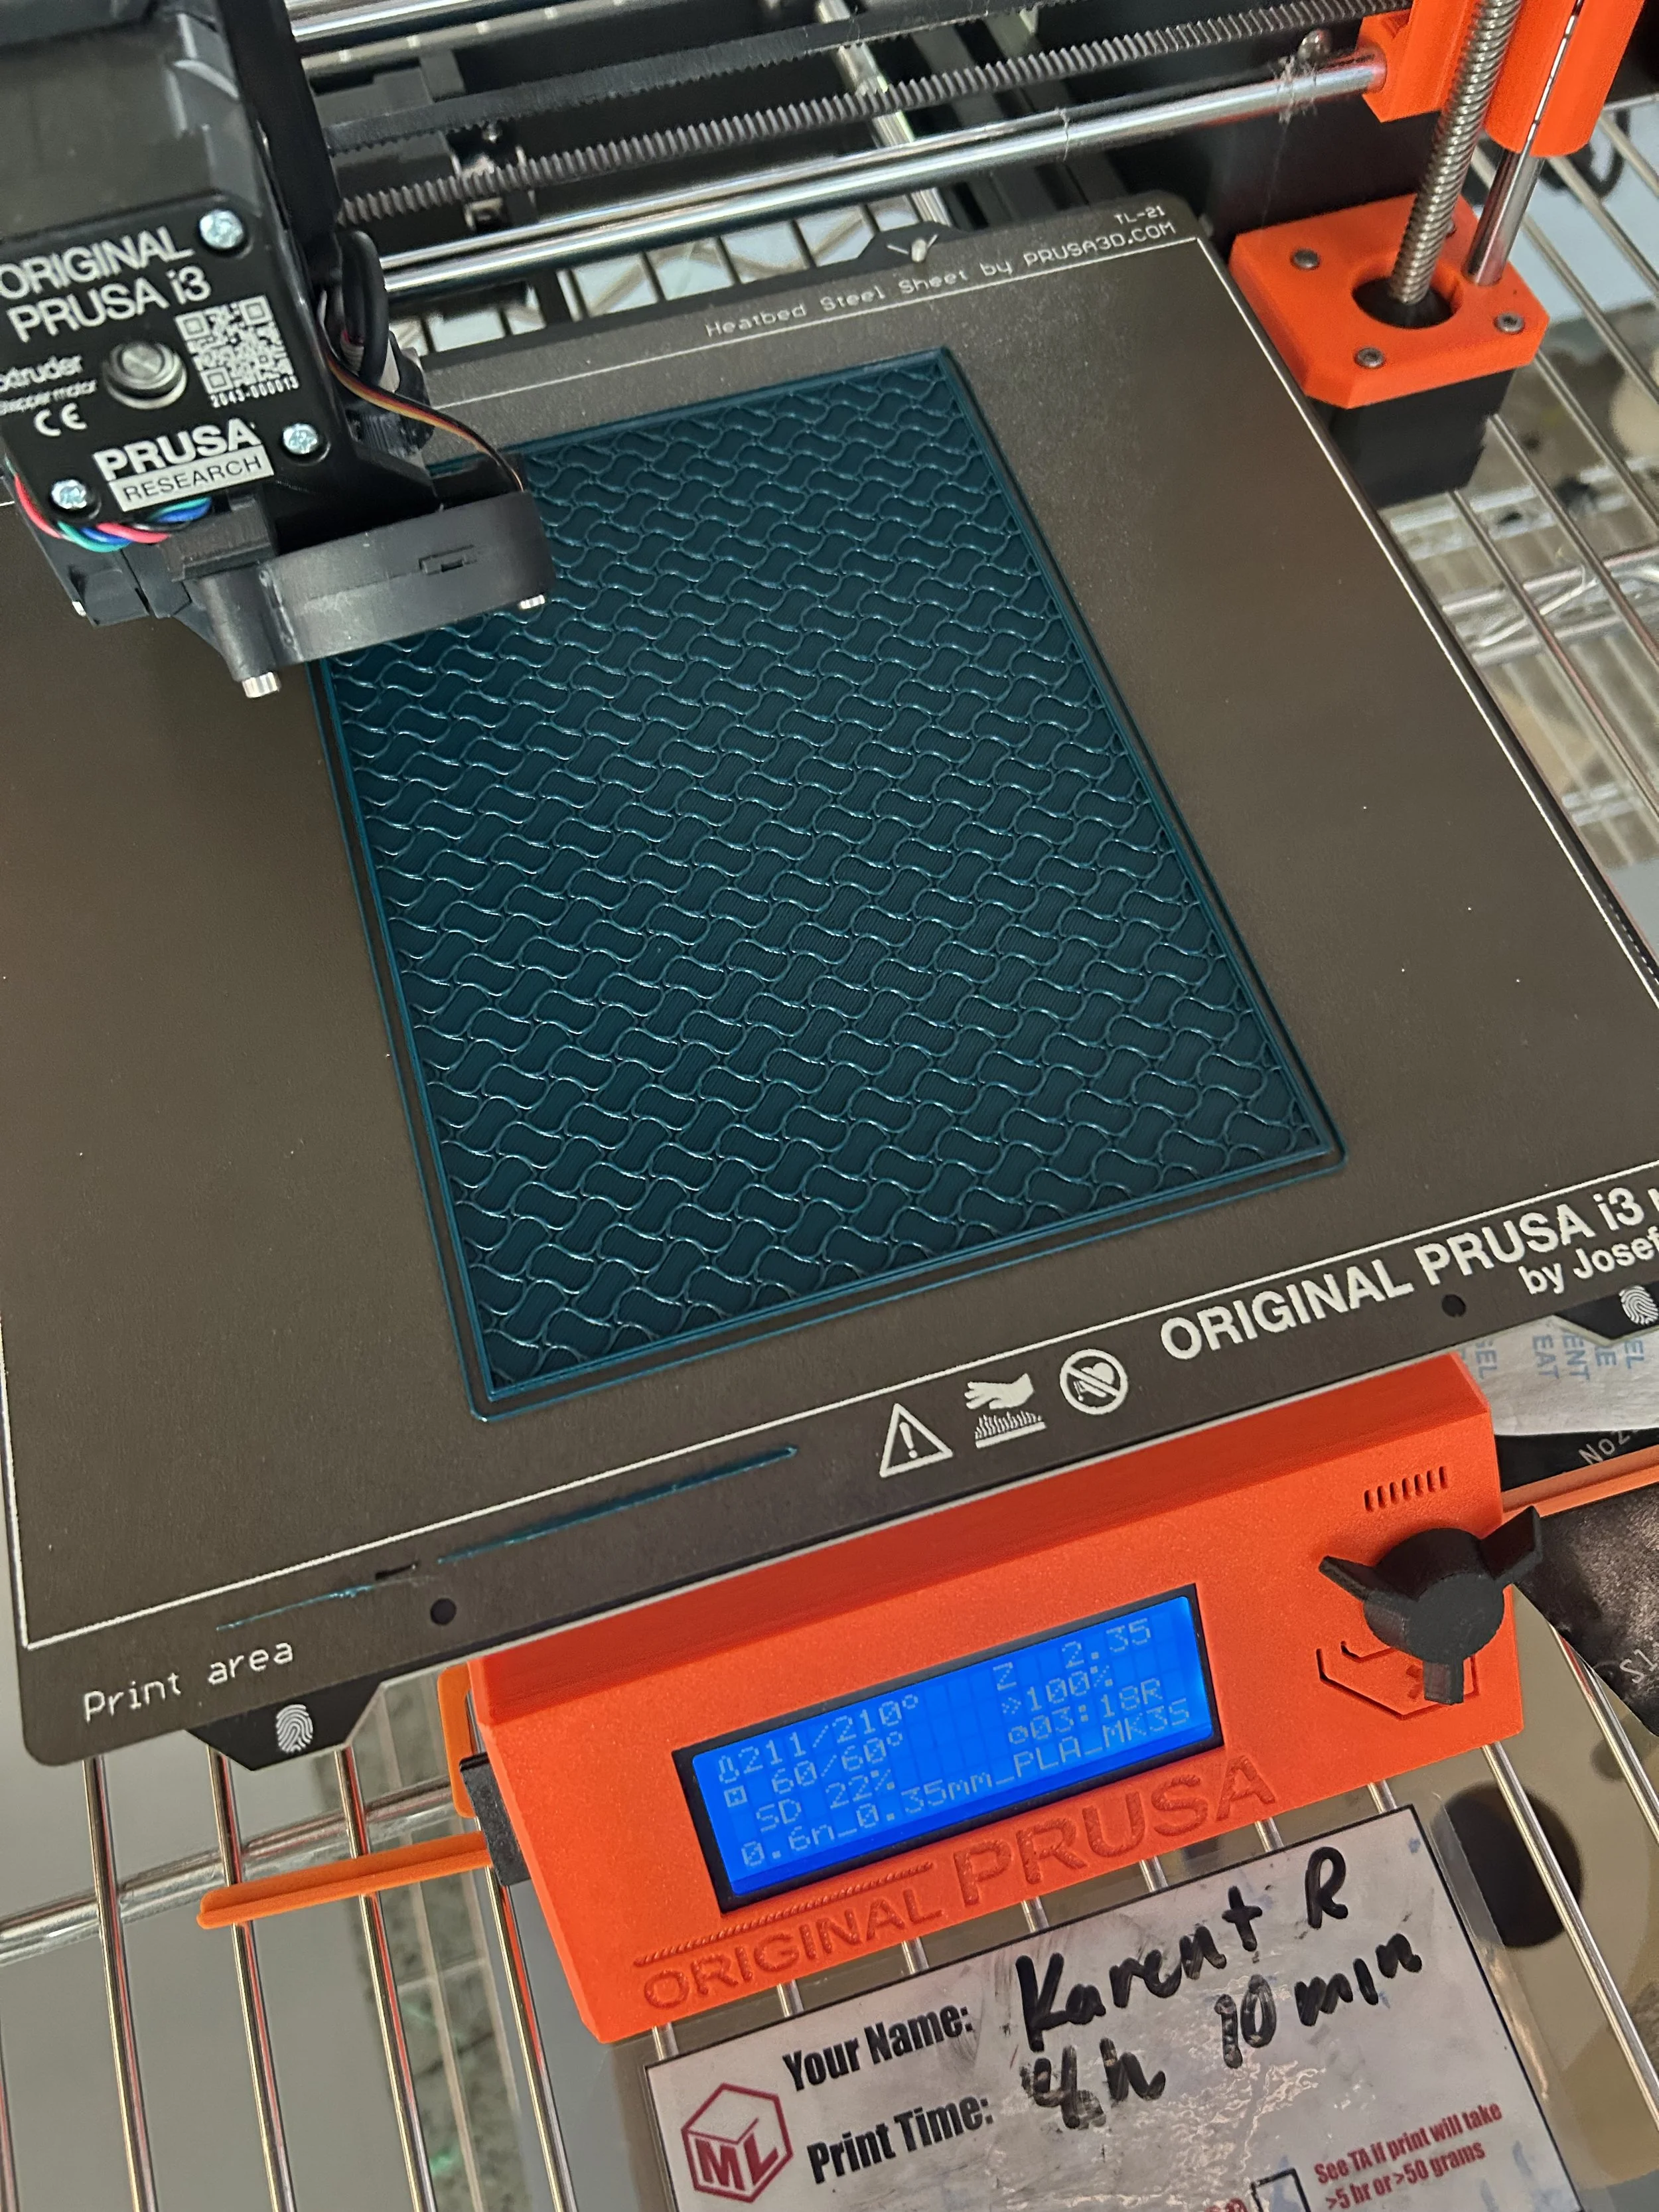
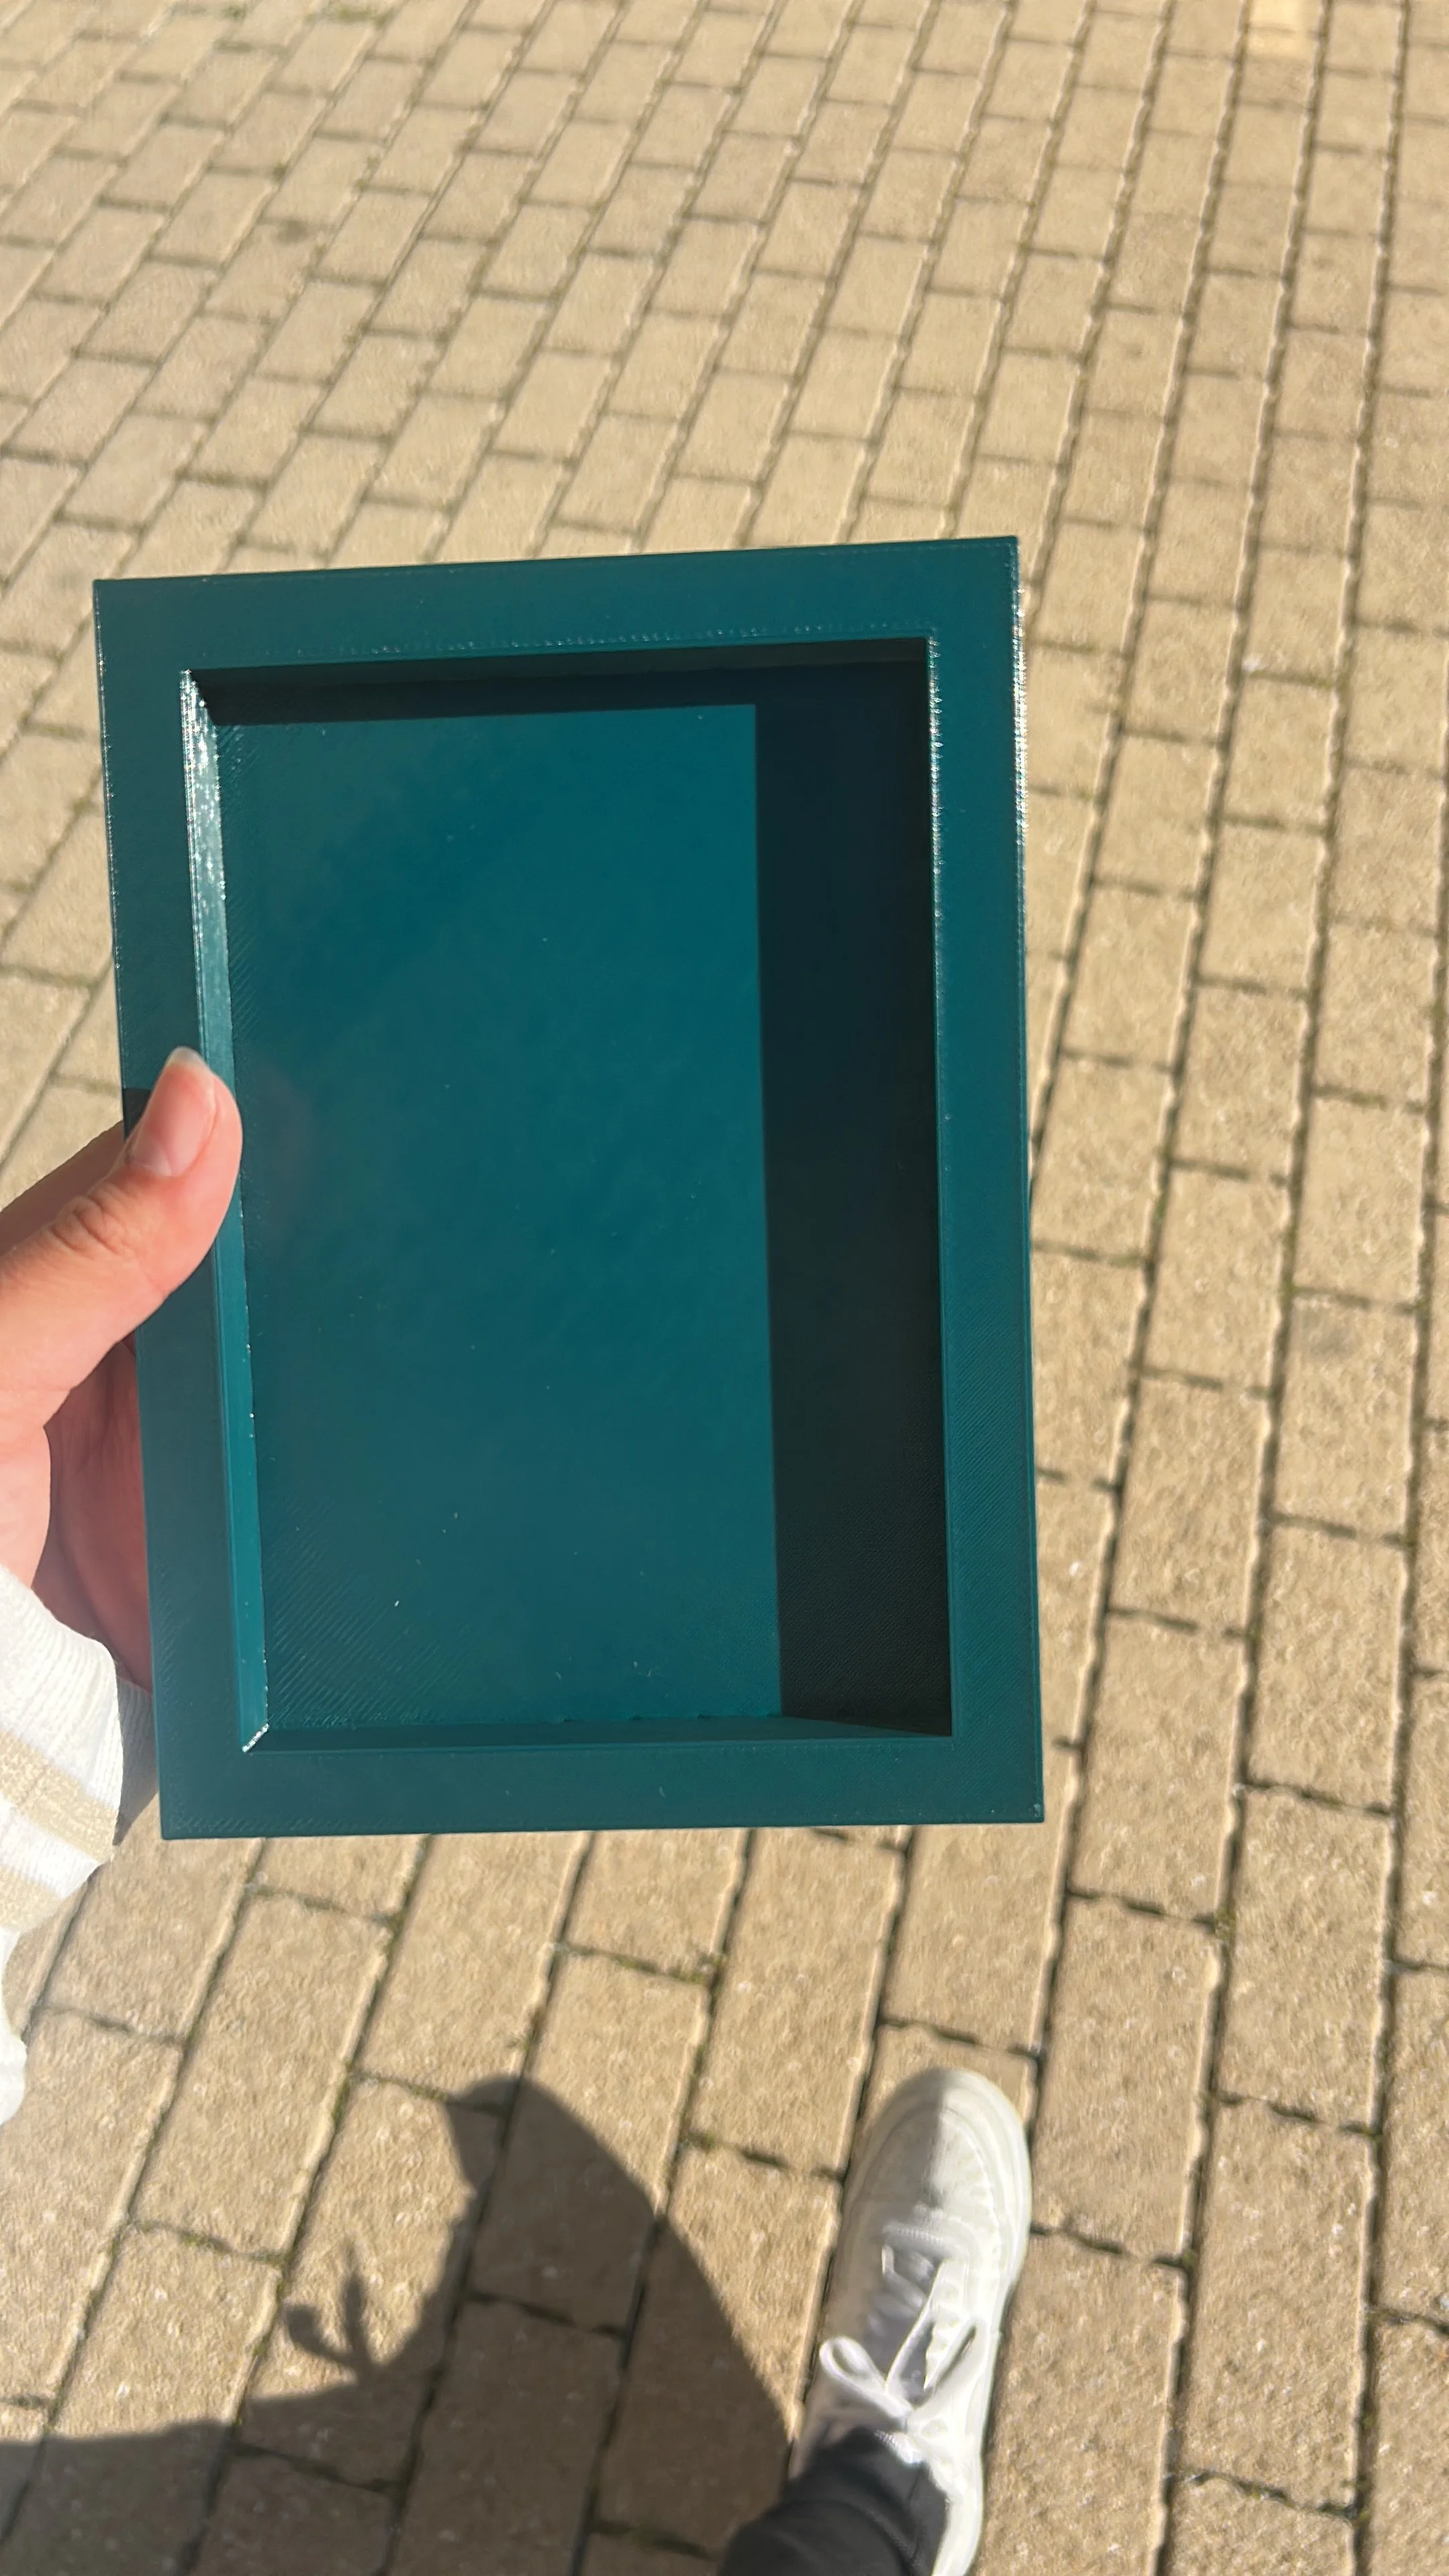
Something i learned from doing this base was that i cannot expose PLA too much in the sun because PLA softens in heat and it causes structural deformation. Meaning that i just cant be having my board piece by a window for hours because UV light softens PLA and it also causes discoloration.
Part 3: Vinyl plotter (decoration)
For my 3rd and final part, i wanted to have some simple decorations using the vinyl plotter.
Since this was the first machine we learned how to use, and the one i found the easiest to use, this part didn't take a long time!
Choosing sticker design
time spent: 5 minutes
I wanted to make some flower stickers because it remindedd me of the first project we did and i wanted to have that component on my final project for this class.
At first, i was a bit confused on what to do because it had been 3 months since i had last used the sticker machine, so i had forgotten a few things. However, after just doing it, i started to remember as i went.
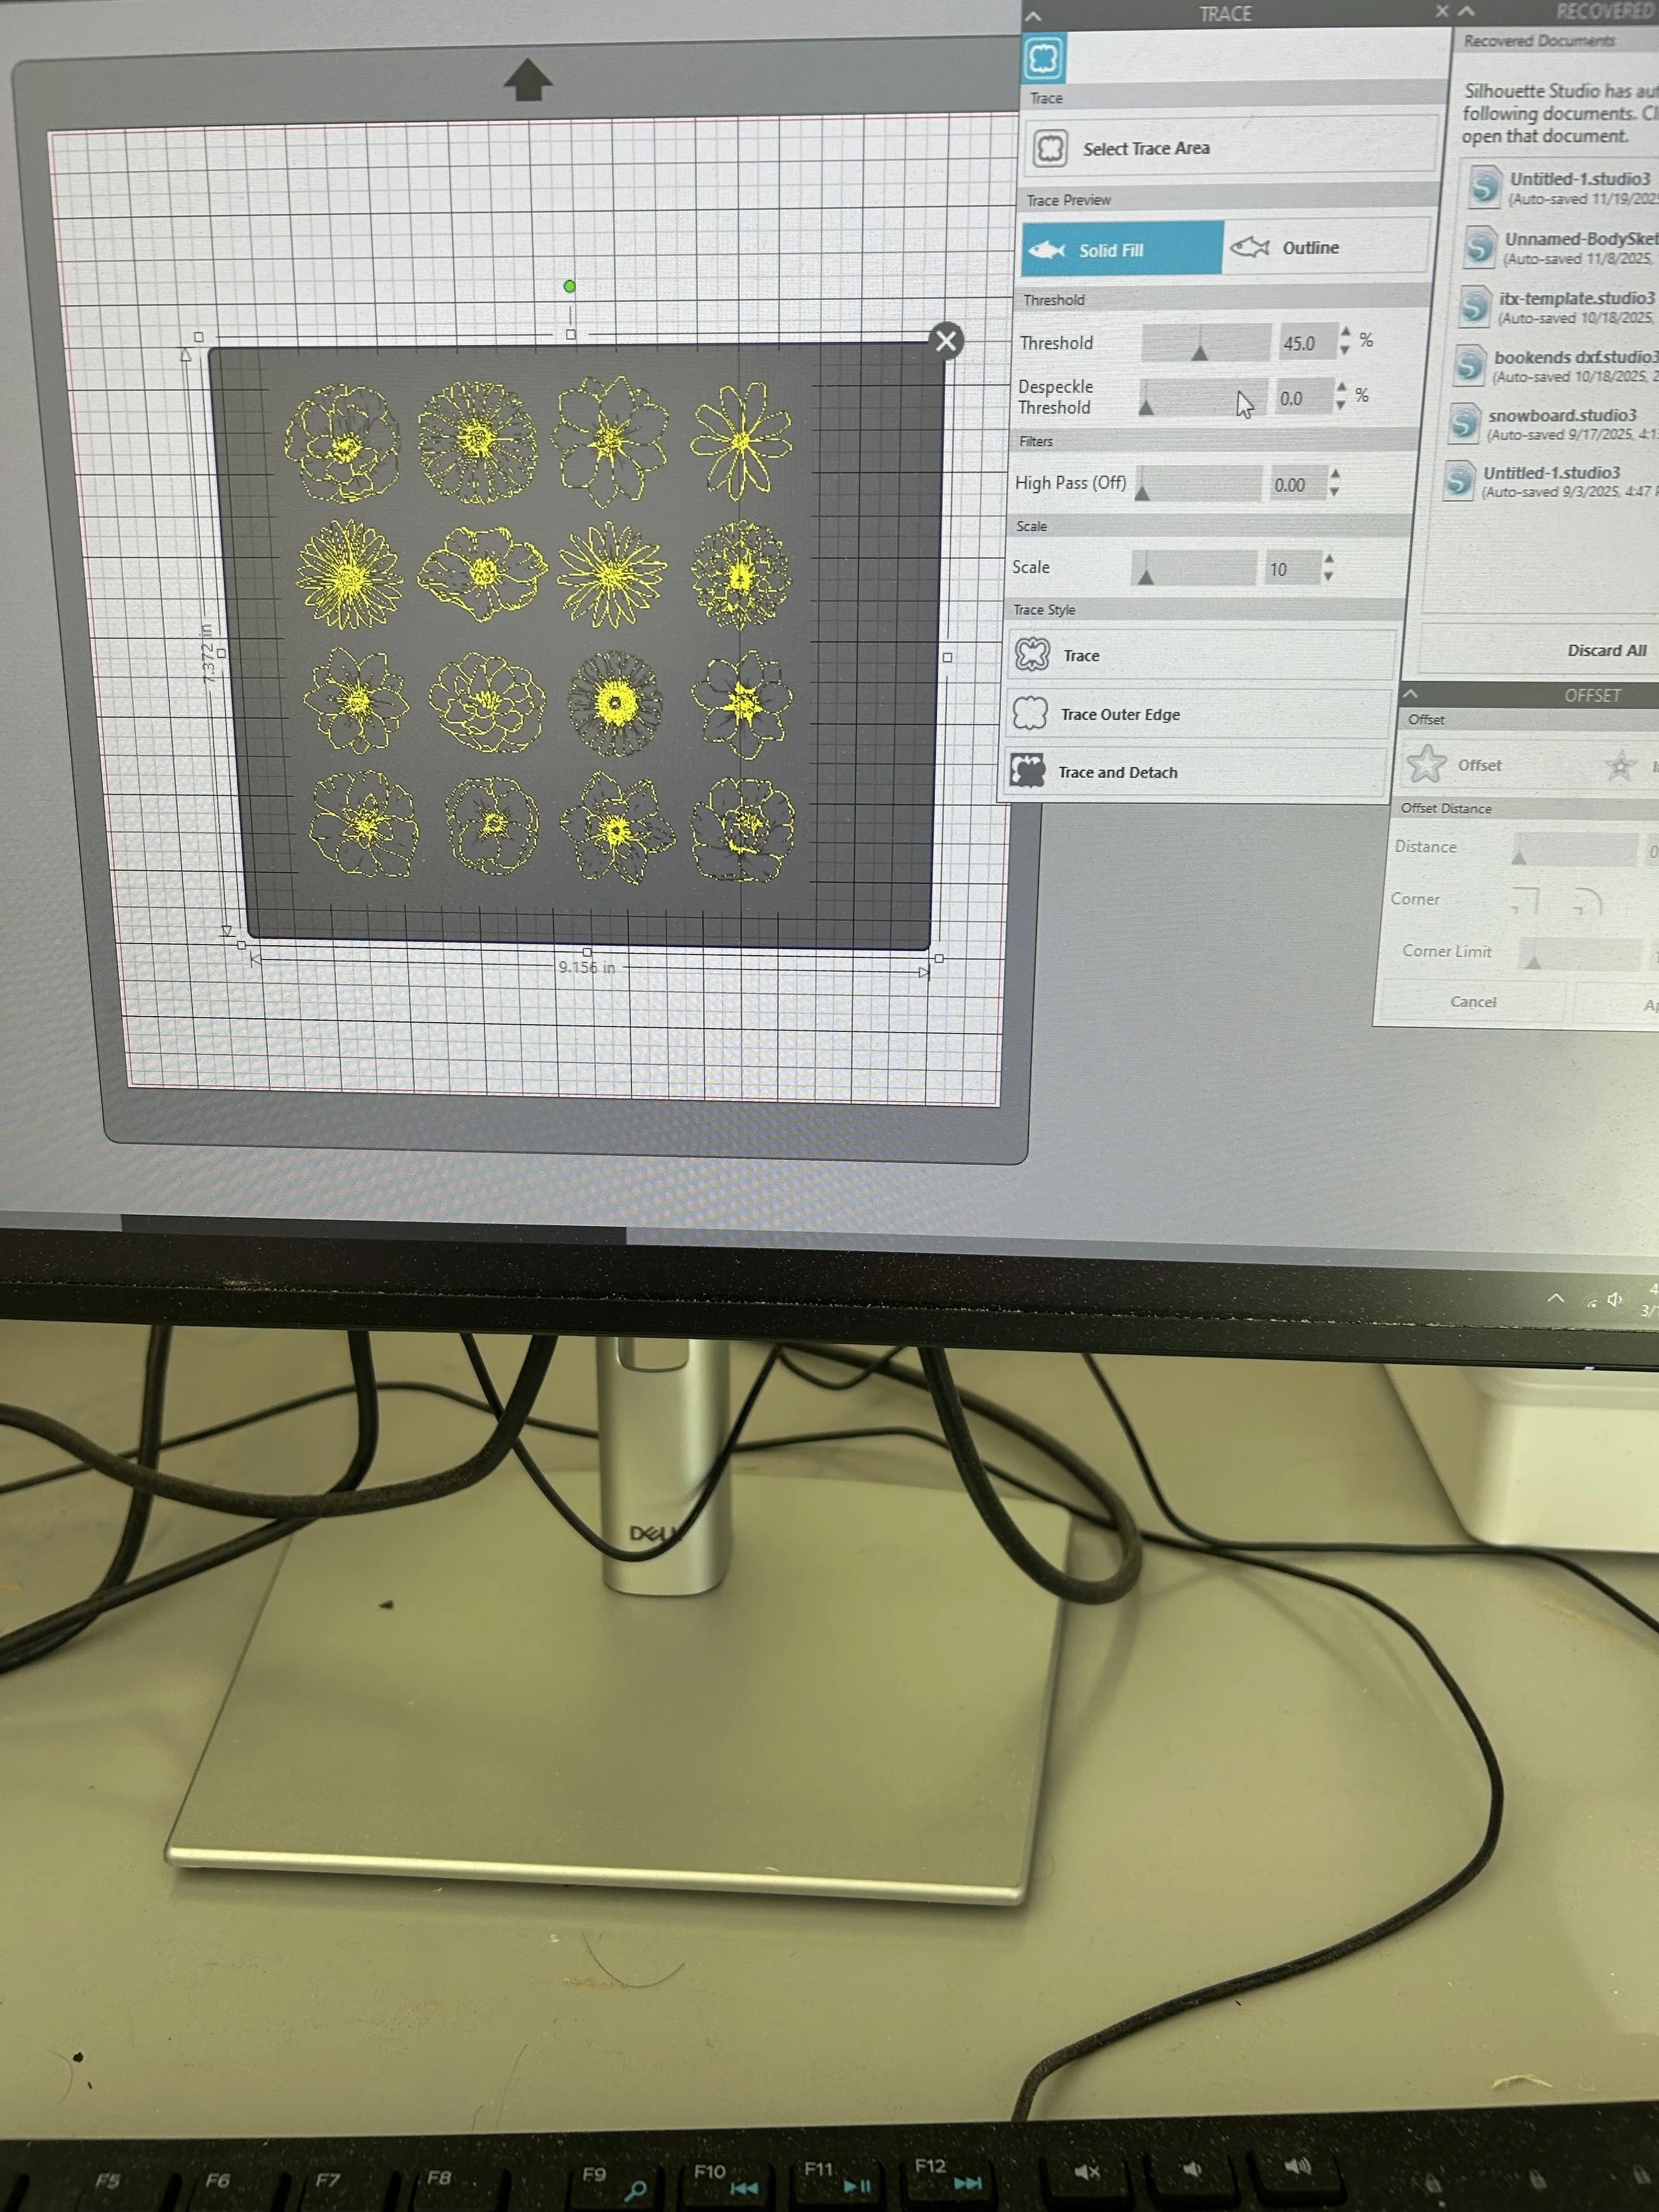
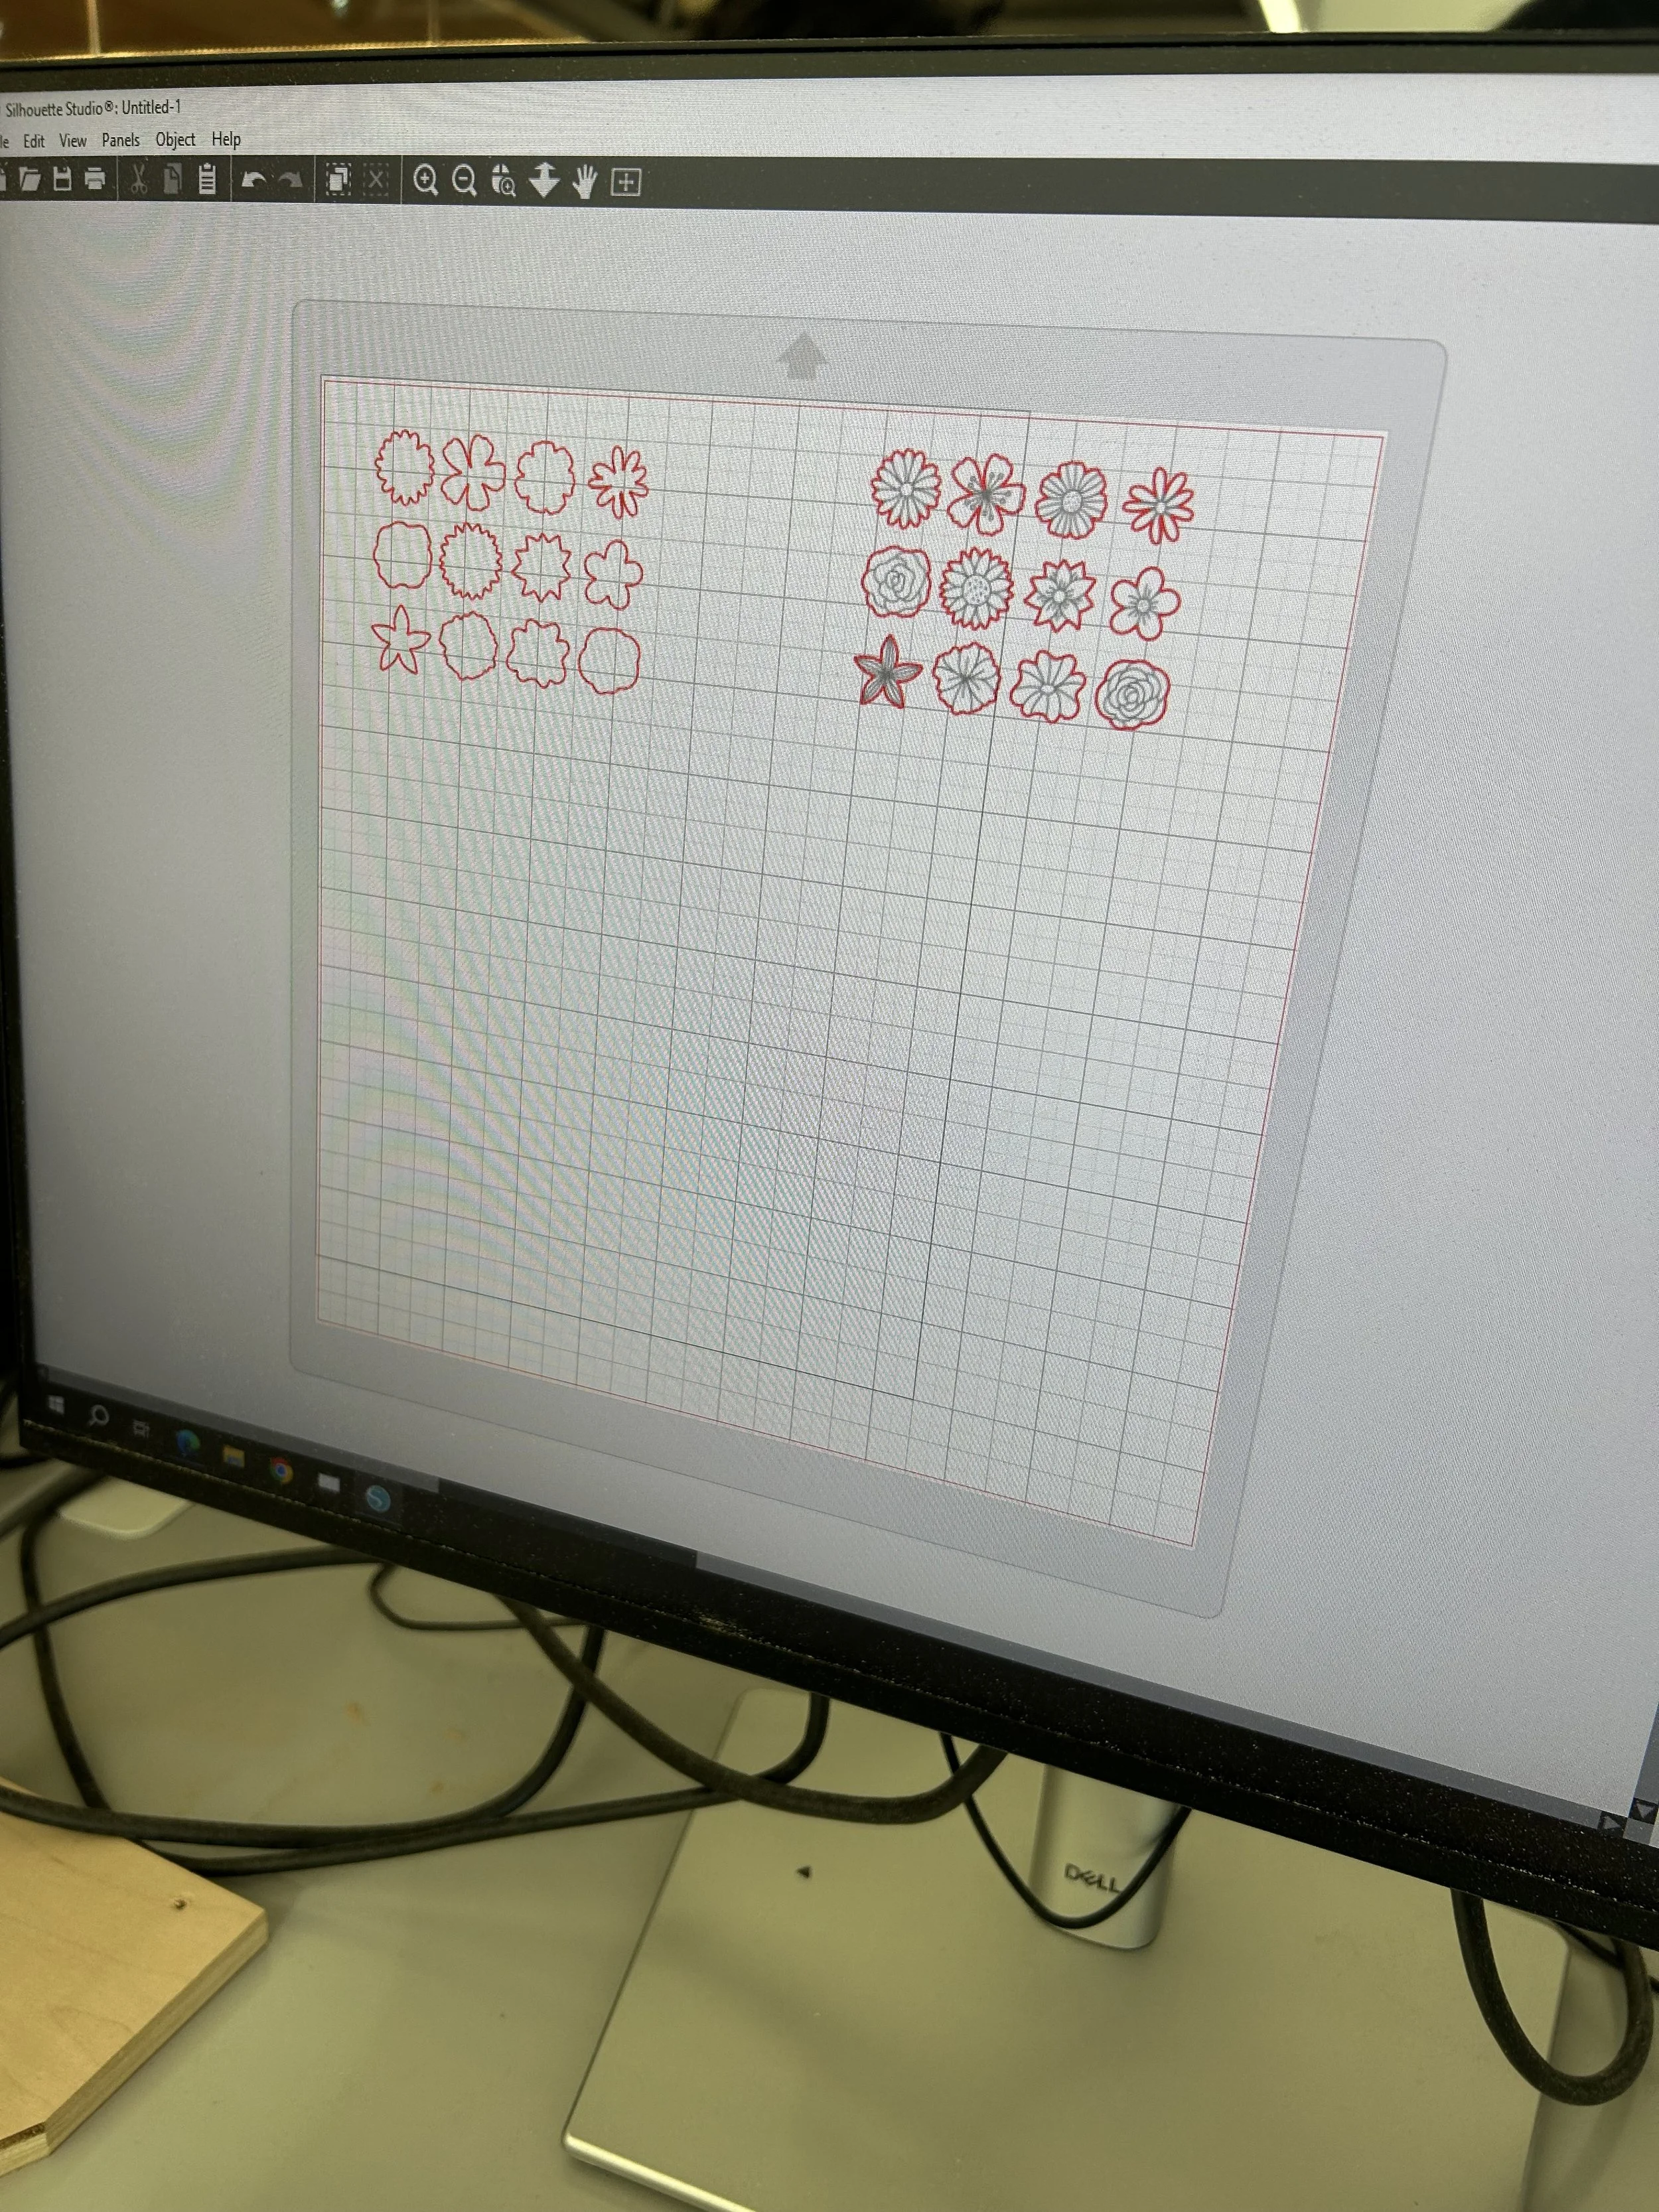
i traced the flowers and i only wanted an outline trace since the stickers would’ve came out bad if i decided to do a trace for the whole entire design of the flowers because they were very detailed.
I couldn’t remember the difference between “ trace and detach” and “trace outer edge” so i just used both for my stickers because i was curious on which would would be best.
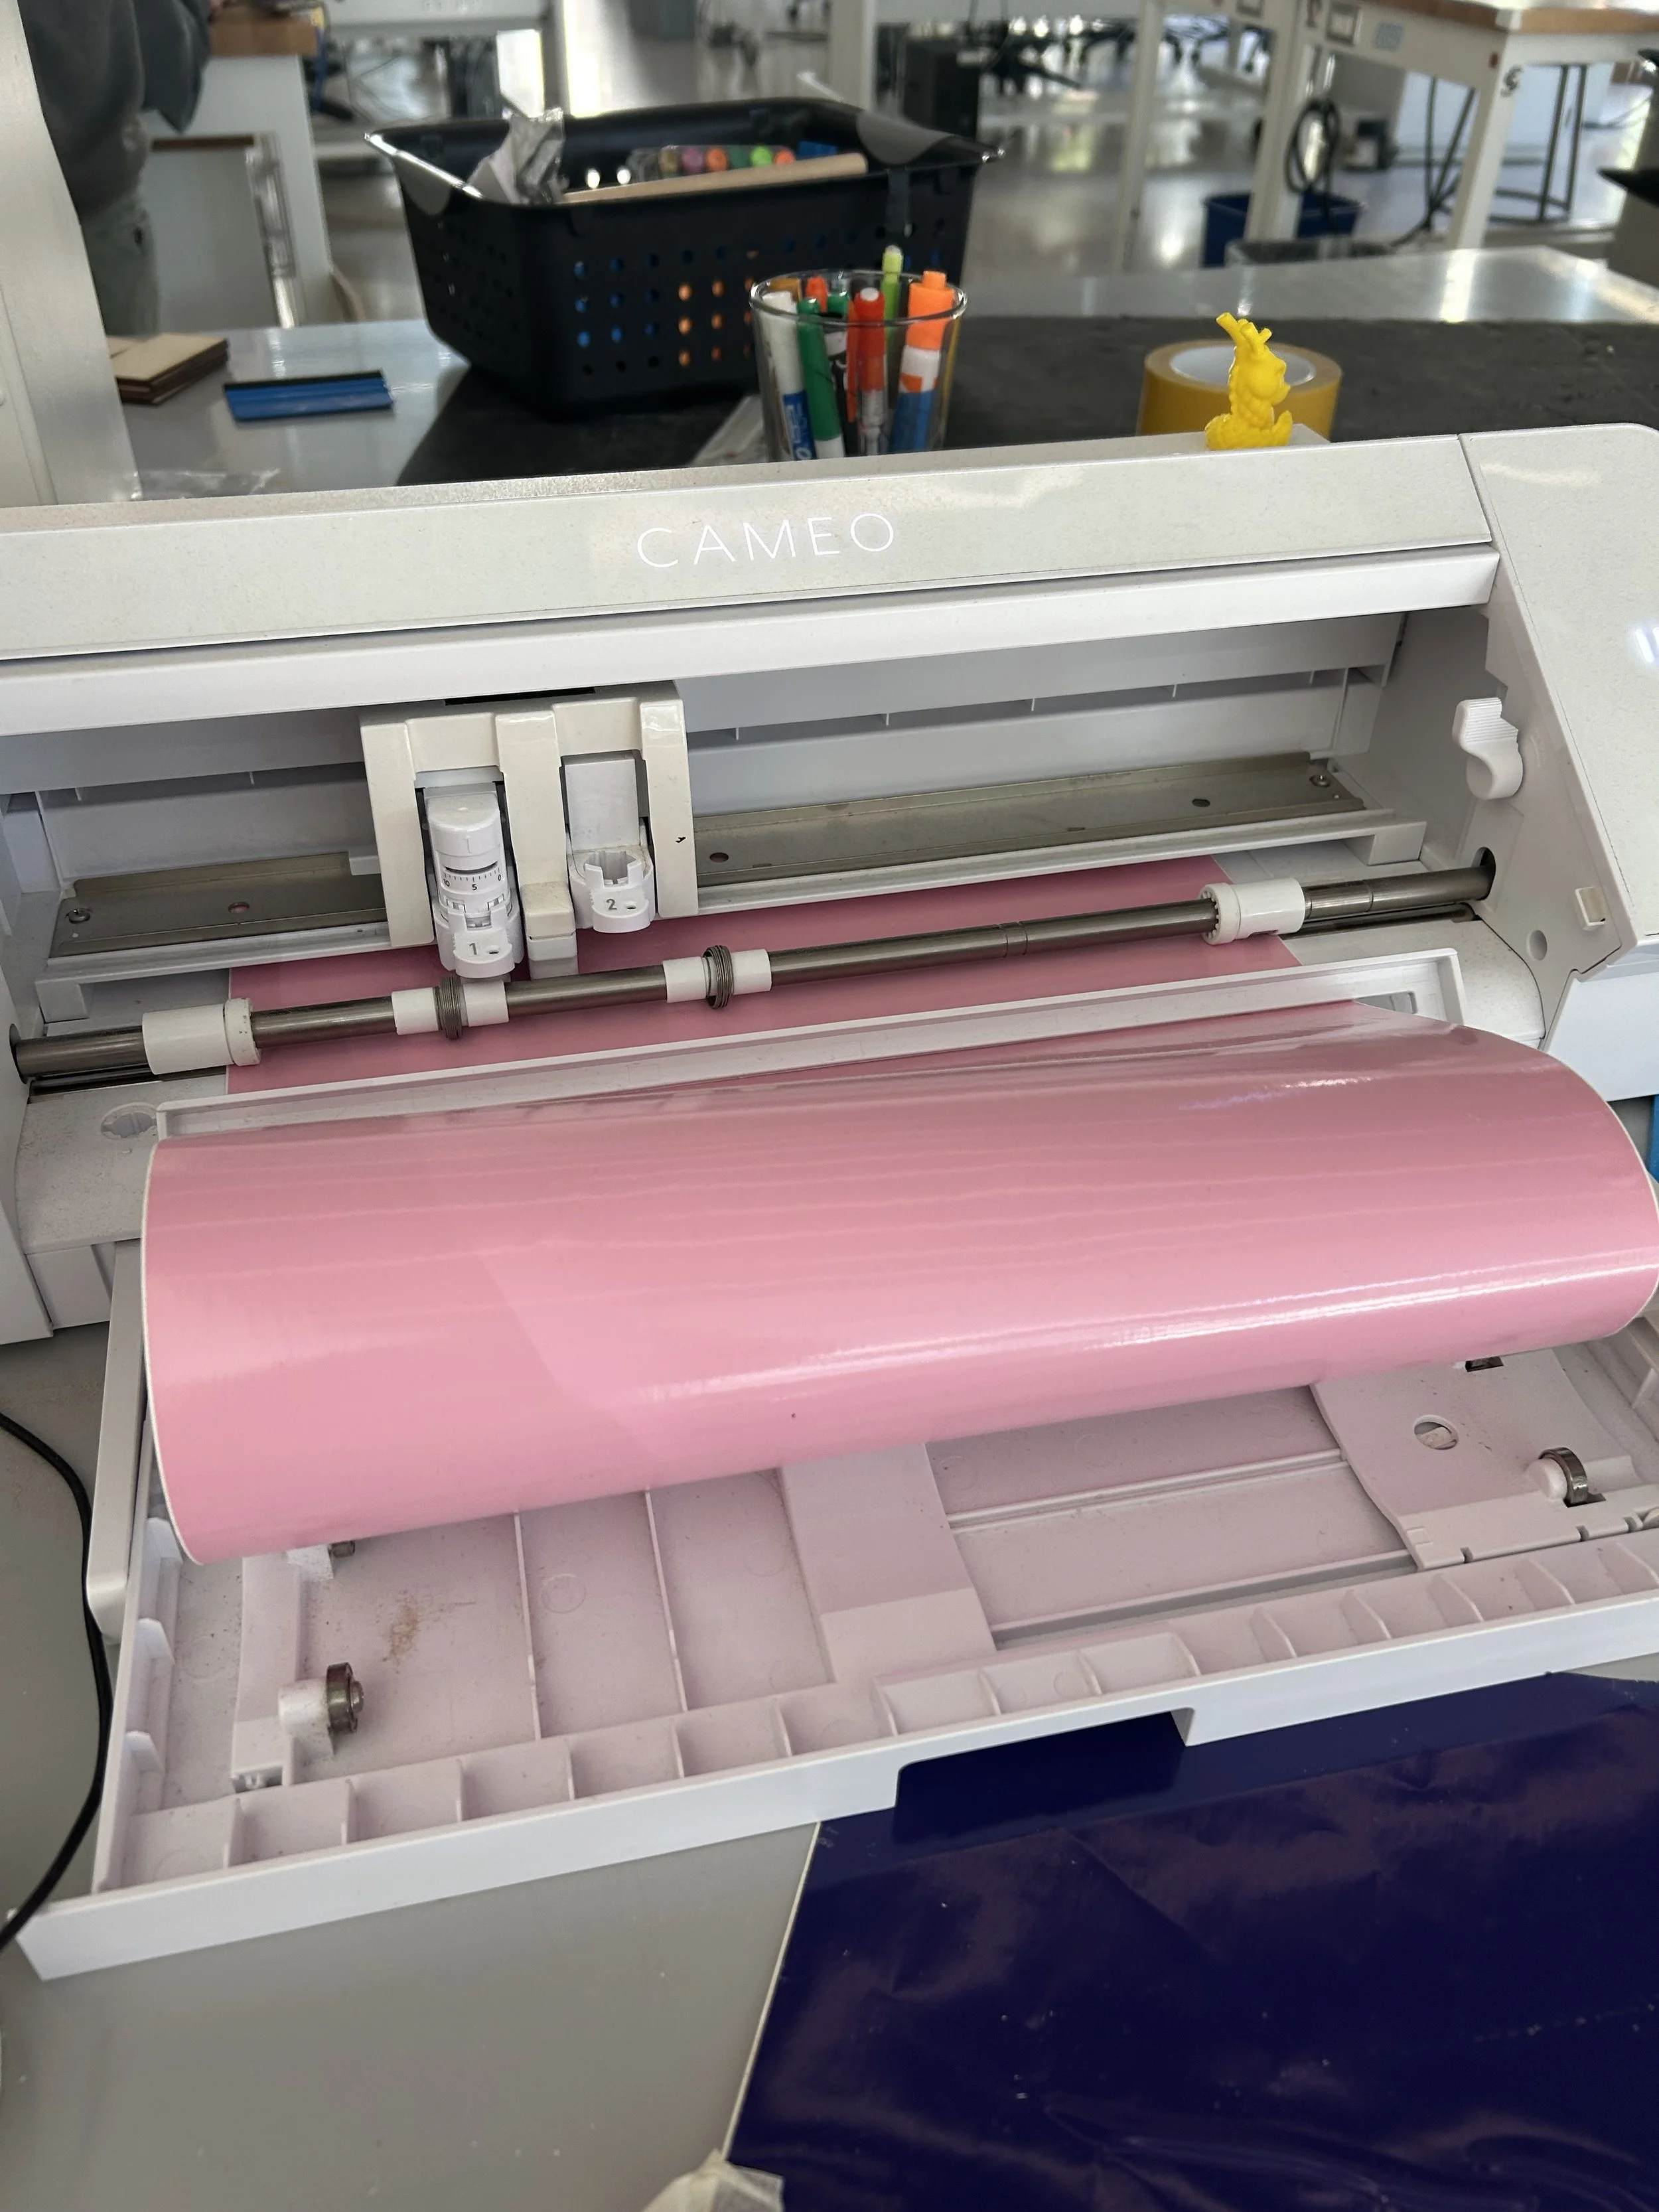
pink glossy Vinyl
difference between traces:
trace and detach: separated the background from the sticker.
trace outer edge: separated outside outline from vinyl
preference: trace the outer edge because it was easier to peel off.
I used a pink glossy vinyl, and before I sent it to the vinyl plotter. I remembered that I needed to adjust the blade depth so it could actually cut through the vinyl, not the paper.
Final project results
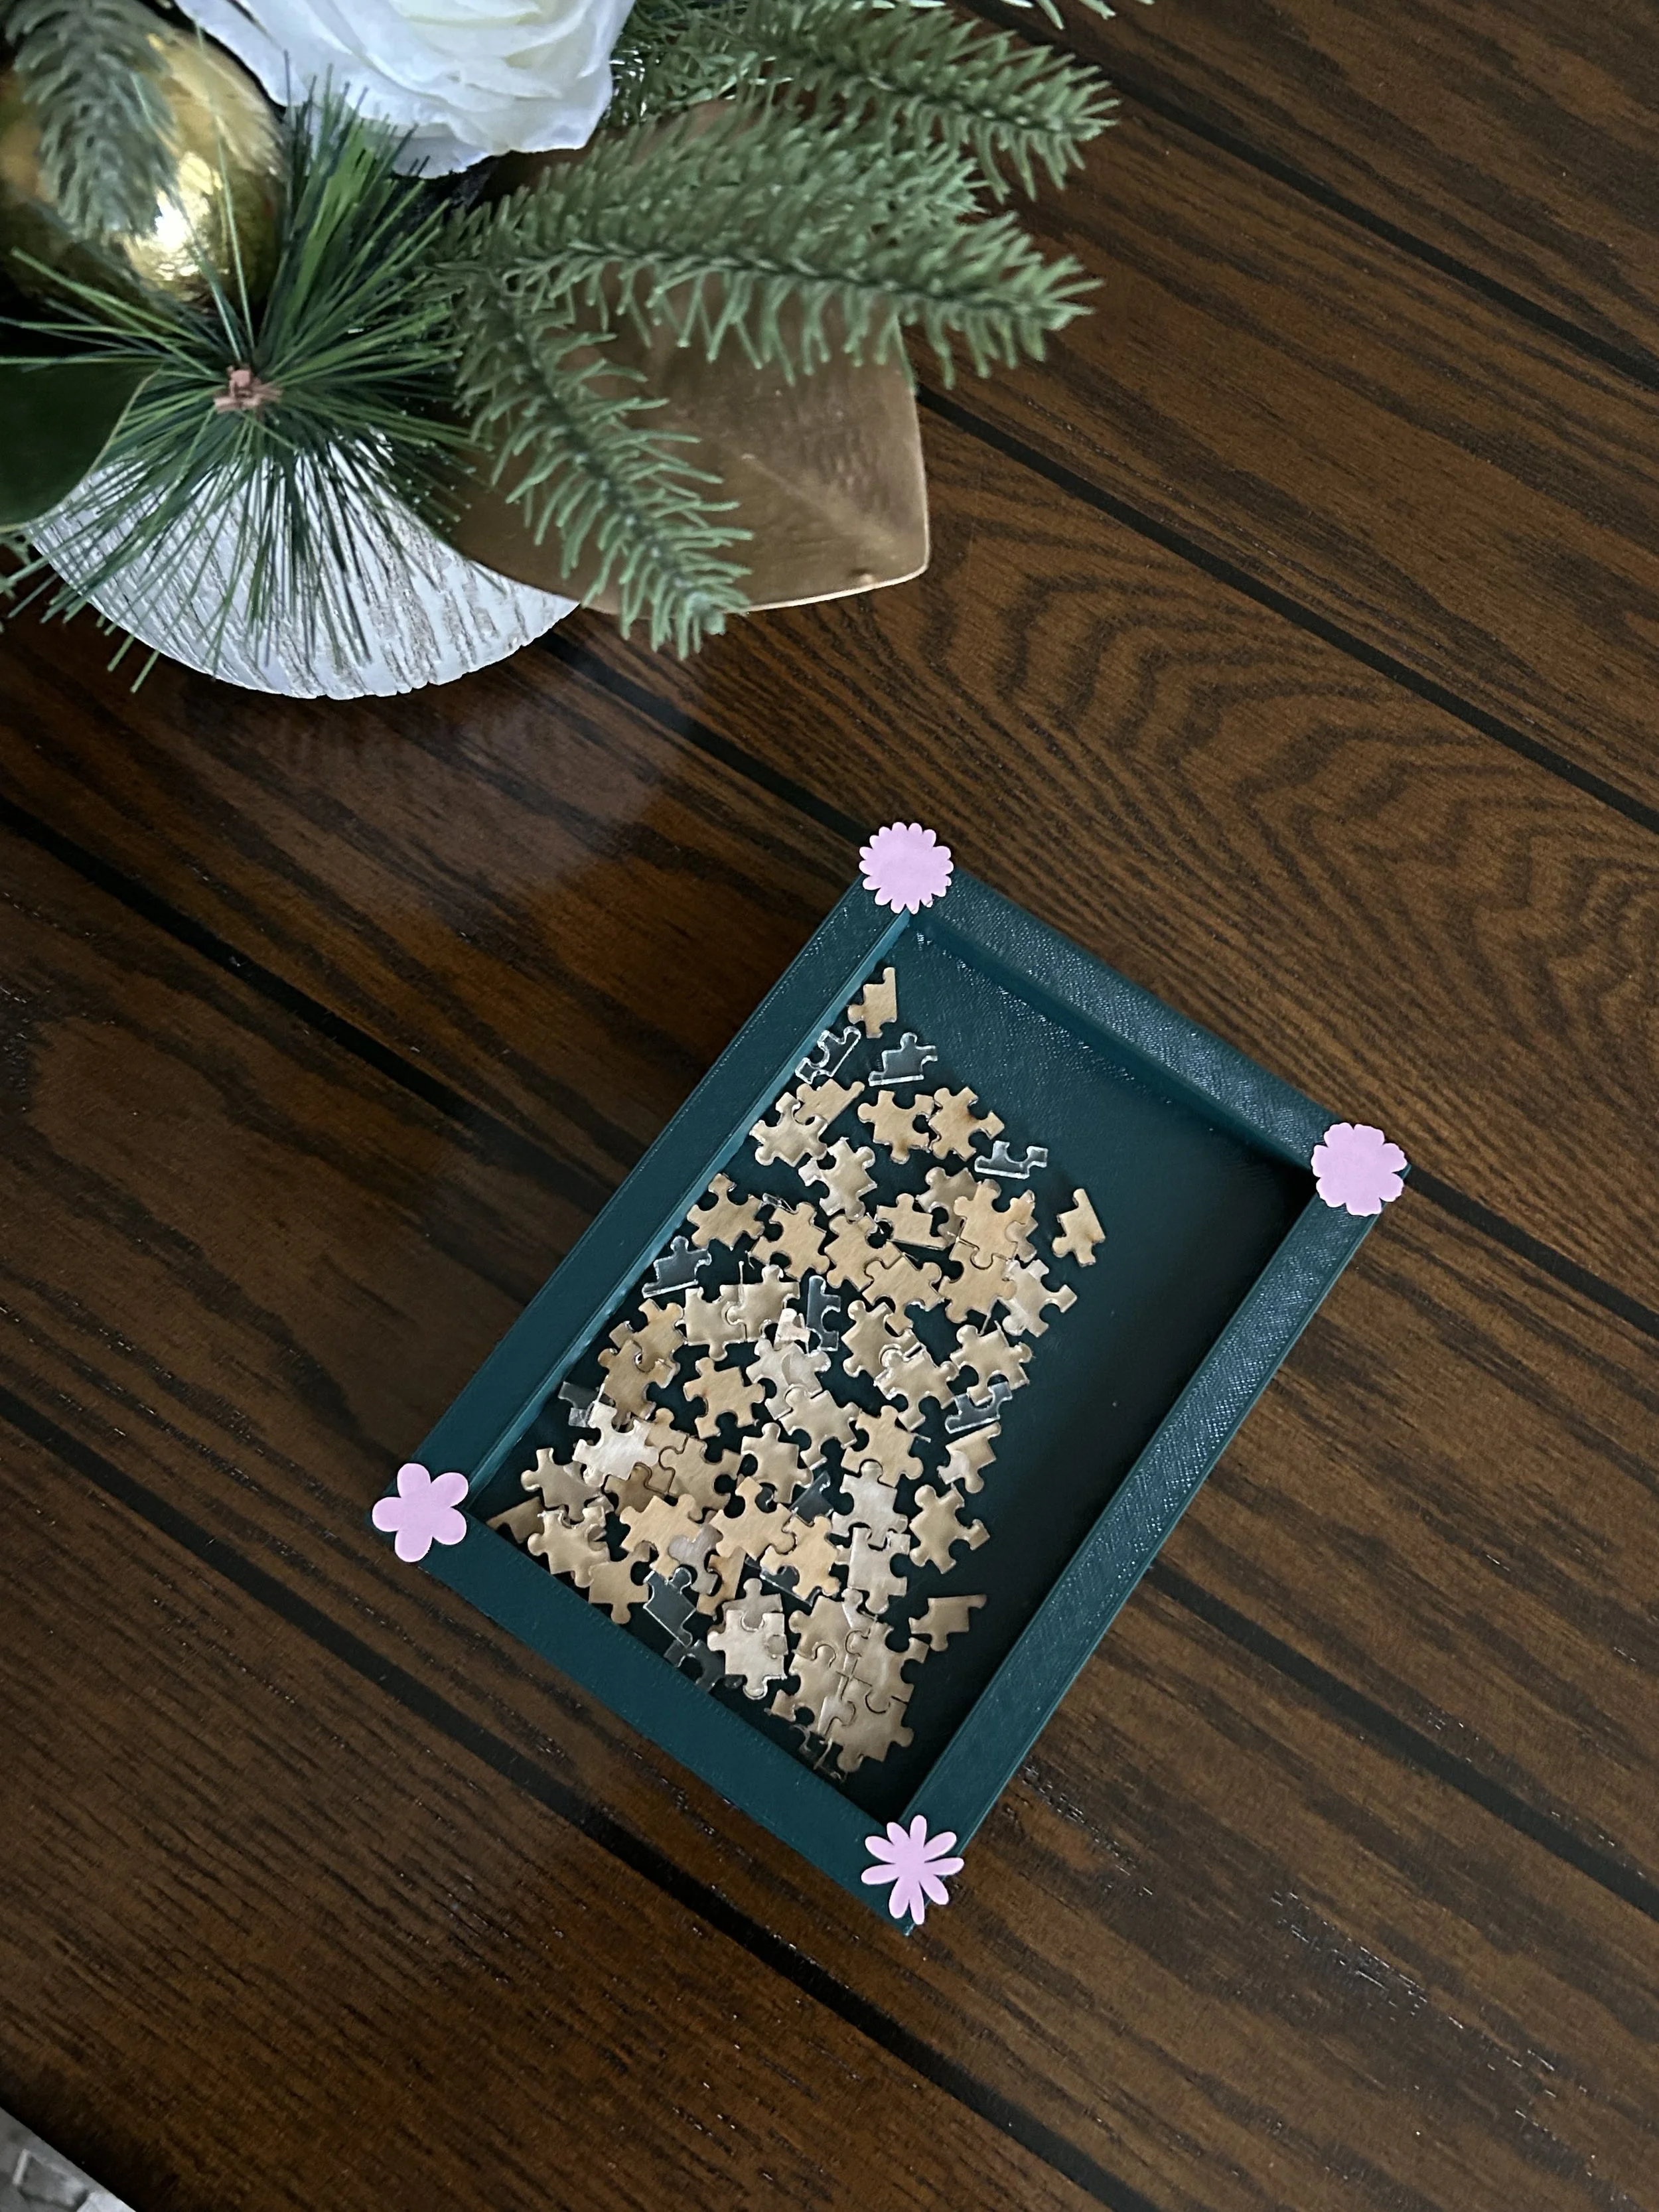
alternating acrylic
Overall thoughts: I decided to do an alternating puzzle design with some puzzle pieces being acrylic without the film on, and the other ones did have it on. In my mind, this was a garden puzzle with the puzzle being the soil and the rest just being glass and flowers.
I thought it was a great project and a very fun one!
i learned about how PLA cannot be exposed in the sun and i was also able to relearn things from previous projects like always checking my settings before sending a project to the laser cutter just so that we make sure that the type of material has to do with how the setying will adjust for example in wood it autimatically changes to “vector” so it might not raster so you have to manually change that. Also, for the vinyl plotter, you have to adjust the blade depth so that it actually cuts through.