Project 2: Acrylic LED Sign
For my acrylic LED design I wanted to design something very on theme with the LED light and that’s when I decided to do a space related design. I thought “what a better way to showcase light than with stars, and planets?”
I started off looking for ways in which I could fit a planet and some other designs as well. I decided to do Saturn since it’s my favorite planet. What took the longest time was trying to figure out what type of other components I wanted in my design.
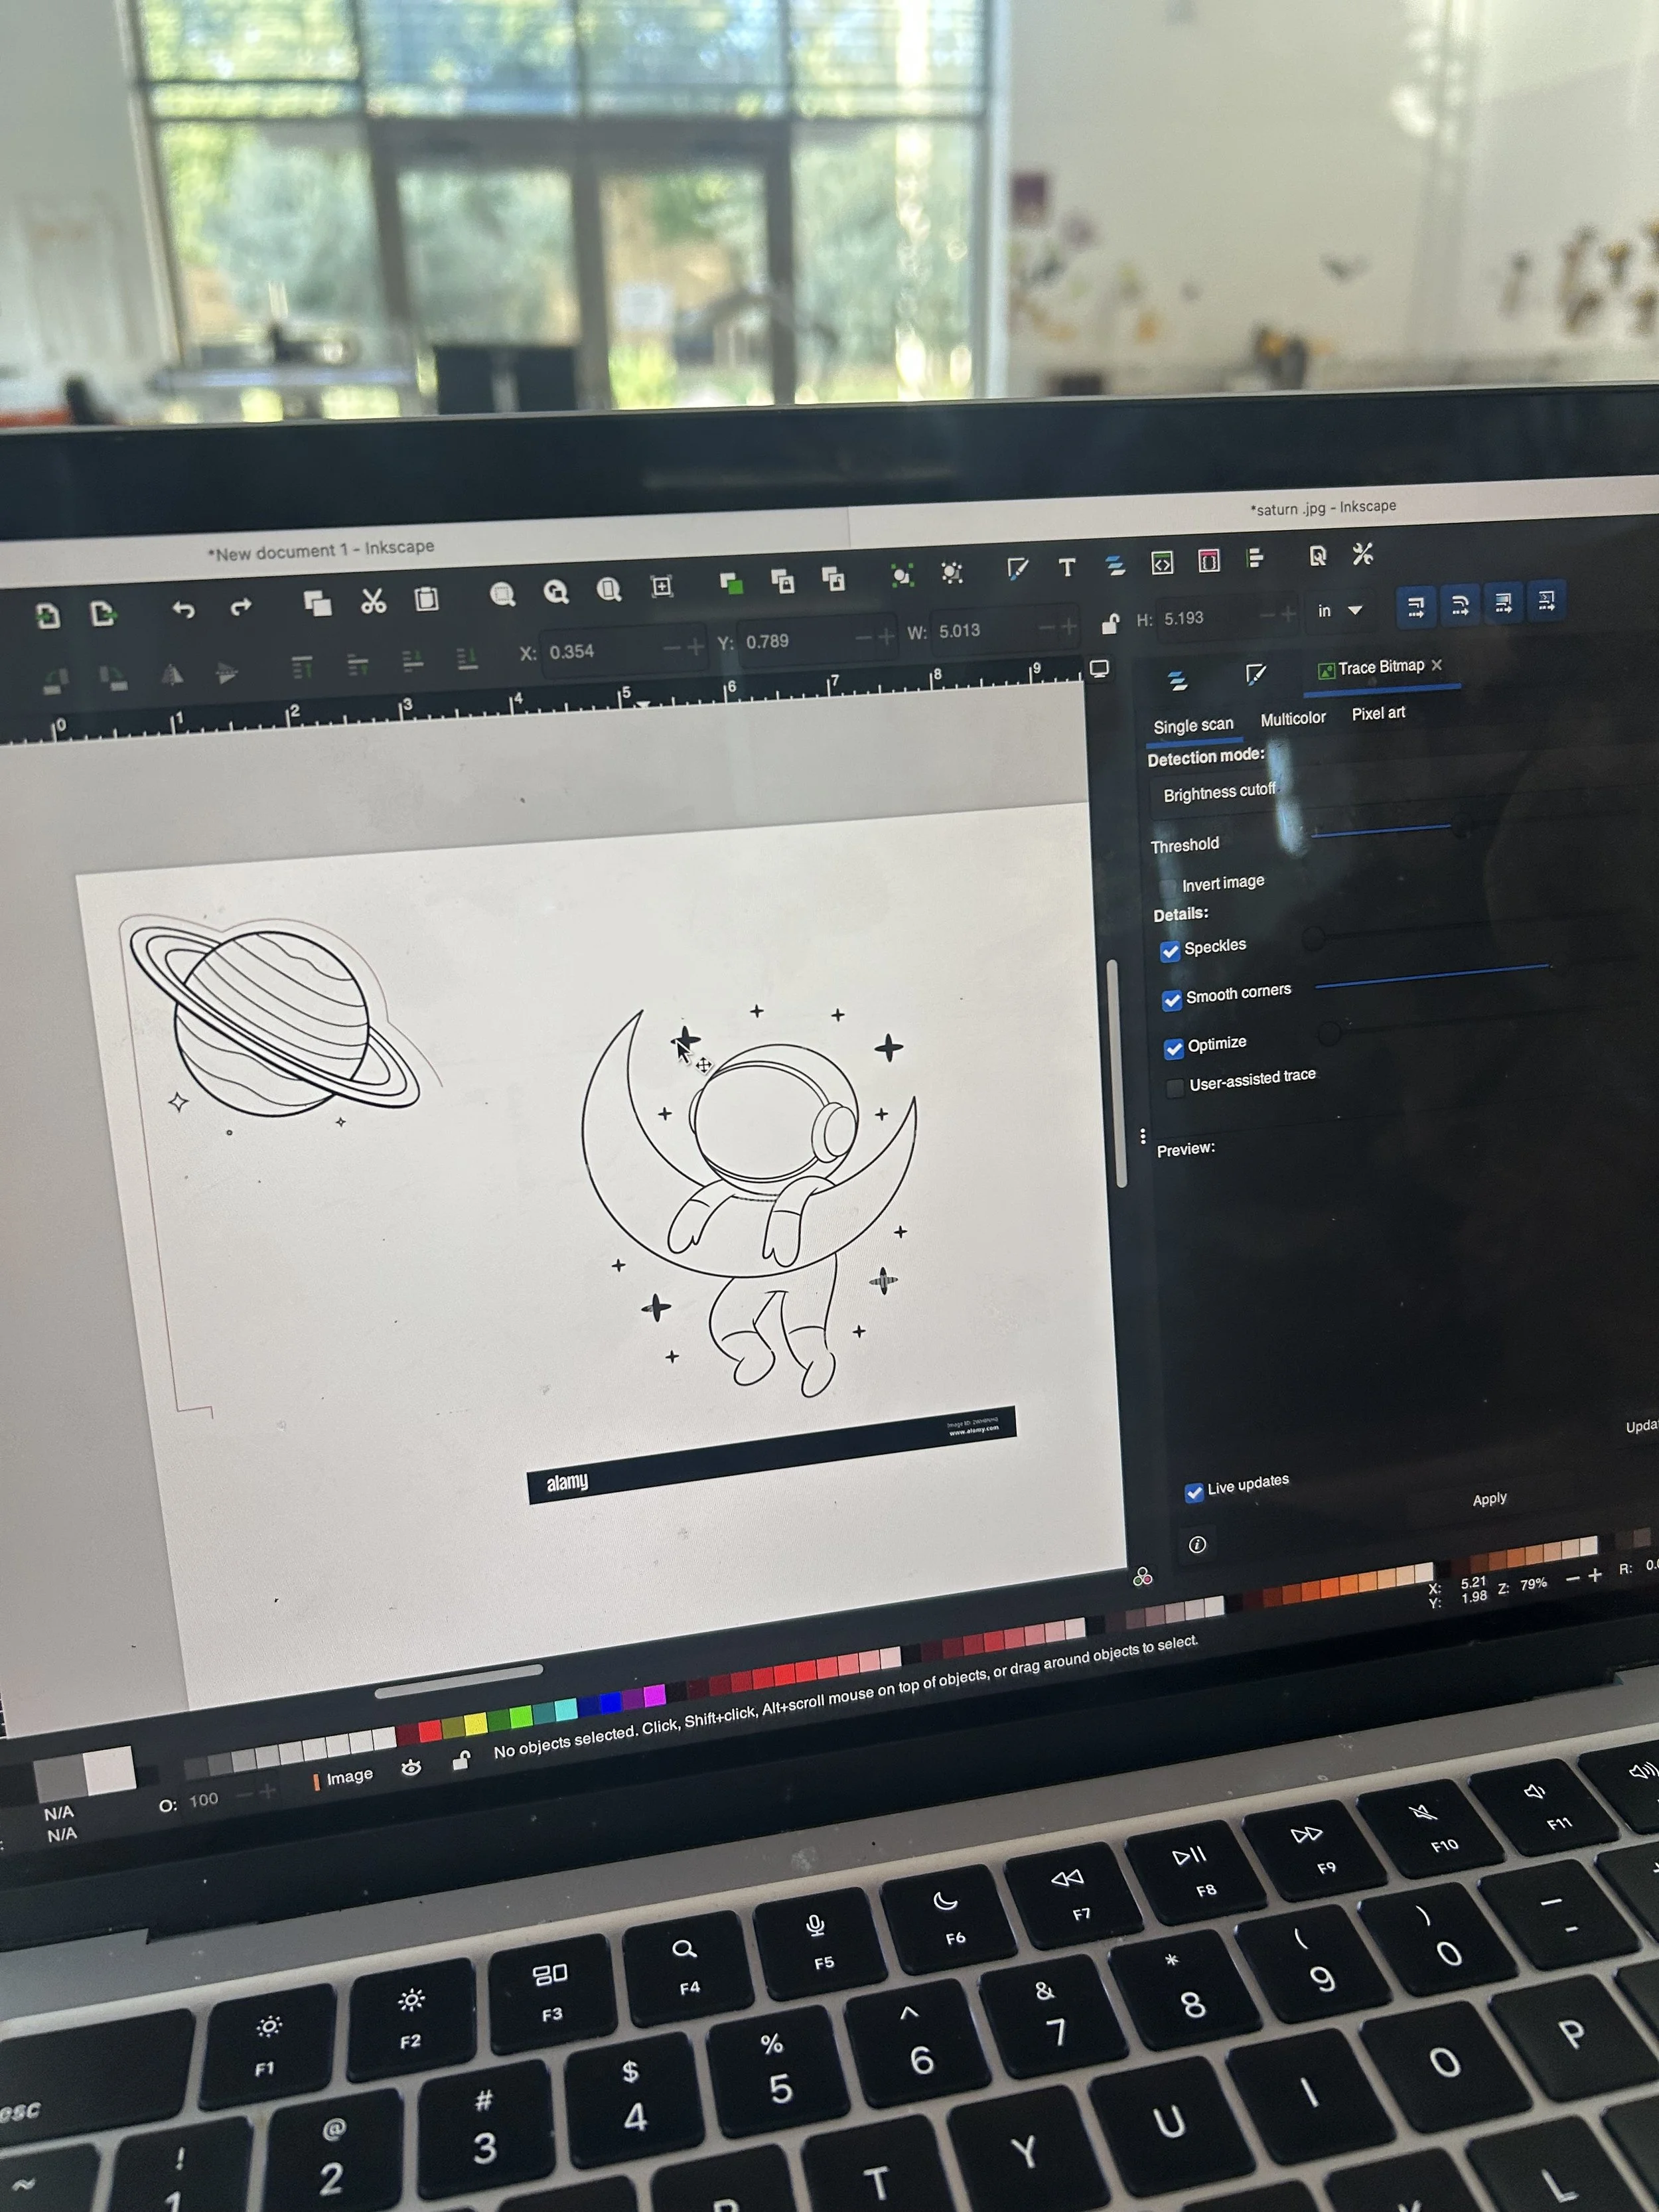
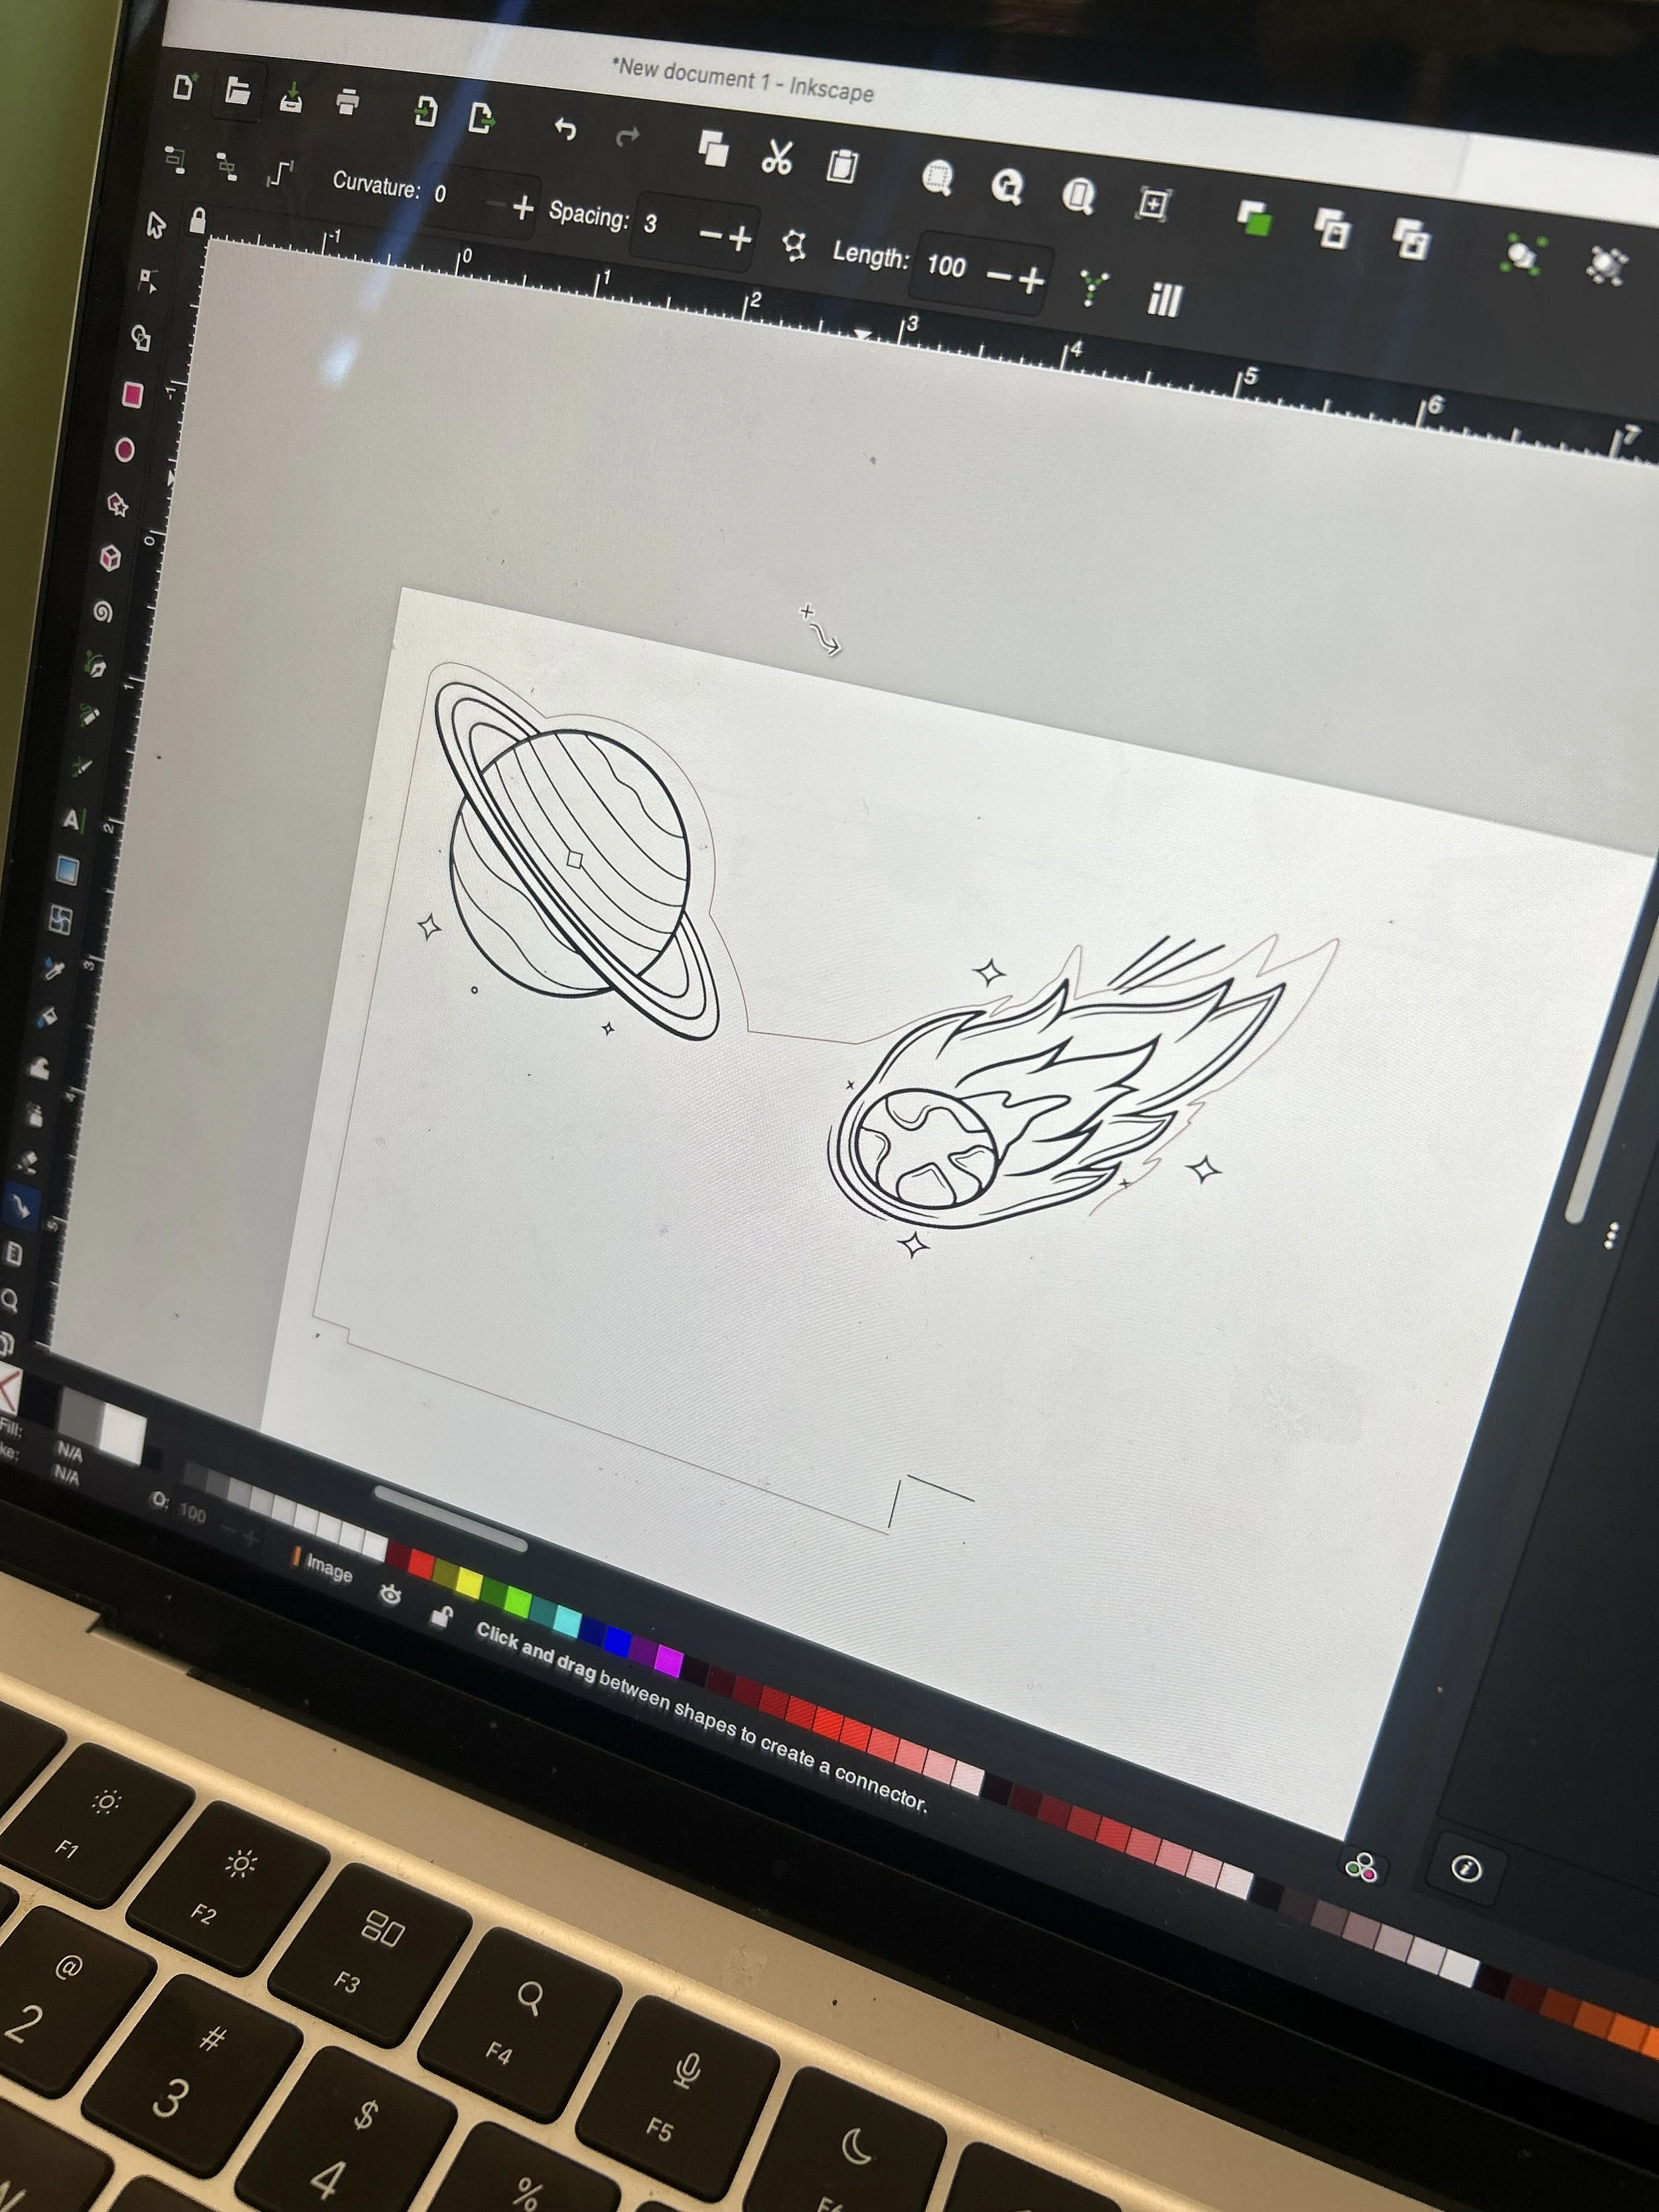
I wanted to see how my design would look like with different space related components and themes. I used a Saturn drawing and placed it on one corner. I tried to add an astronaut and see how it would look like, but I decided to stick with just planets and stars.
I started doing the hairline for the thing I wanted to be vector cut. for this to be possible, I used “inkscape” to upload my pictures and start tracing. For the hairline, I selected my Saturn and comment image and clicked on “path” on the top of inkscape and then did “trace bitmap” in order to drag the picture and create a traced version of it. after that I did object to path and “linked offset” in order to create the part that was going to be my outside.
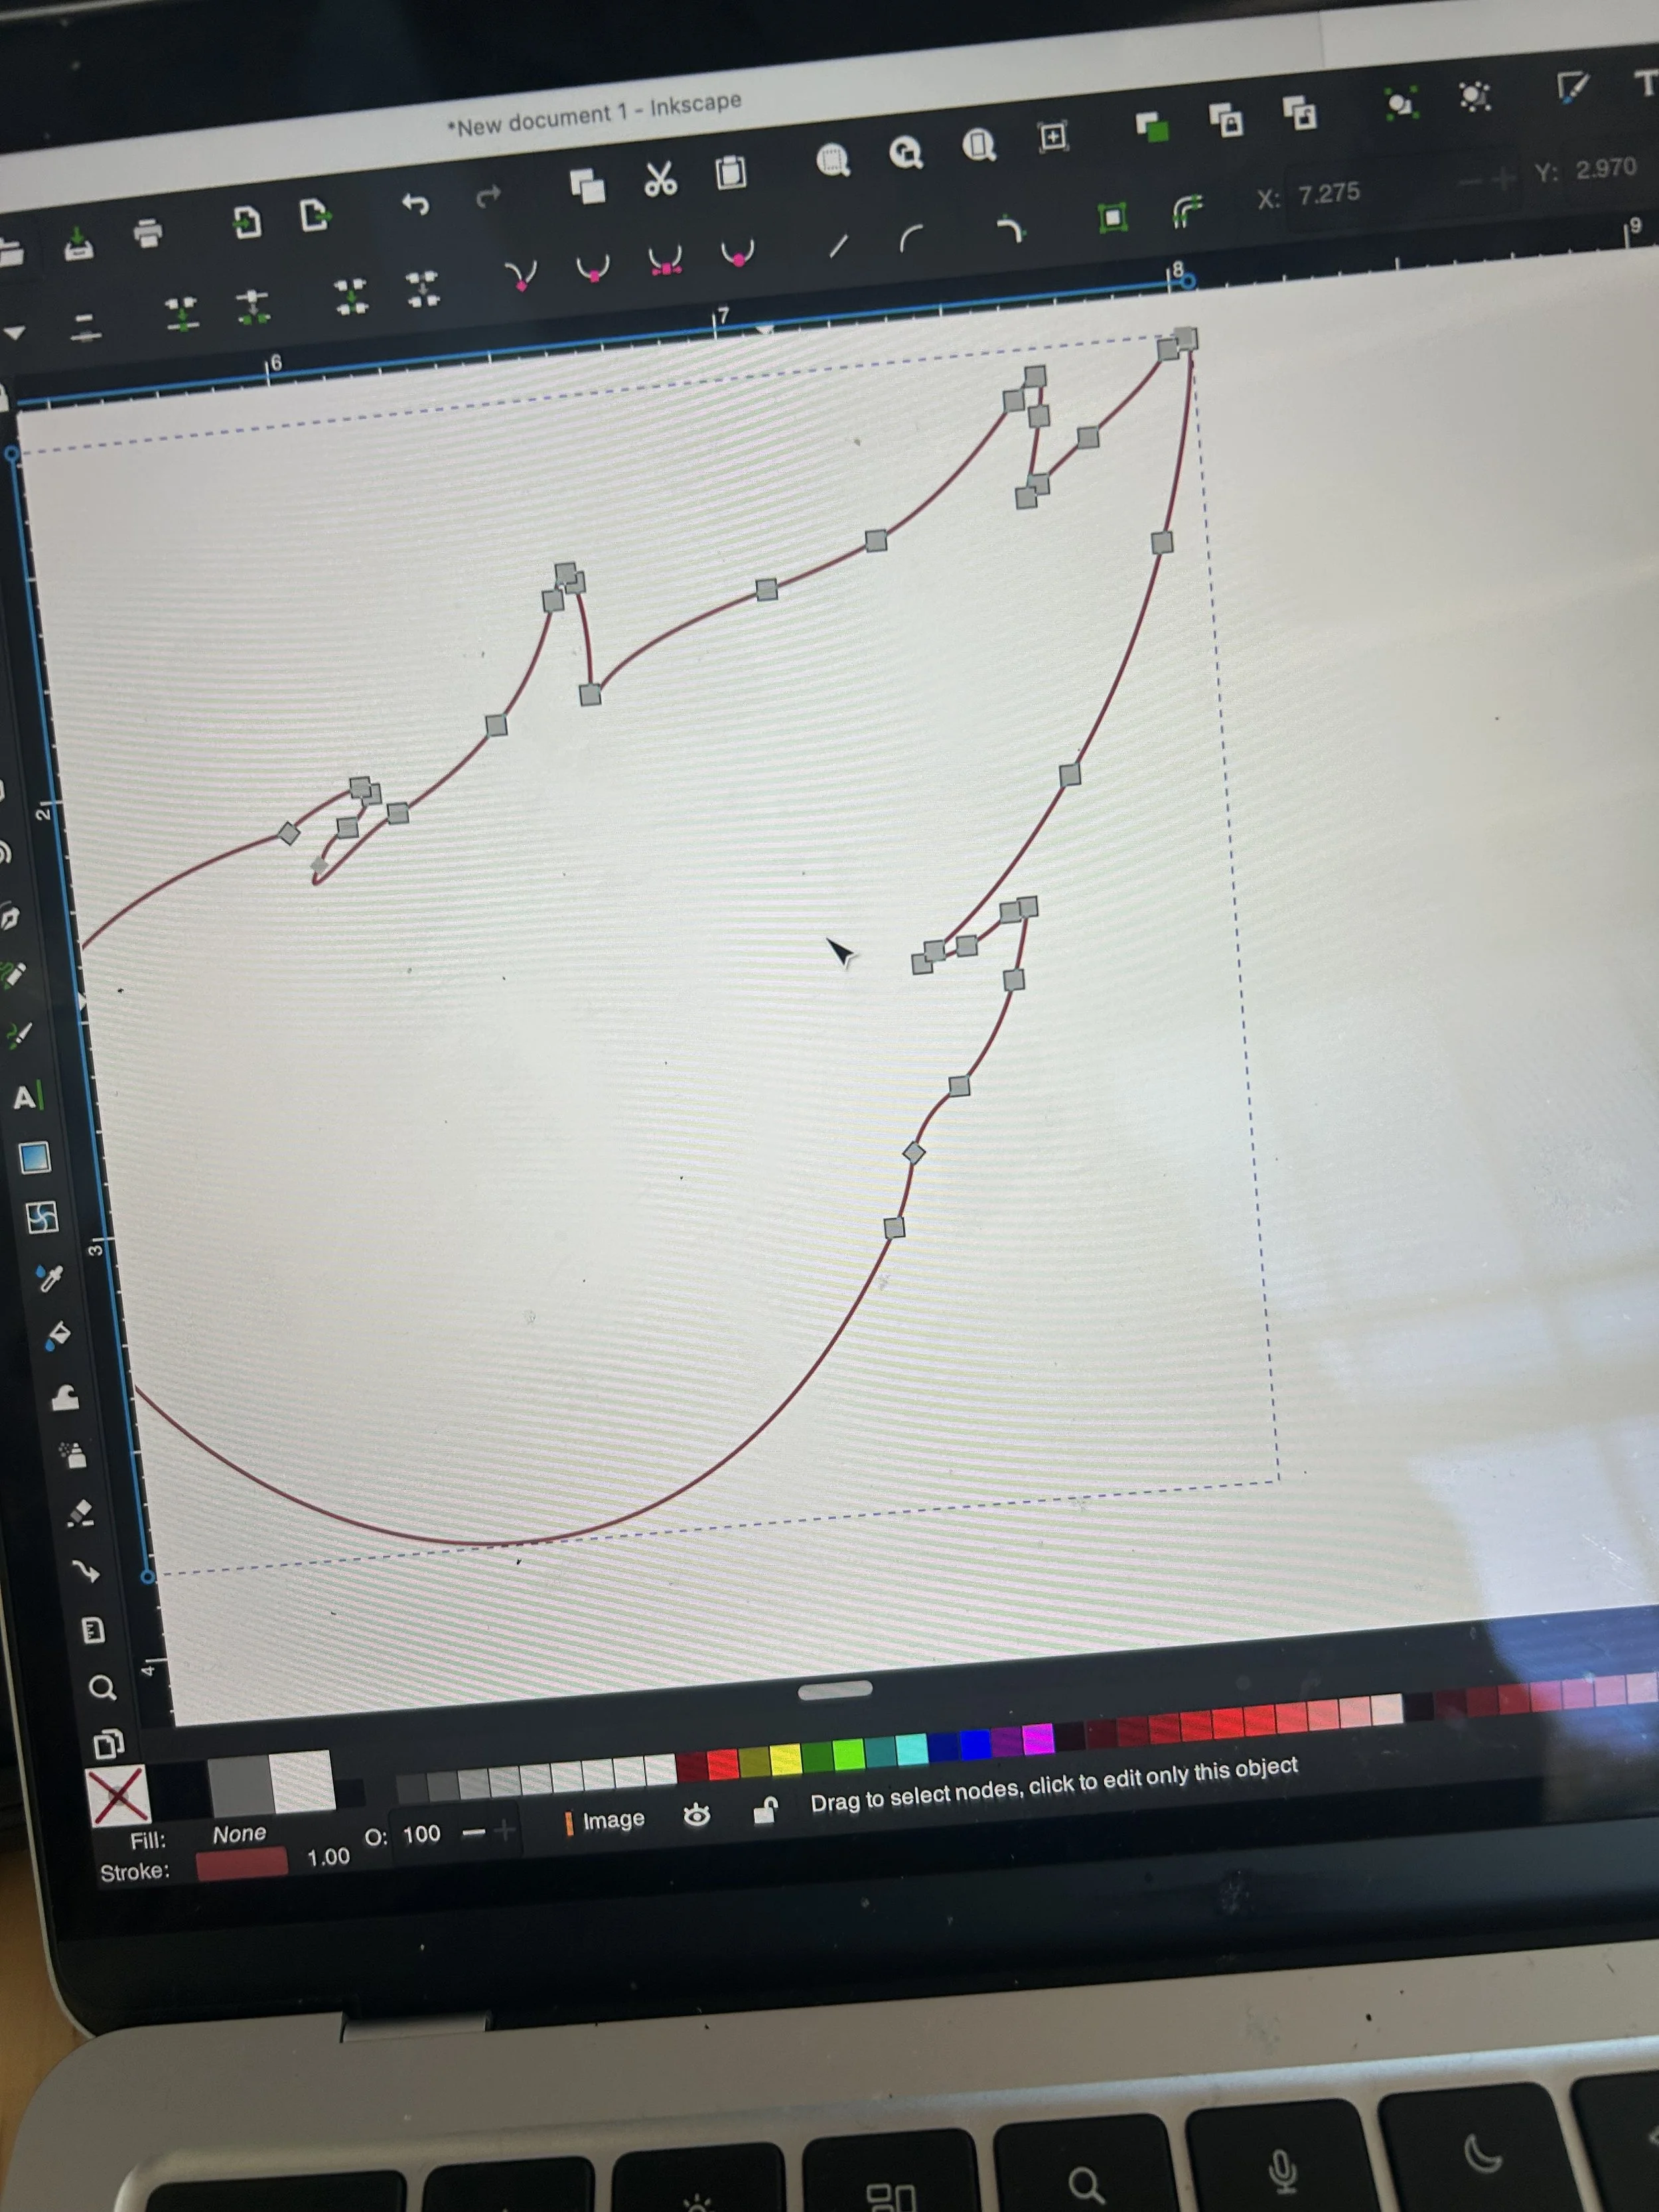
in order to create the hairline, I clicked on the “nodes” option in inkscape and I deleted all of the inside nodes and just stayed with the ouside ones to create that border then I went and changed the setting to make it “hairline” and changed the color to red to be able to identify what was hairline and what wasn’t .
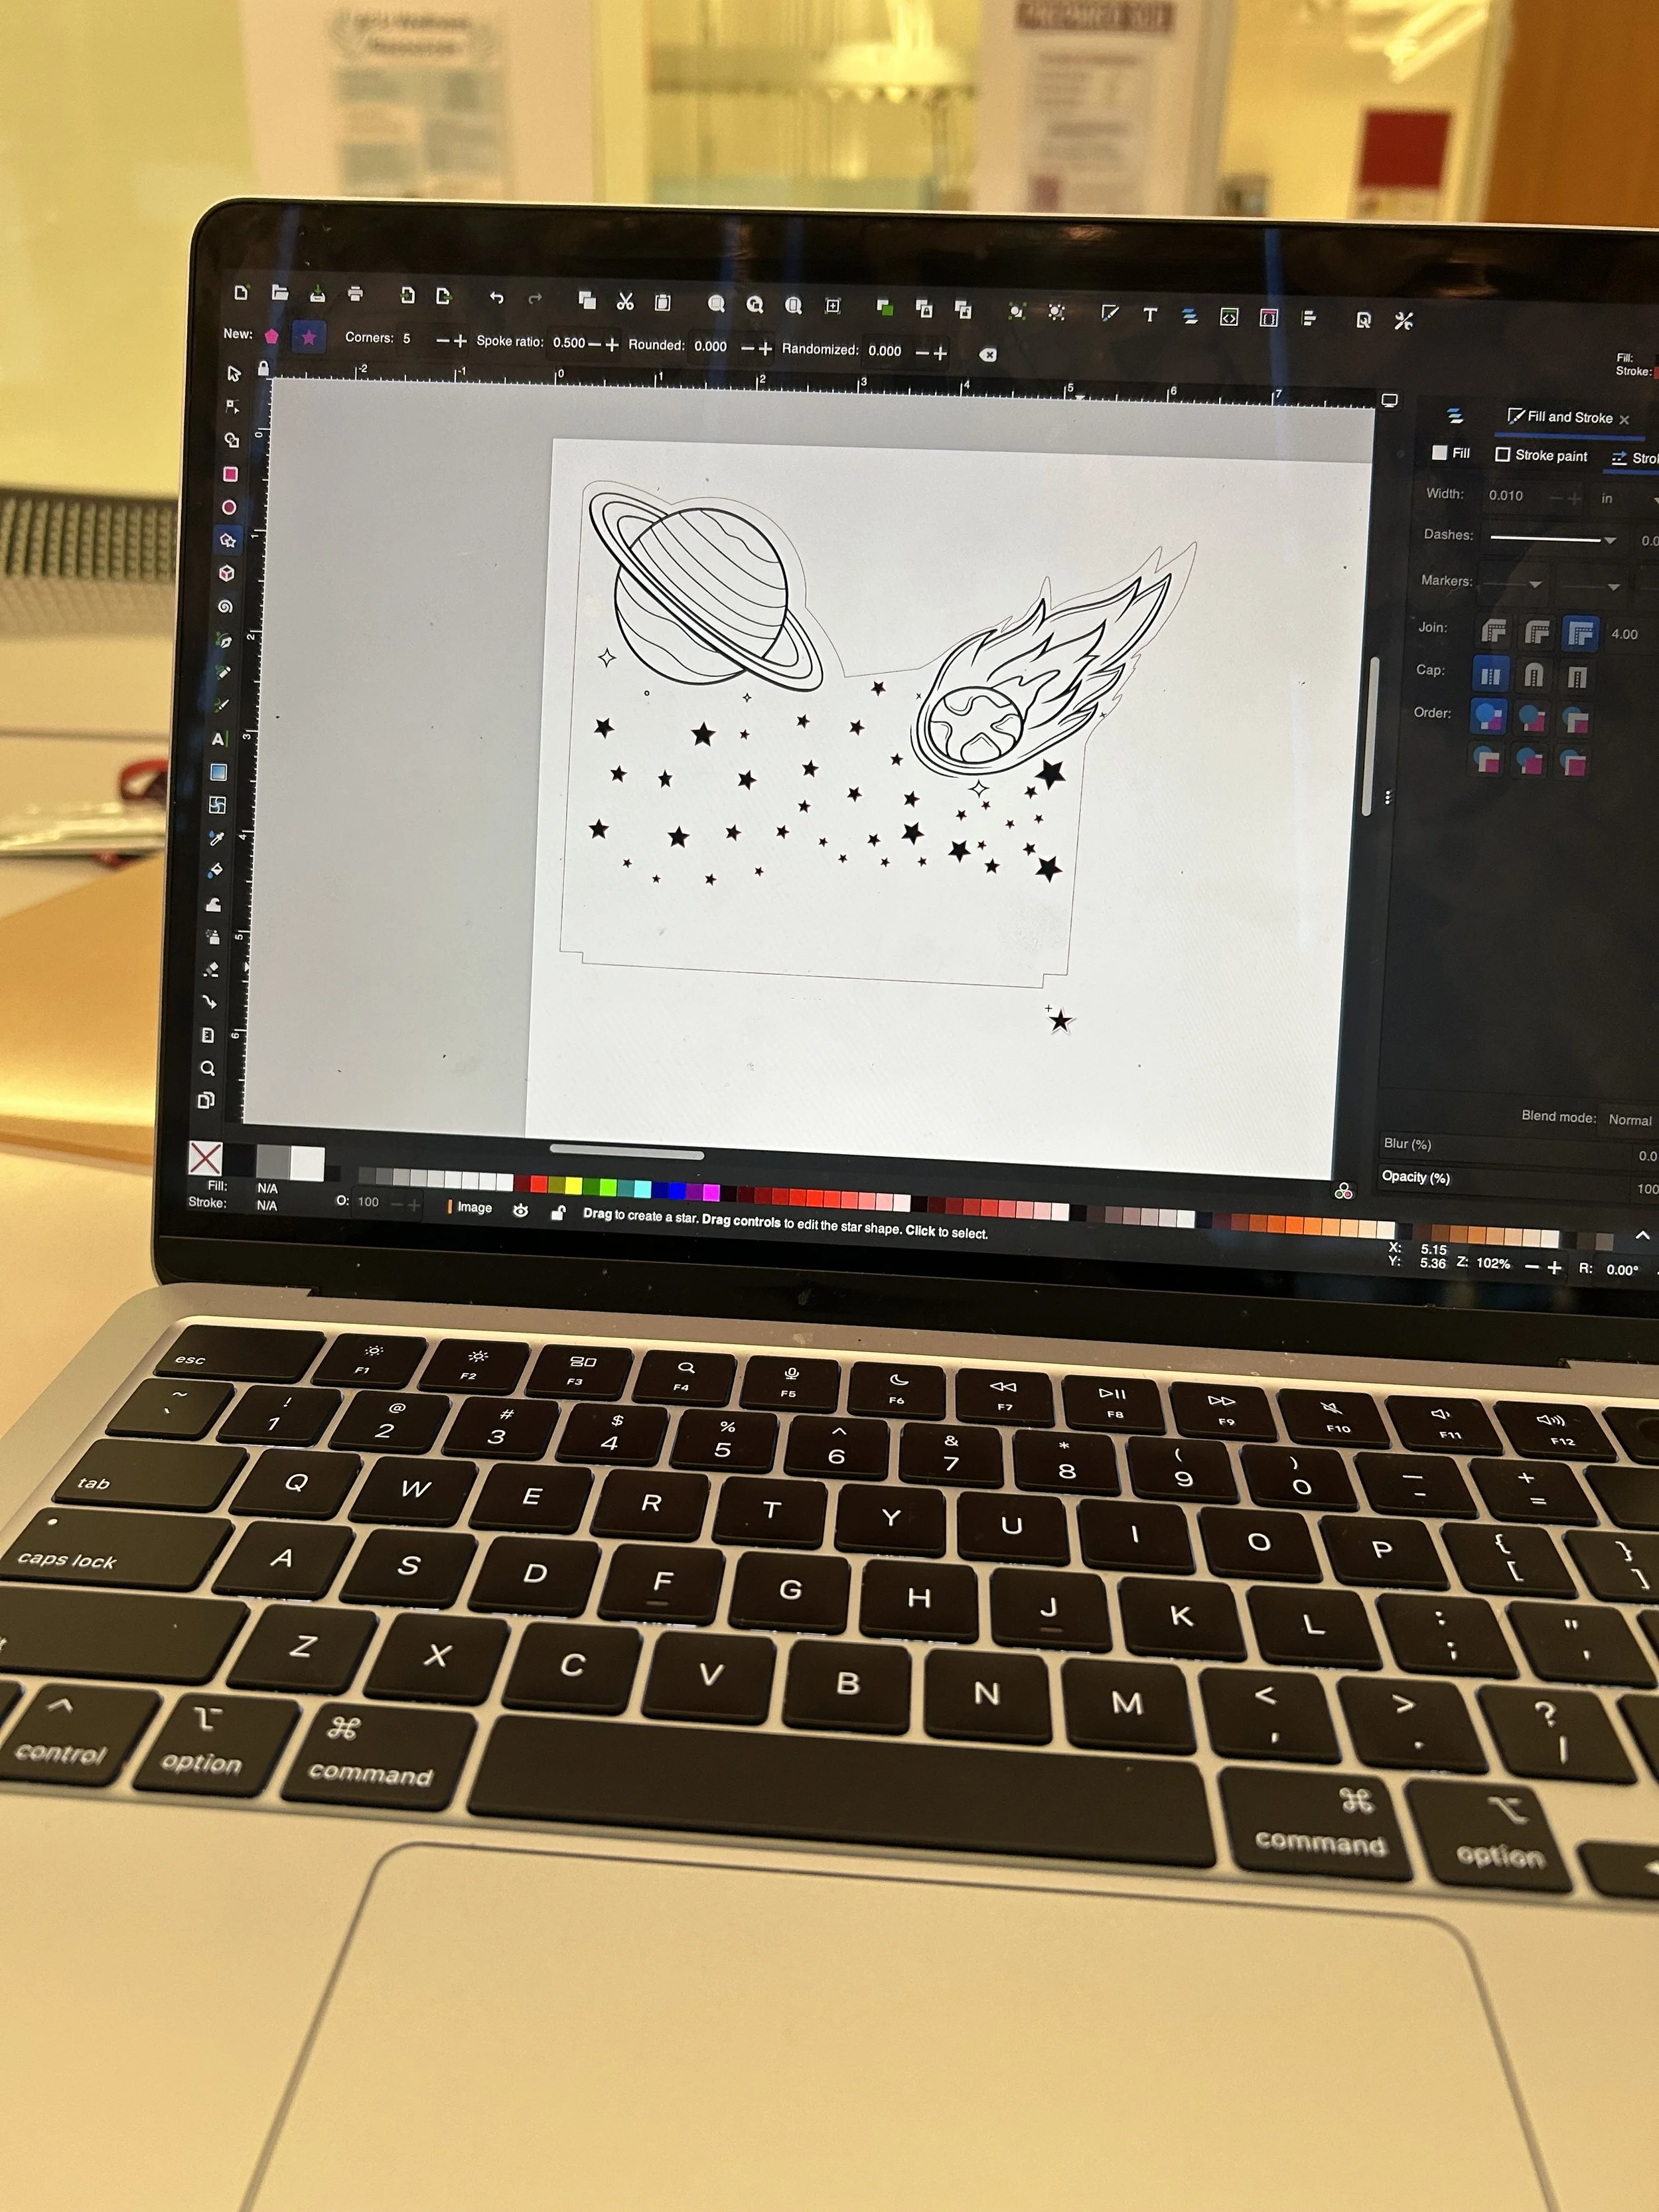
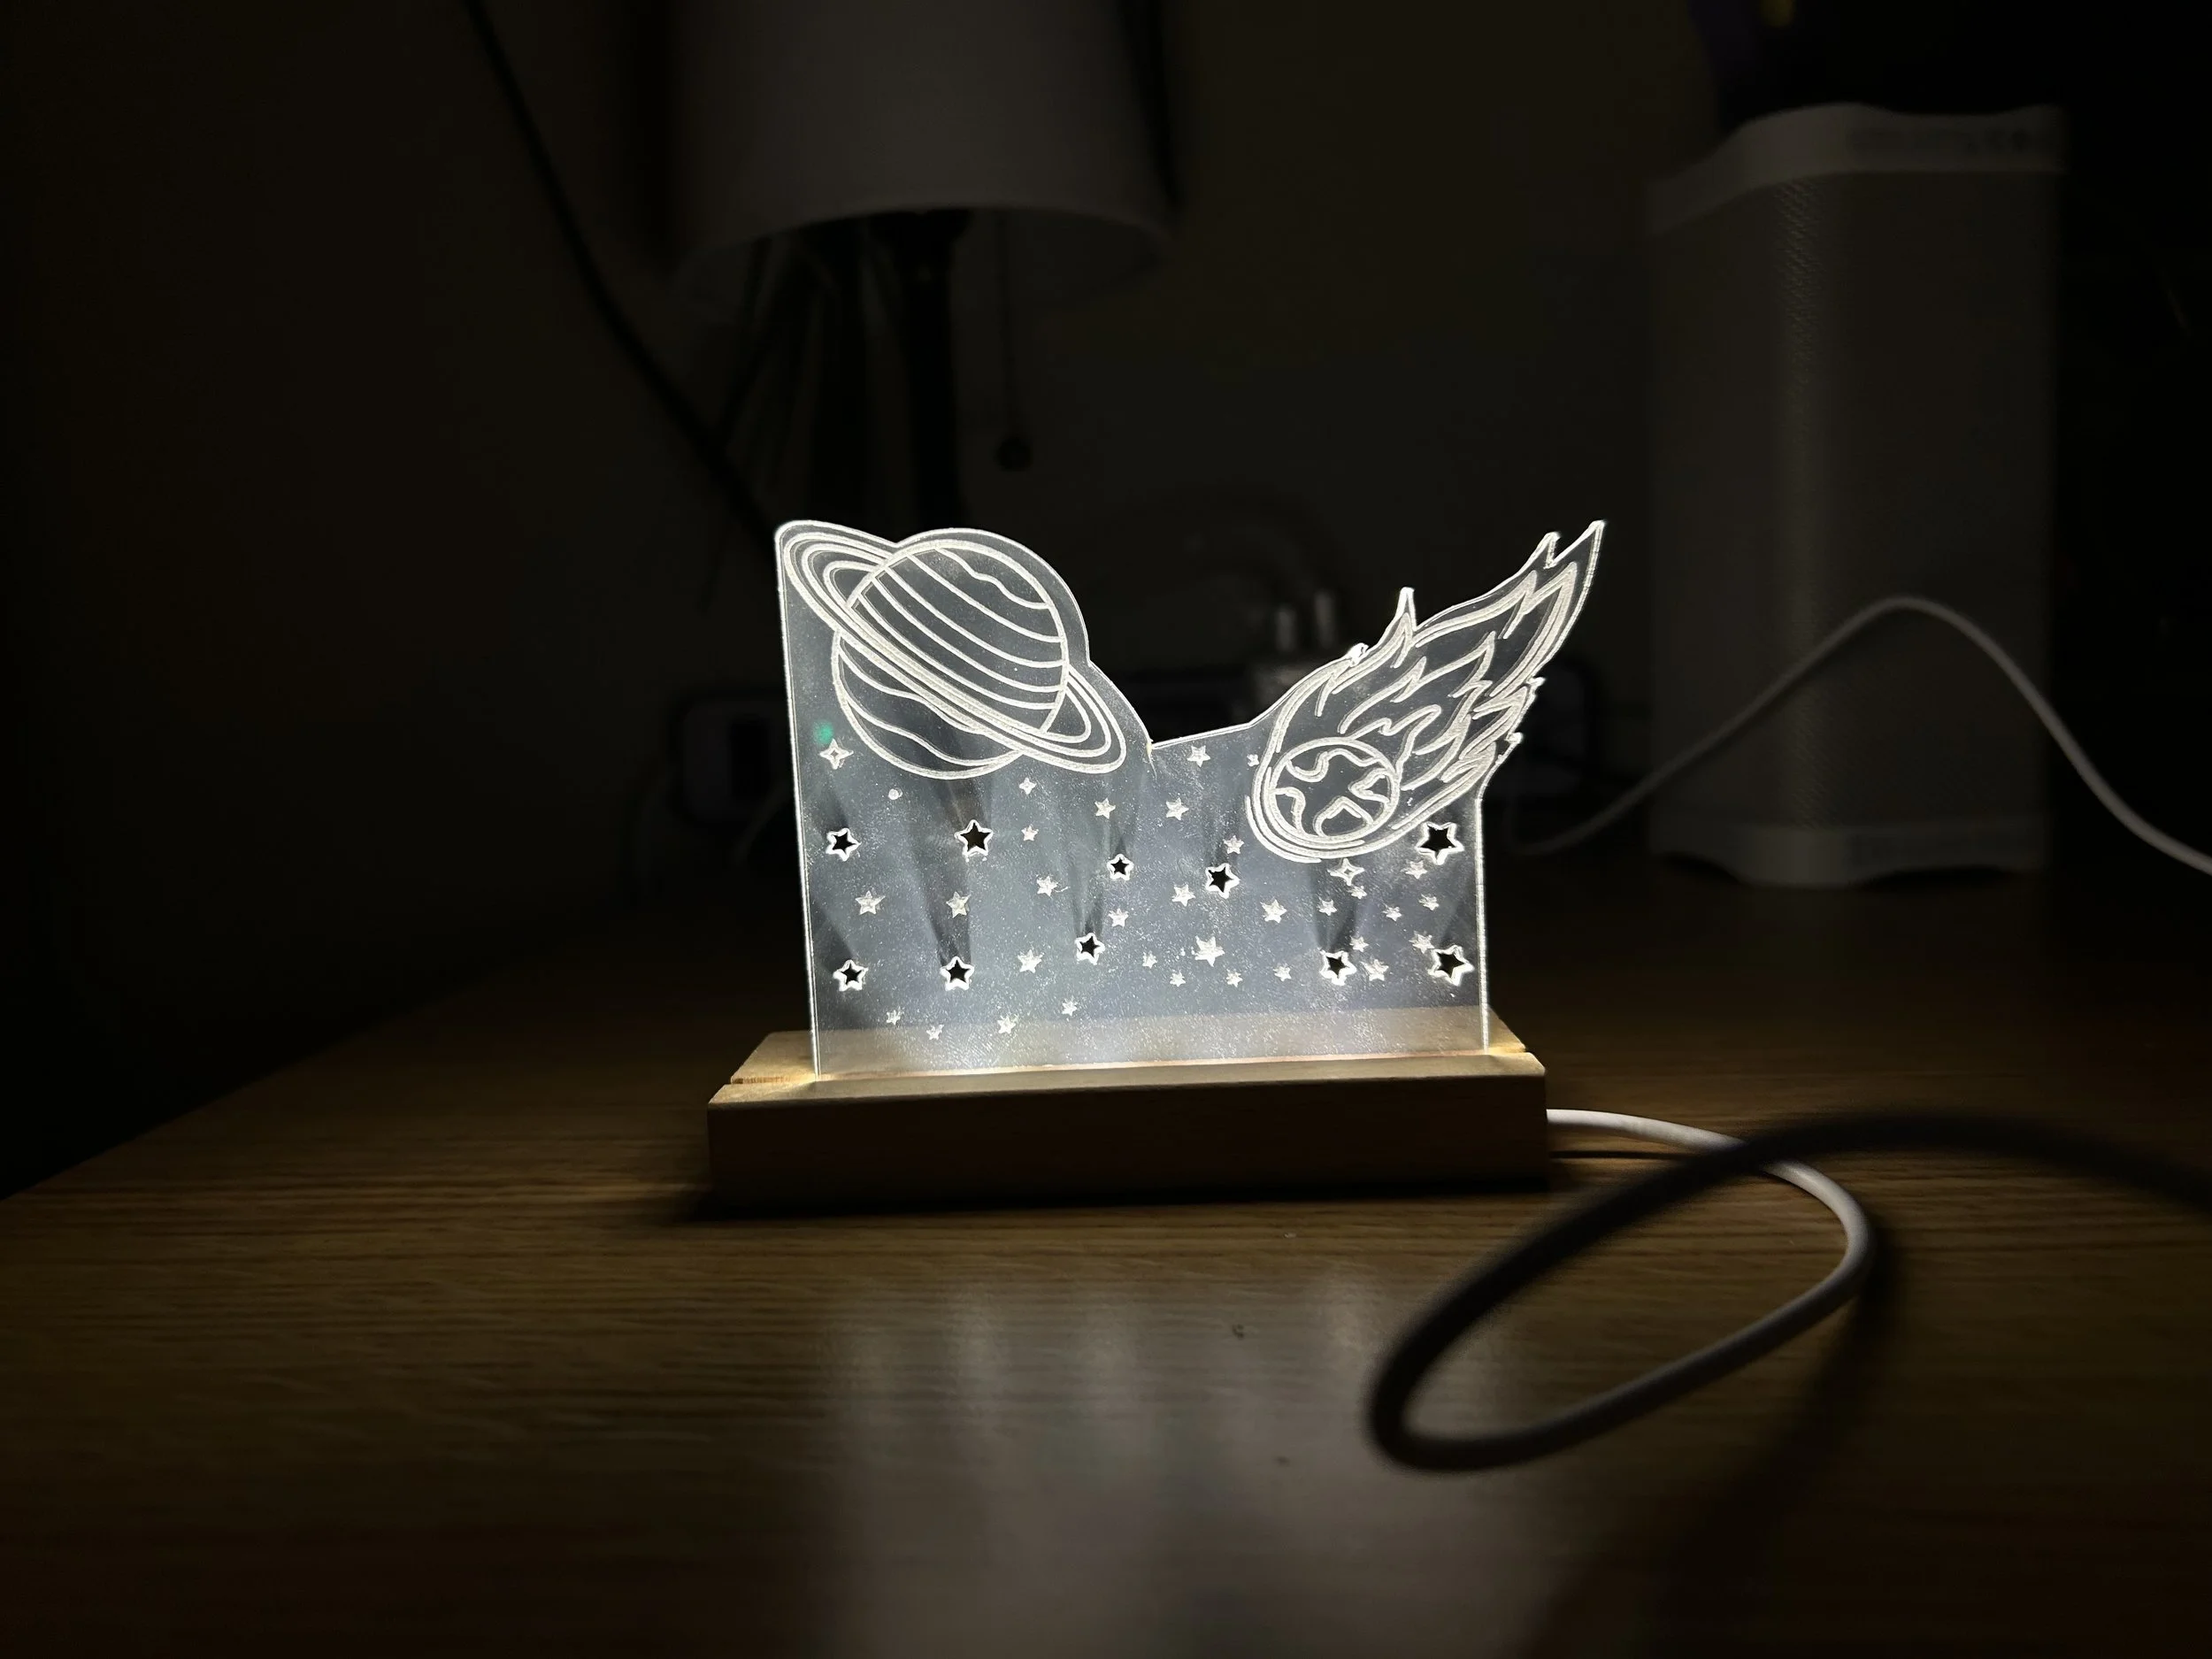
lastly, for my design, I added stars that I got from the inkspace tools and added them alternating the size and orientation of the stars. I also added a cuts on the bottom so that the sign could stand in the LED light and not move to the sides.
After I was done with my design, I decided to do some test cuts to make sure I understood how to use the laser cutter. I did this with my friend using a piece of acrylic and a basic design of a rectangle to see how a vector cut and mastering would look like.
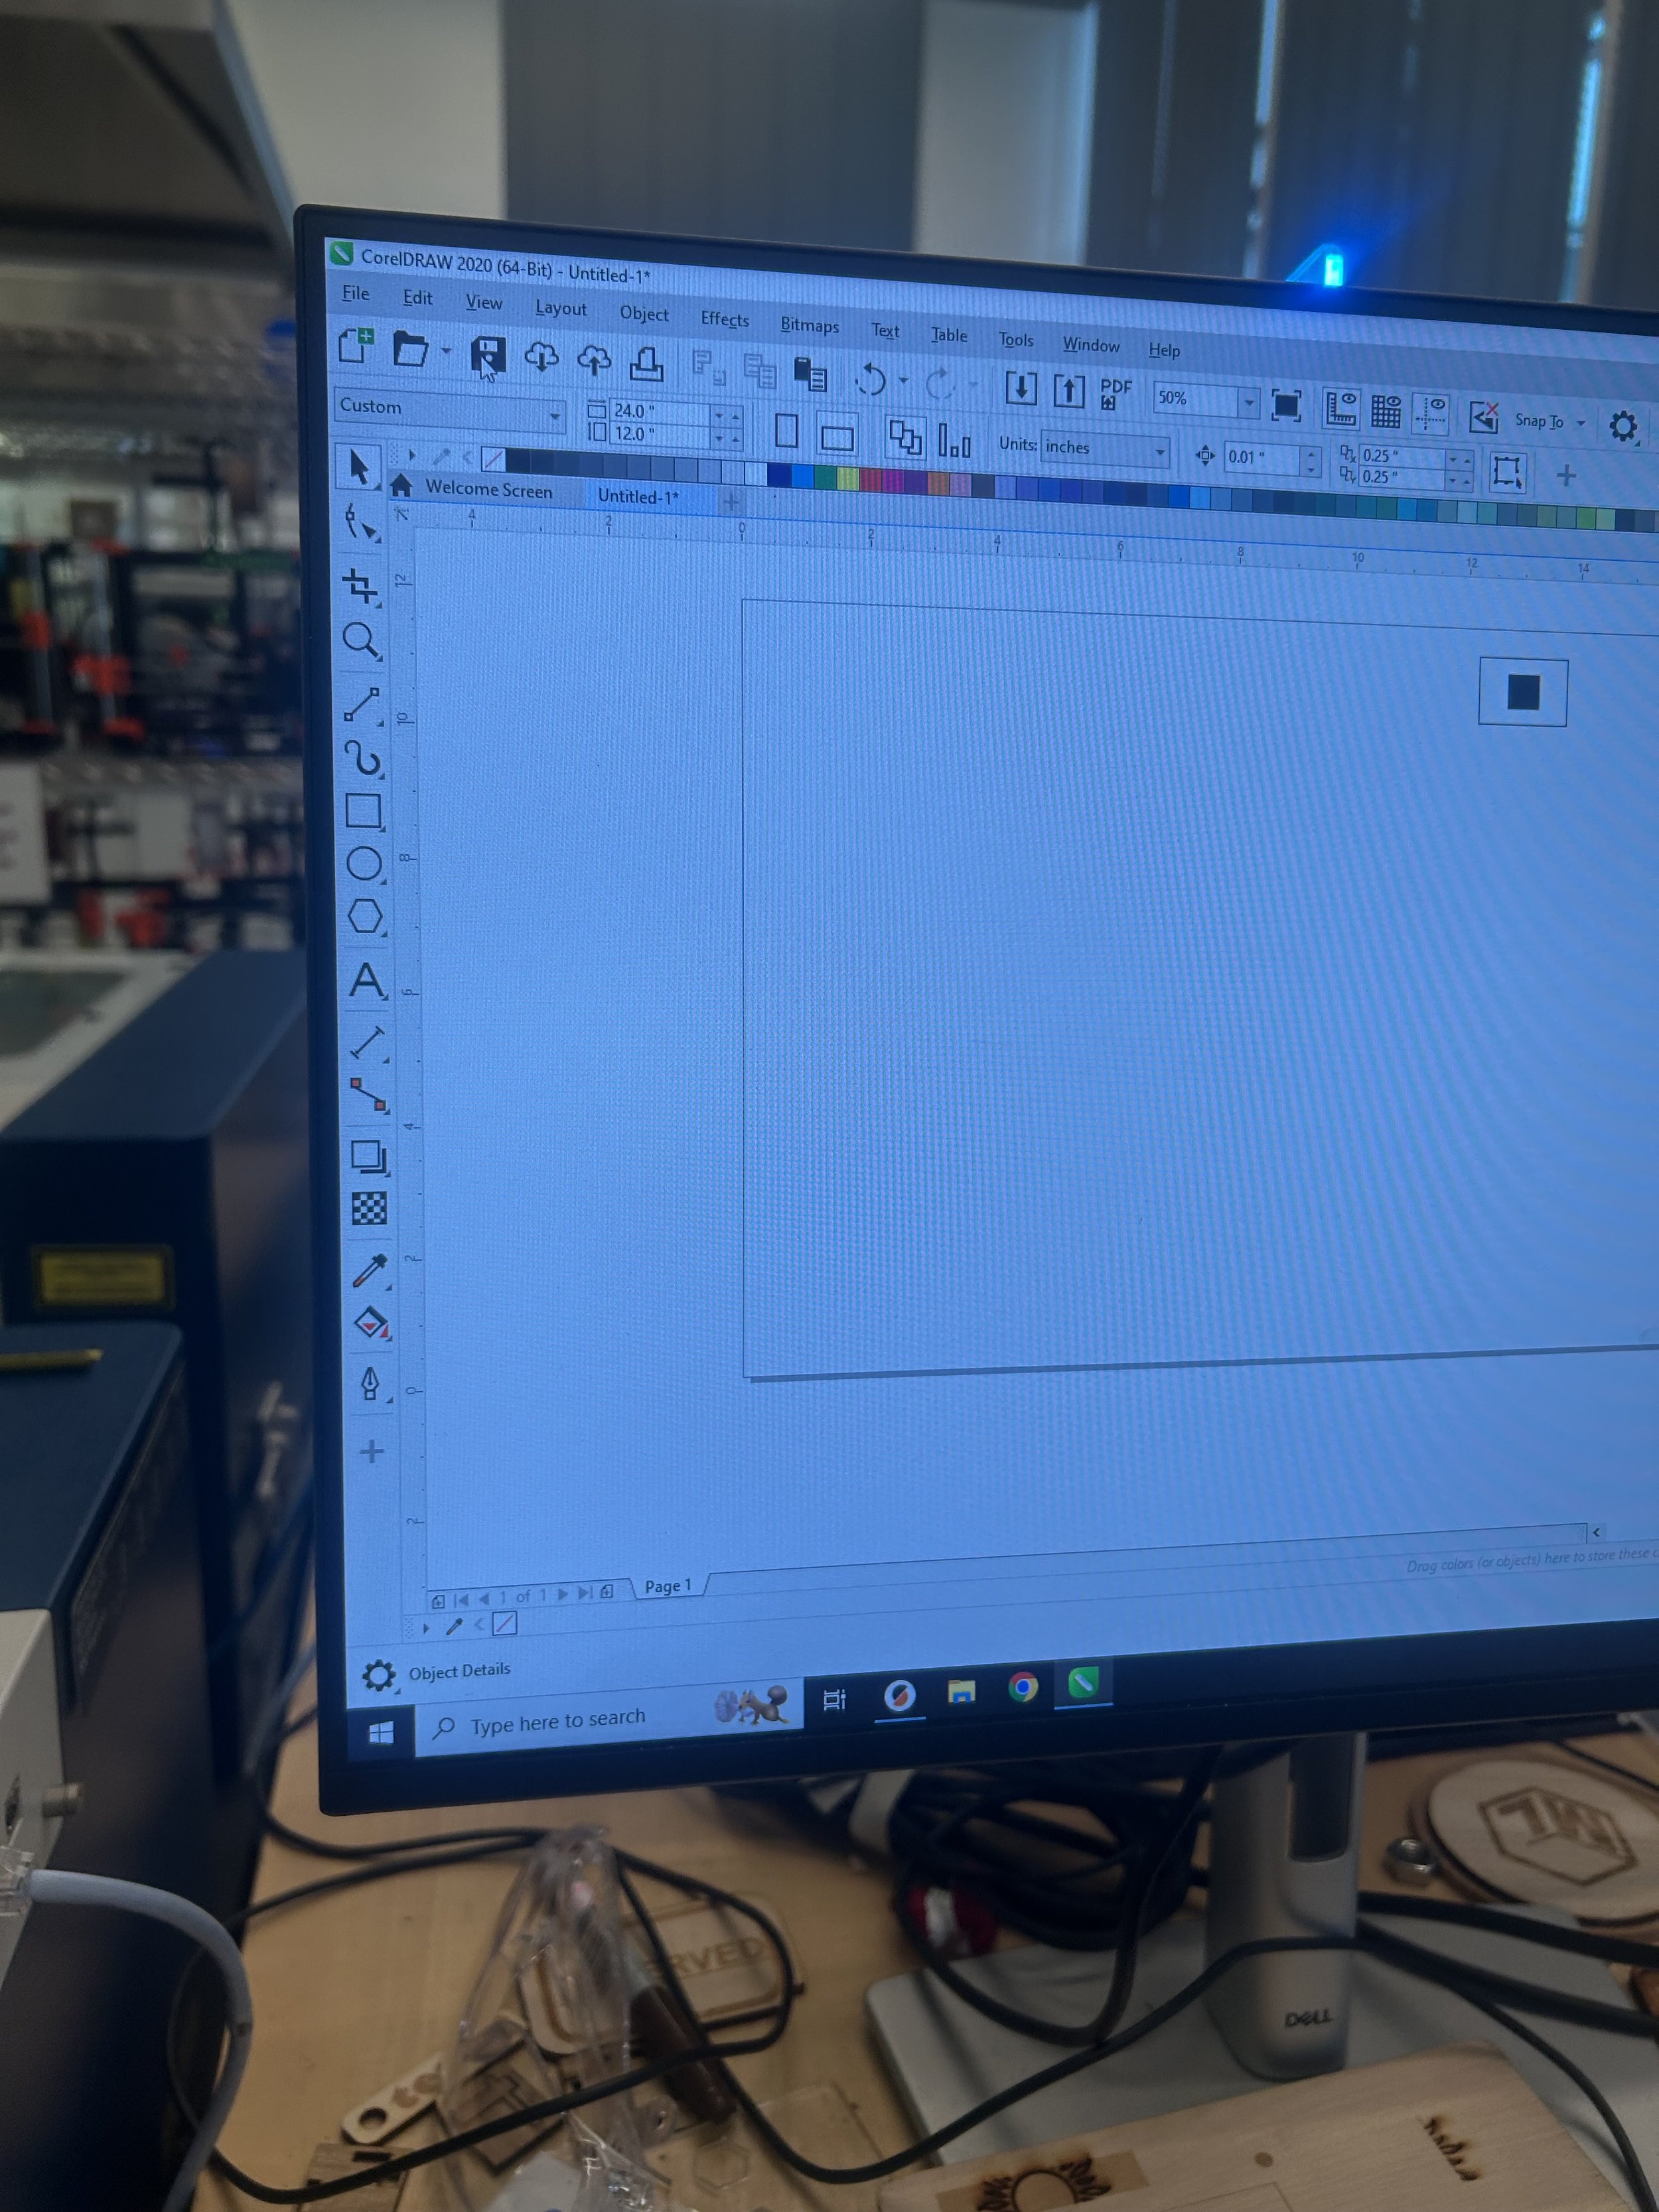
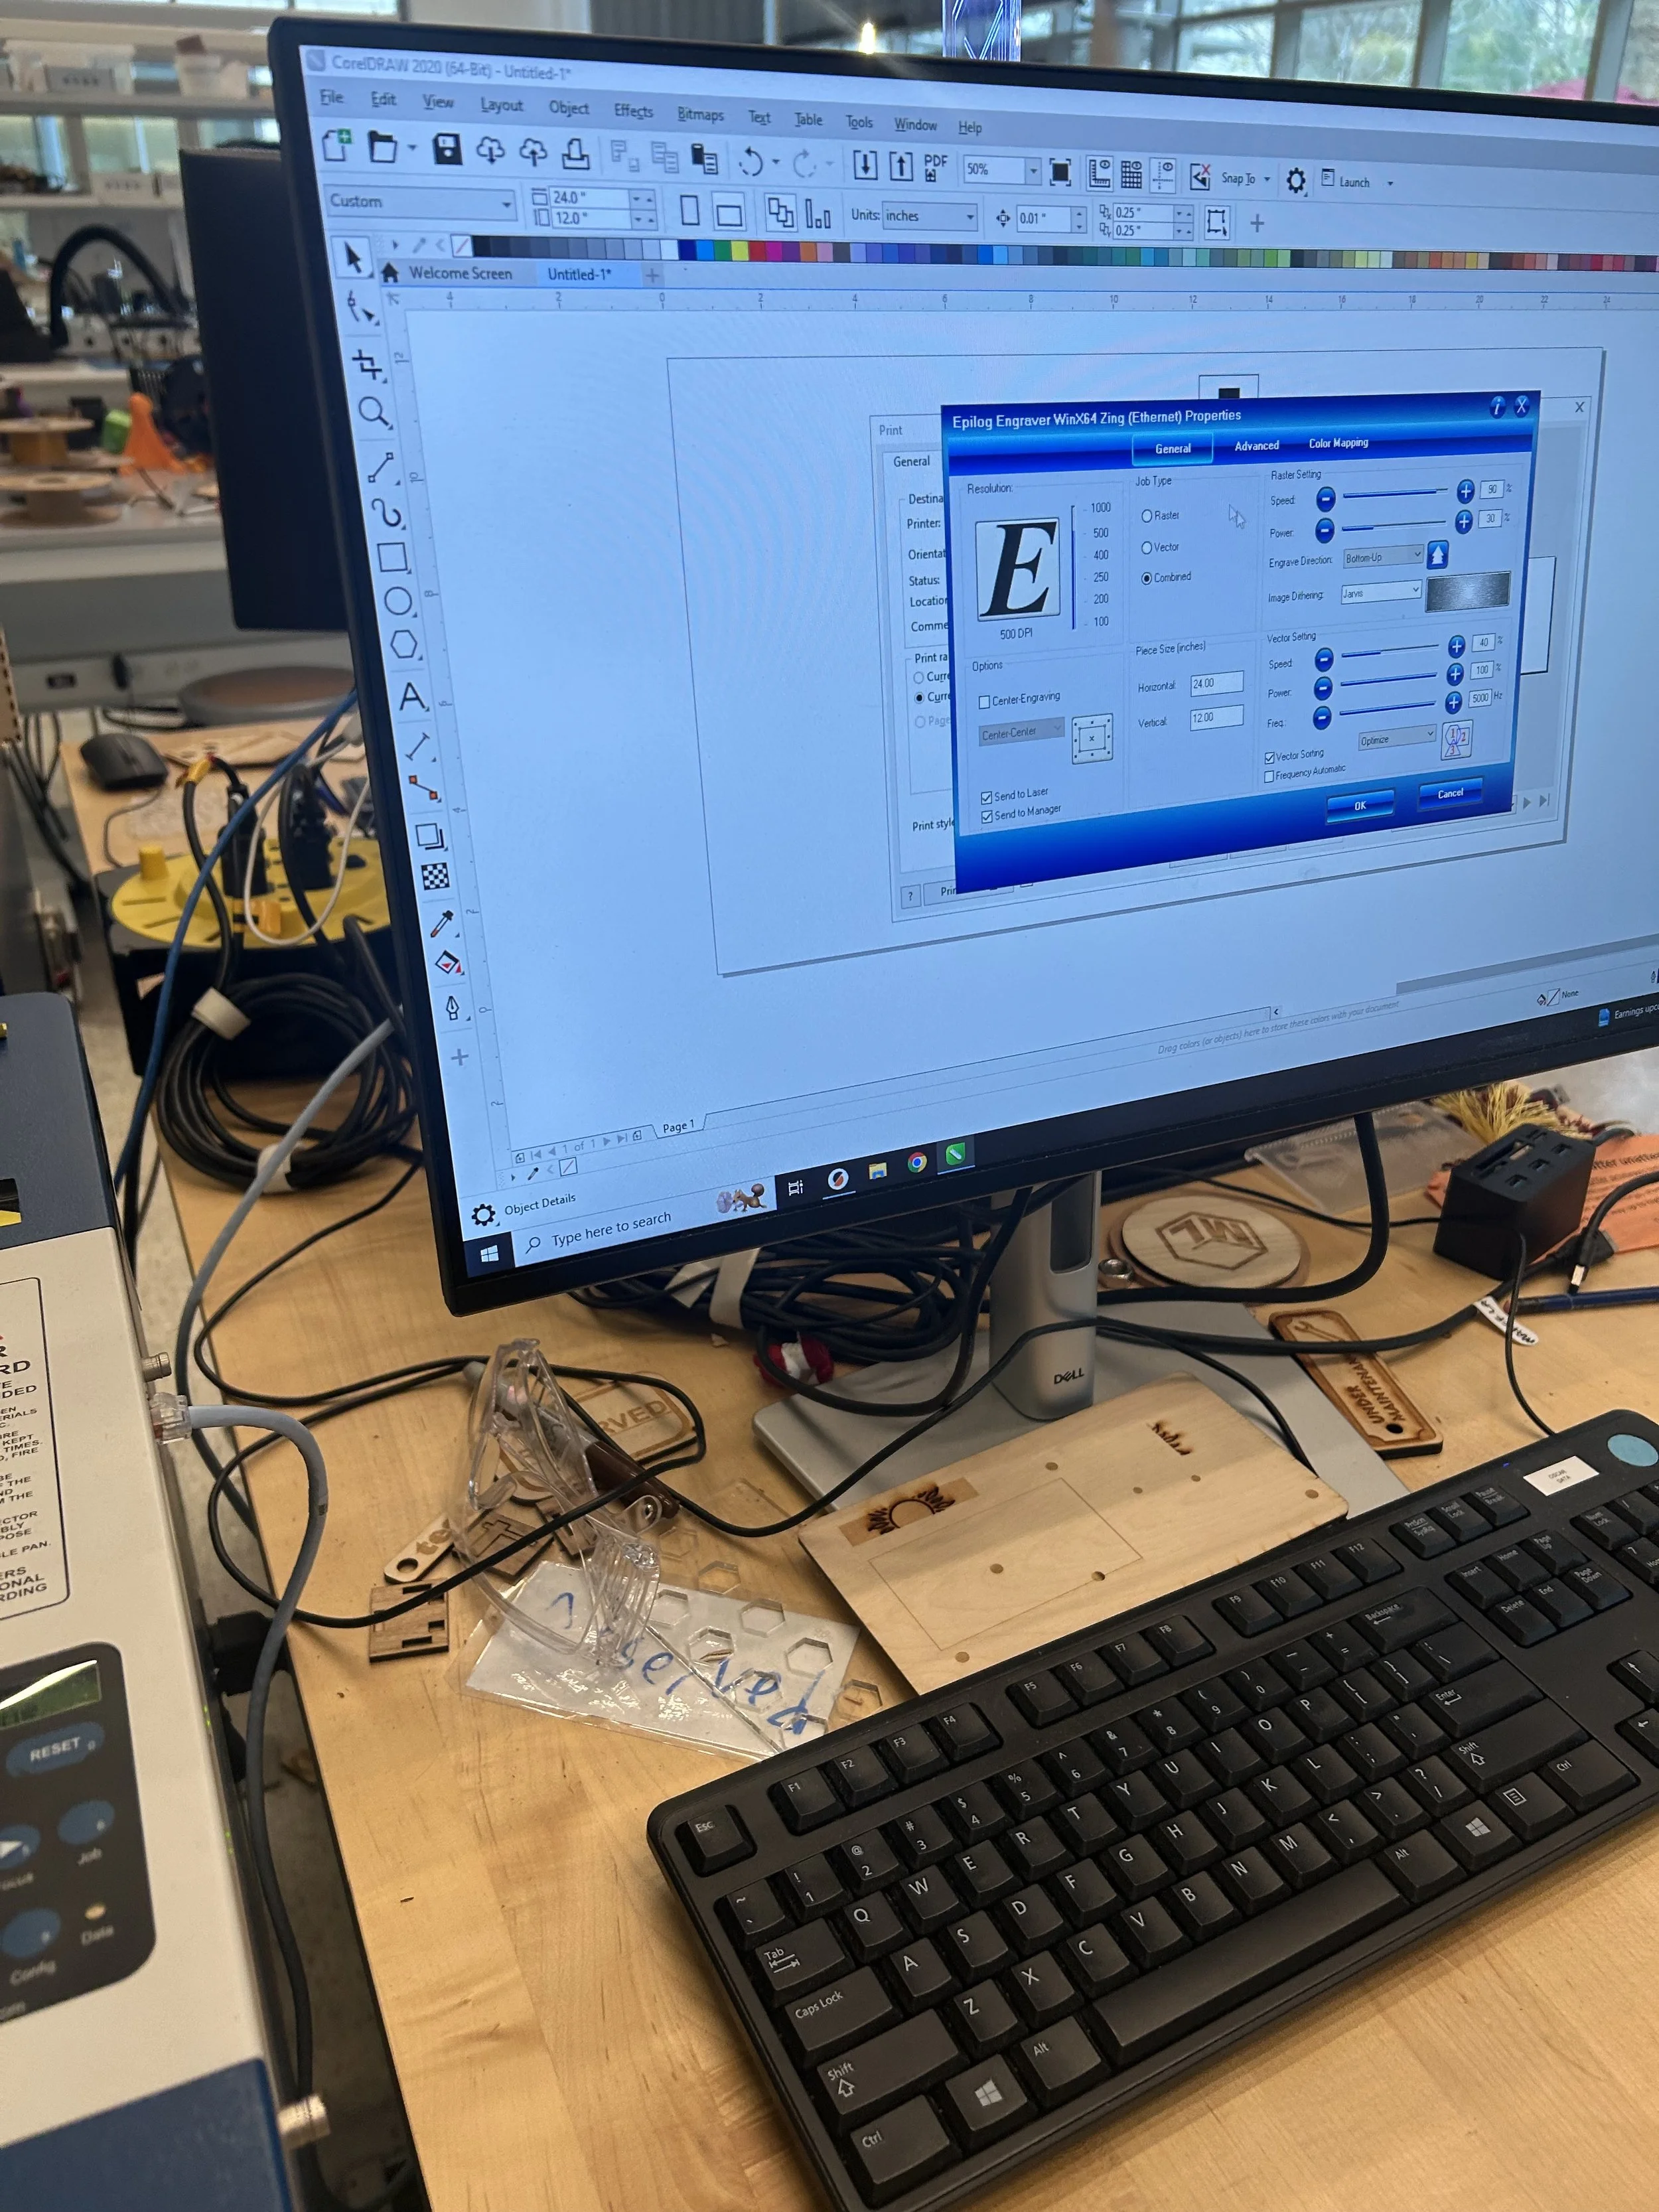
we drew a rectangle in “CoreIDRAW” and decided to make the outside hairline so that we could cut it with the laser cutter, and the inside contained a square that would be rastered. We then changed the settings of our cut before sending it to the laser cutter.
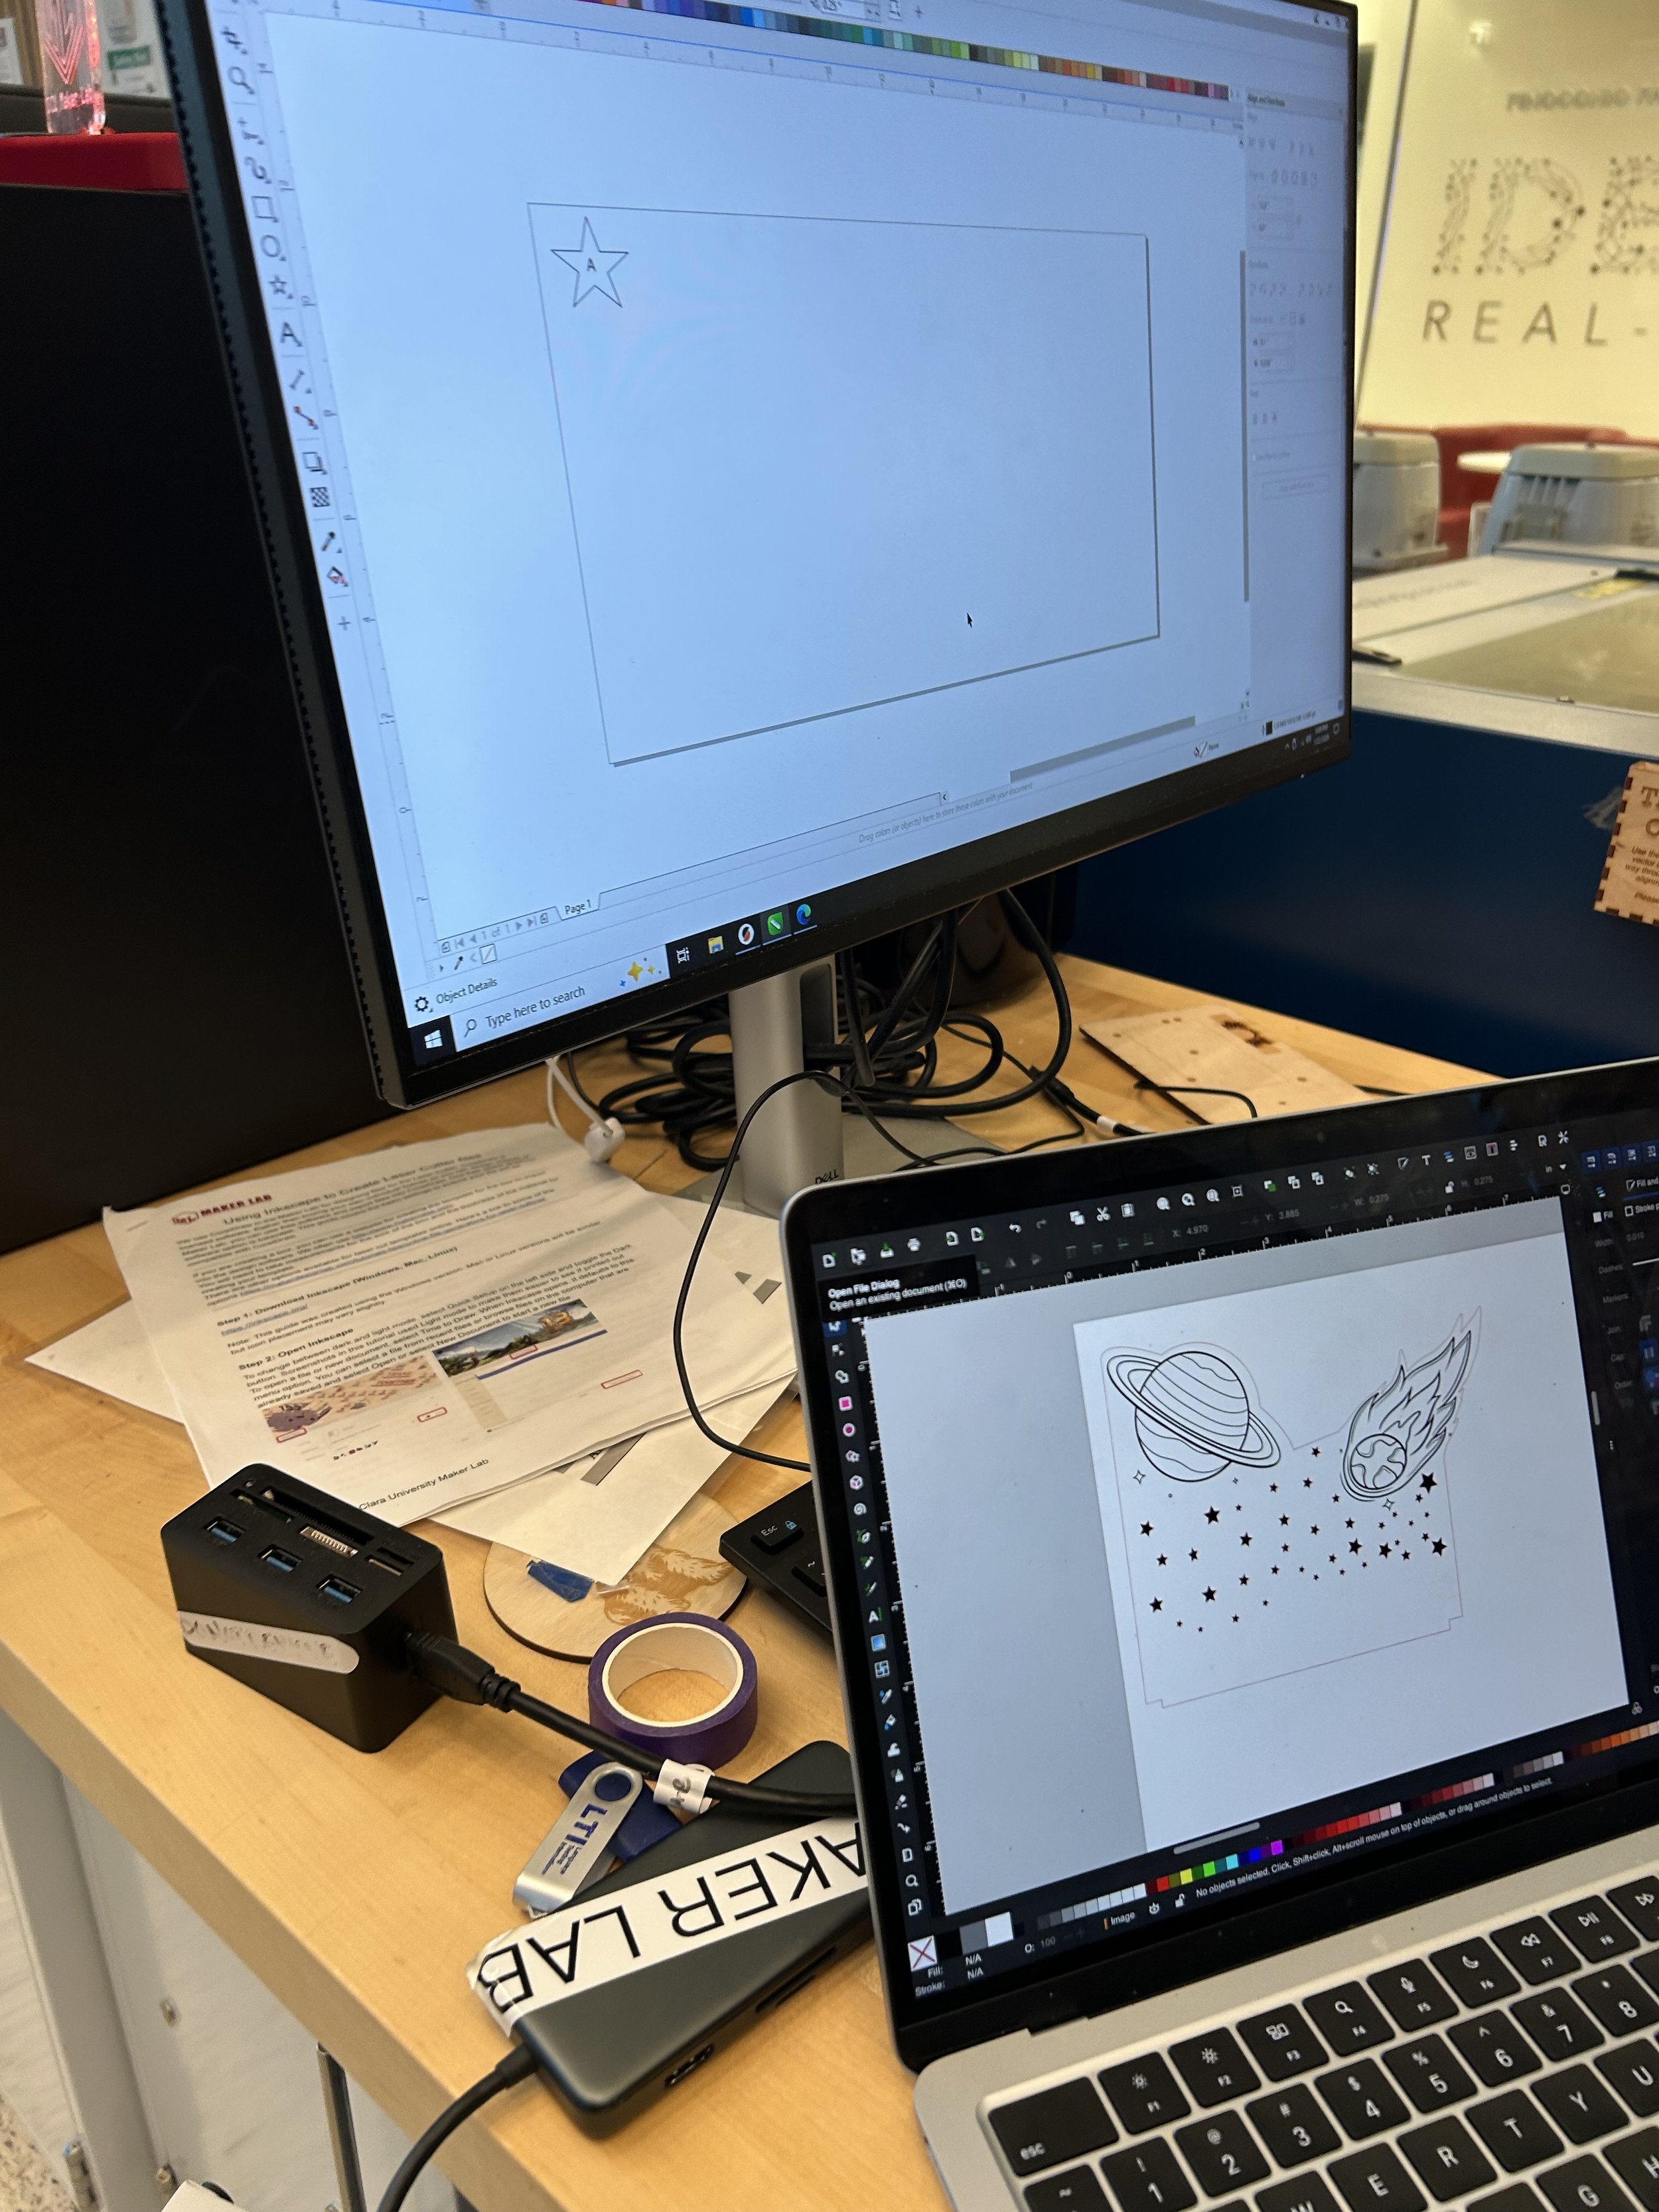
After our test cut was successful, I moved on to importing my design to CoreIDraw to be ready to send to the laser cutter.
Something I noticed when the laser cutter was cutting my design was that it was cutting everything, even the inside design. I quickly stopped the process and tried to find out what was it that went wrong.
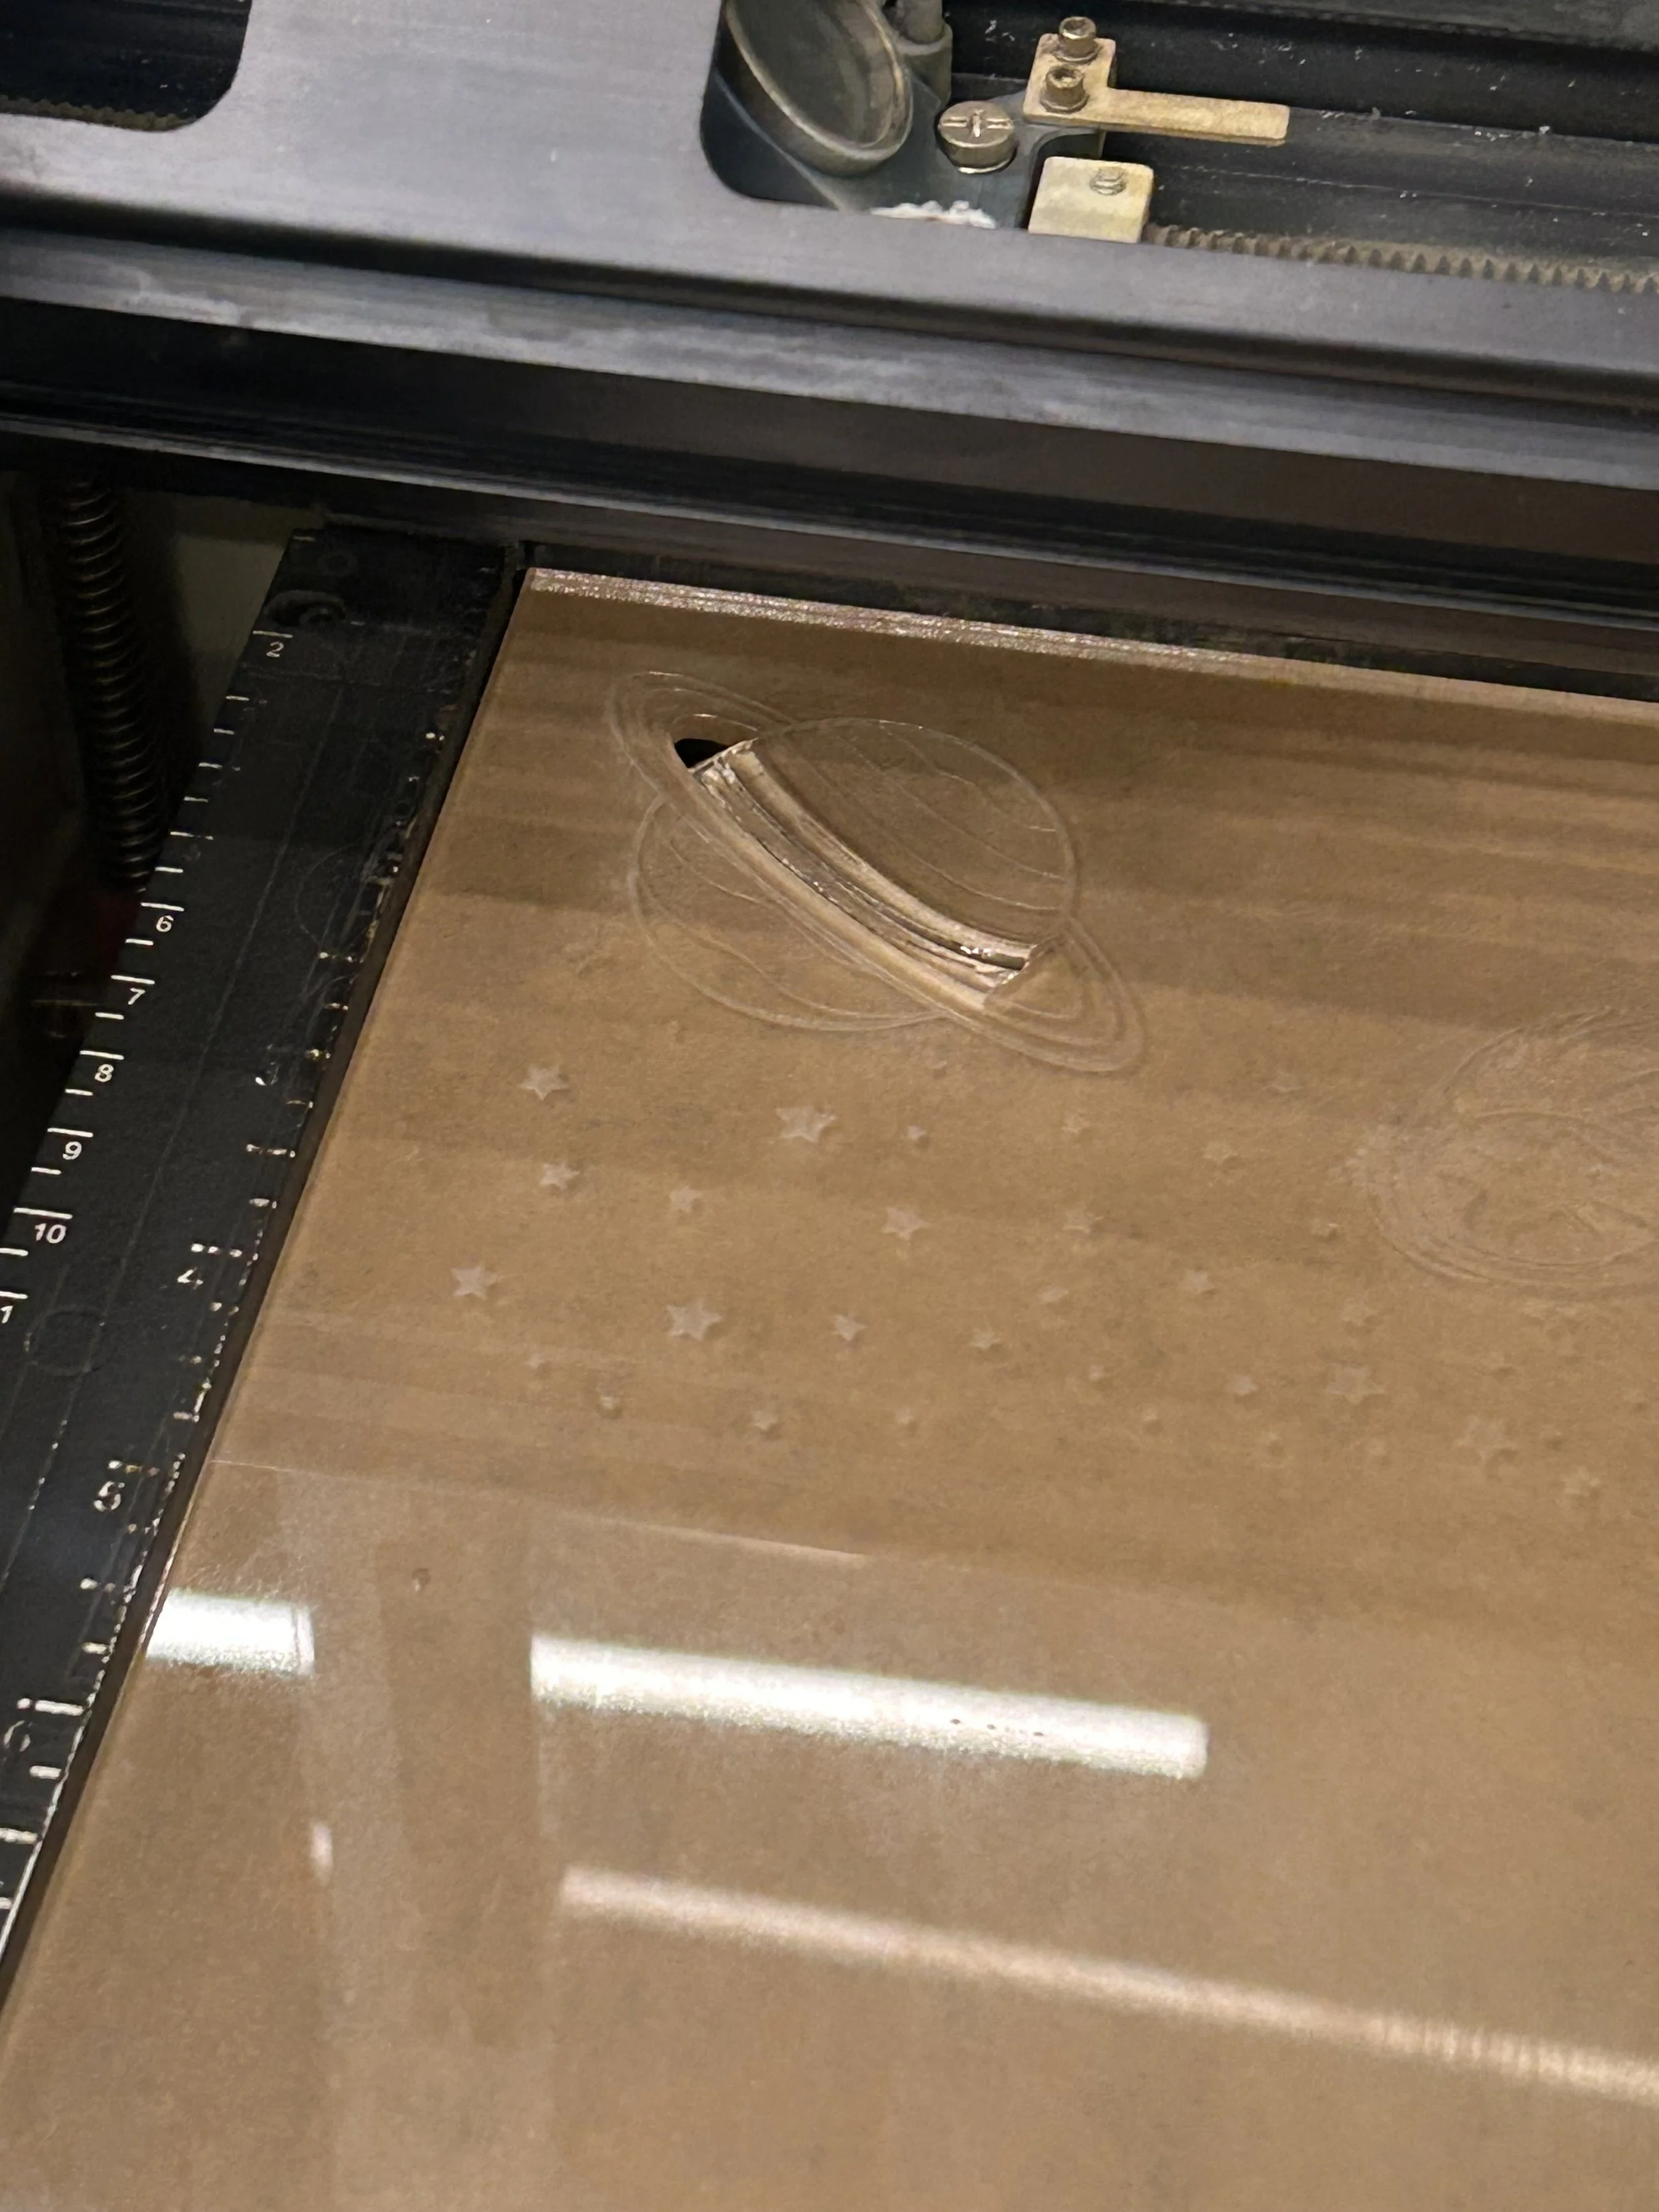
Another source of error that I had after trying agin was that I didn’t measure the distance between my previous cut and the new cut which made the new design to overlap the last one.
for my third attempt, I noticed that one of the stars got cut. This was not intentional at all, but I noticed that it would look very good if the stars were also vector cut. since I couldn’t decide if I wanted all the stars to be also vector cut for my final design, I decided to have some stars rastered and some vector cut.
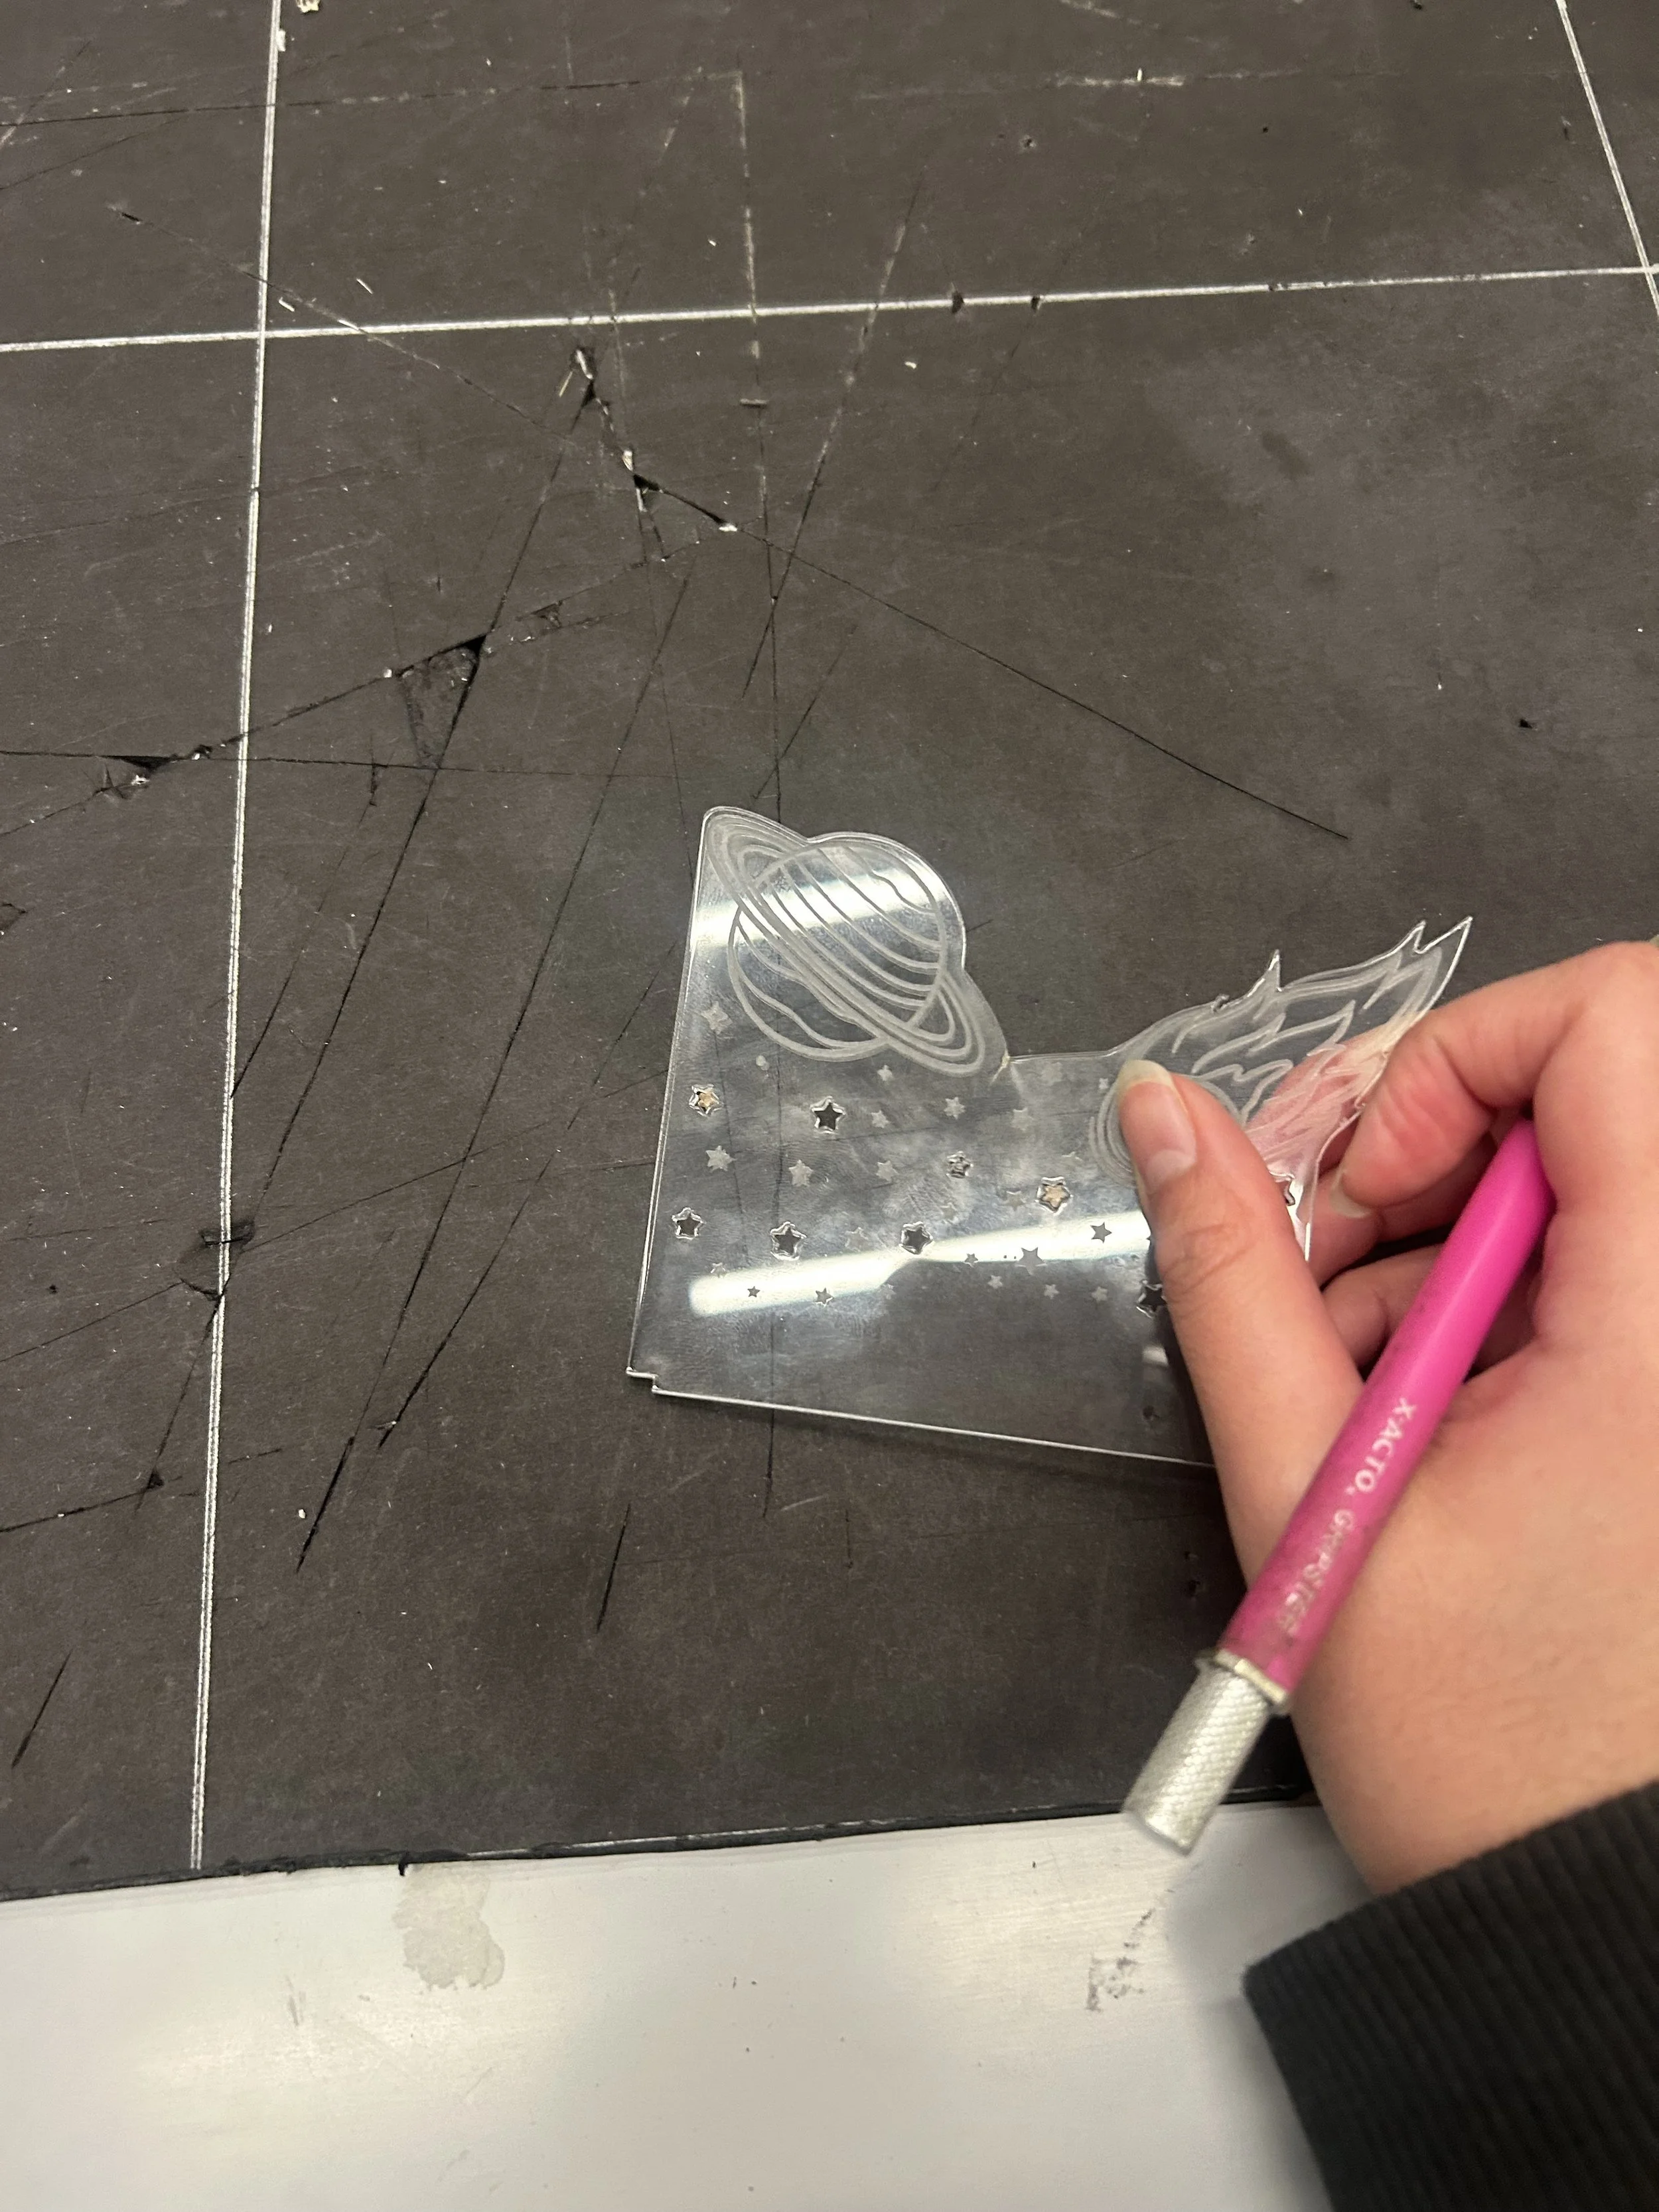
For the last touch ups for my design, I grabbed an X-Acto knife and used it to carefully push the stars out of the acrylic.
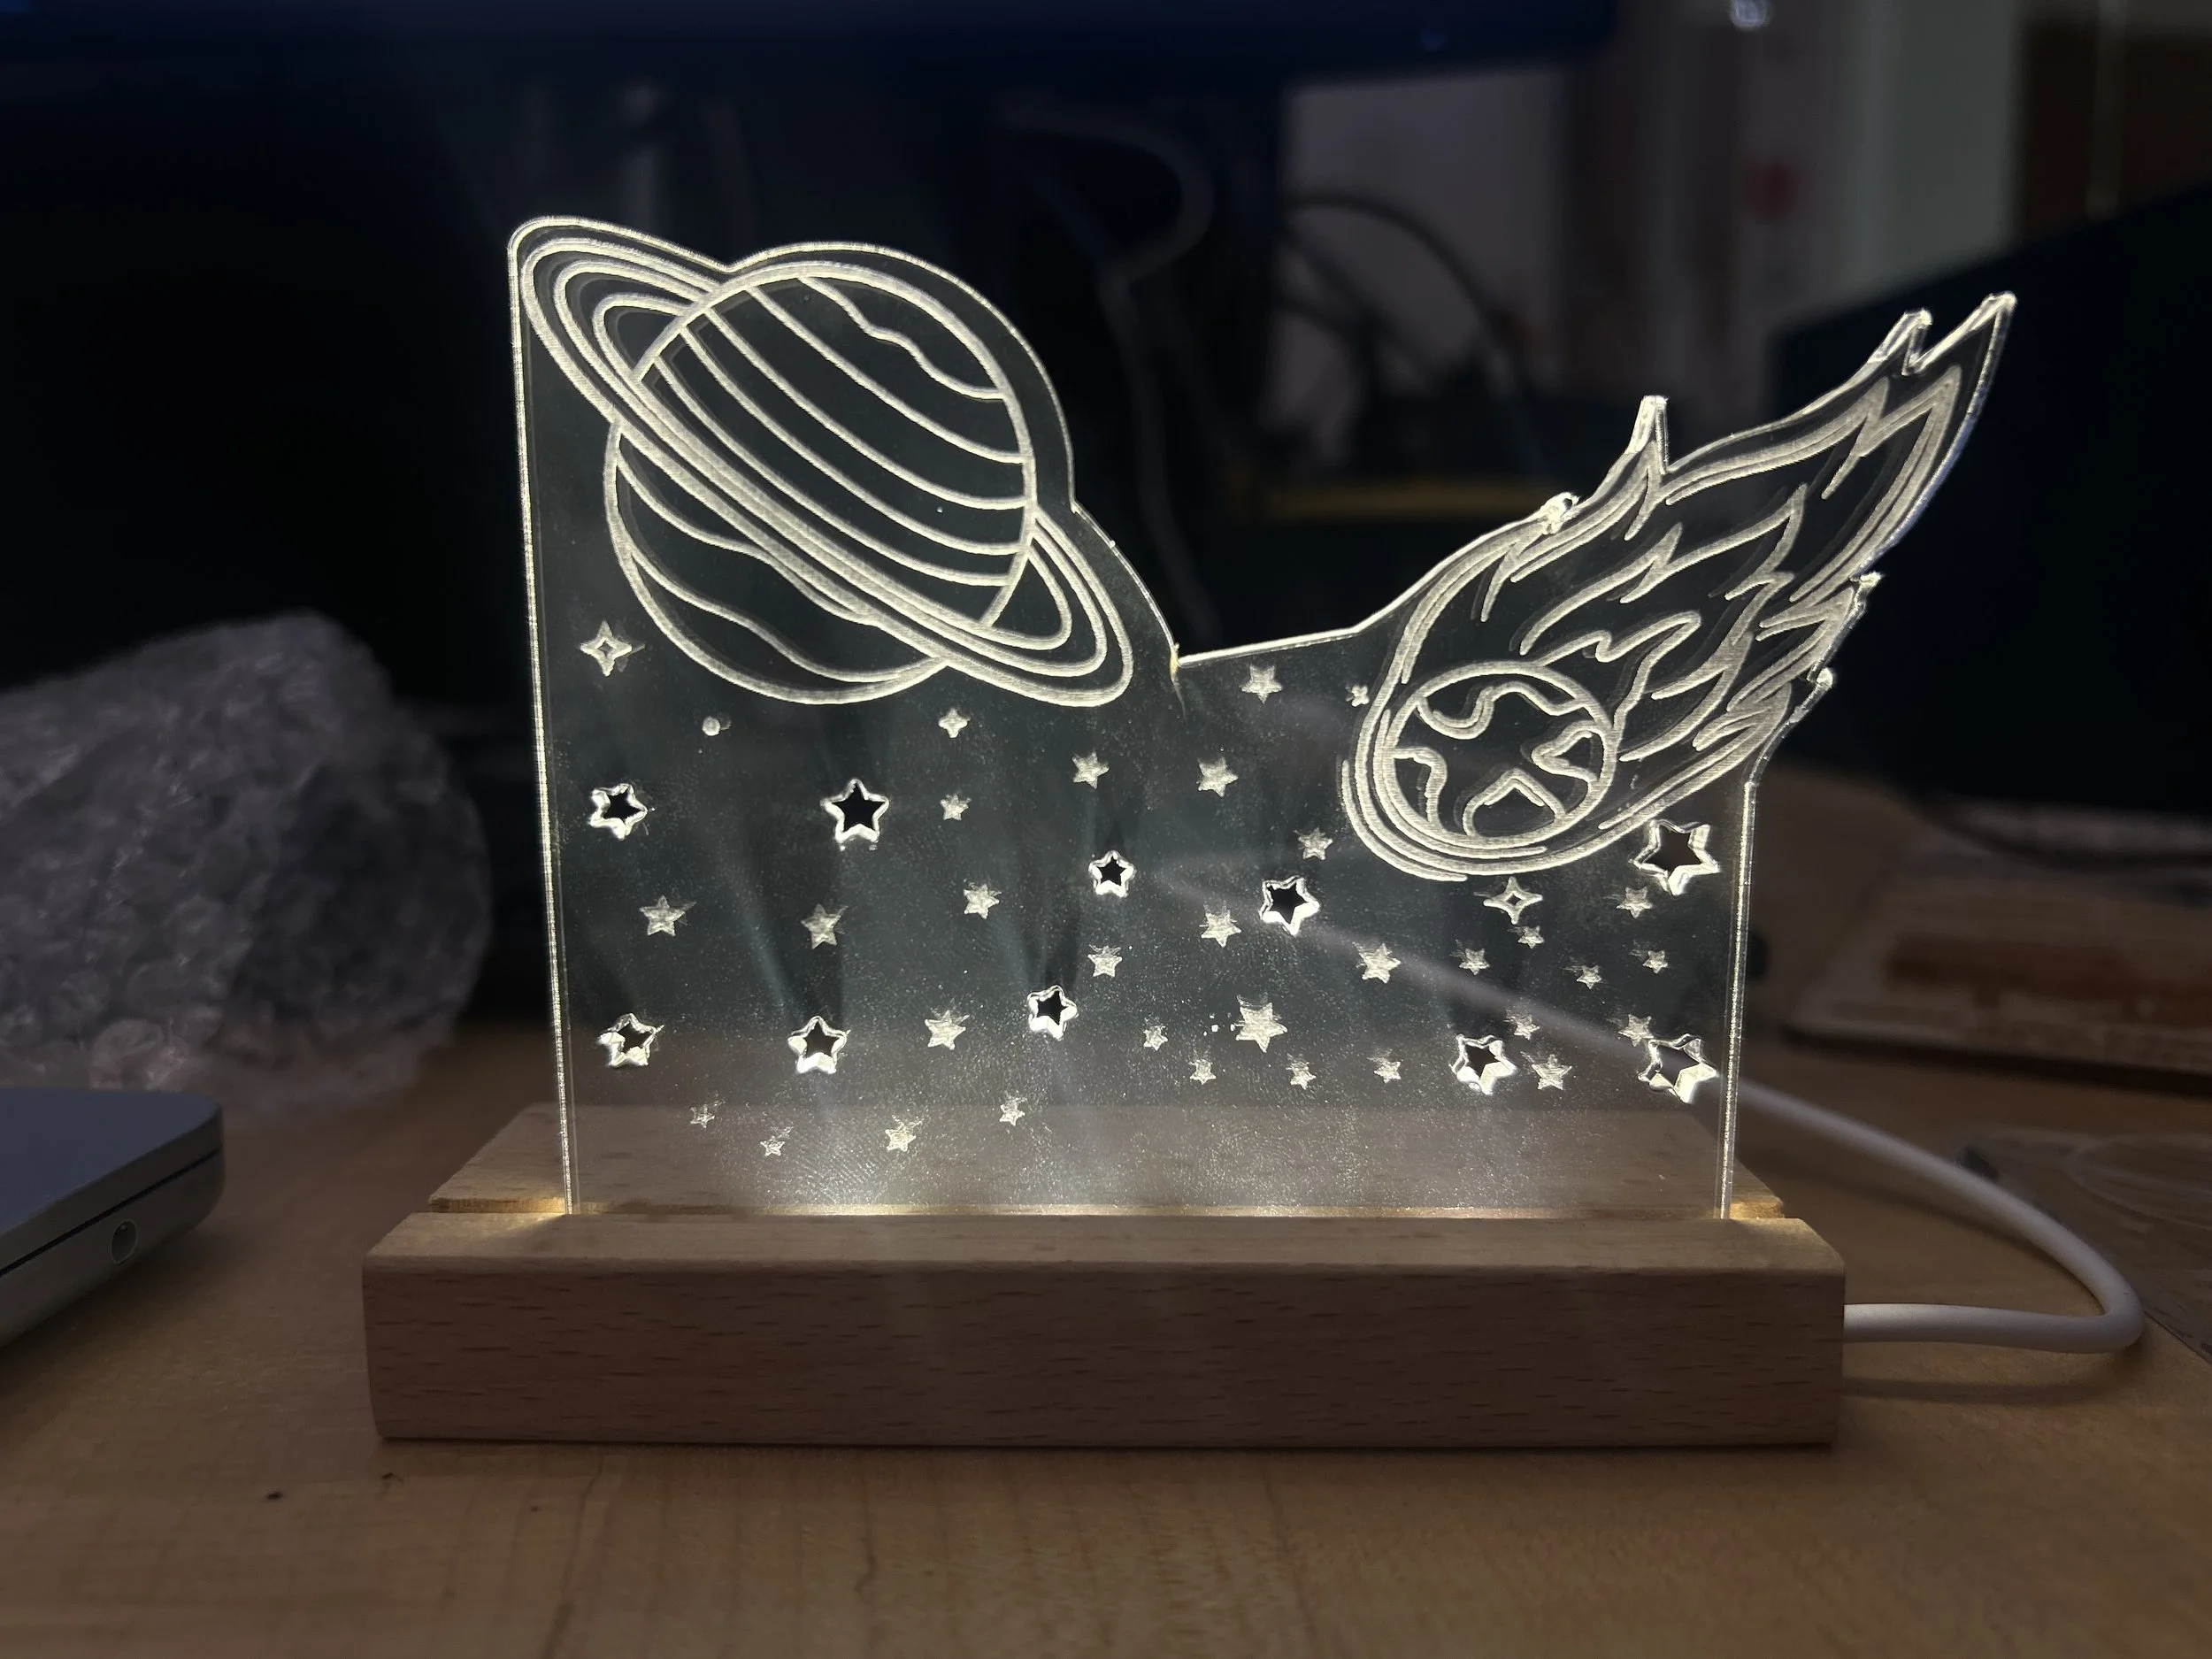
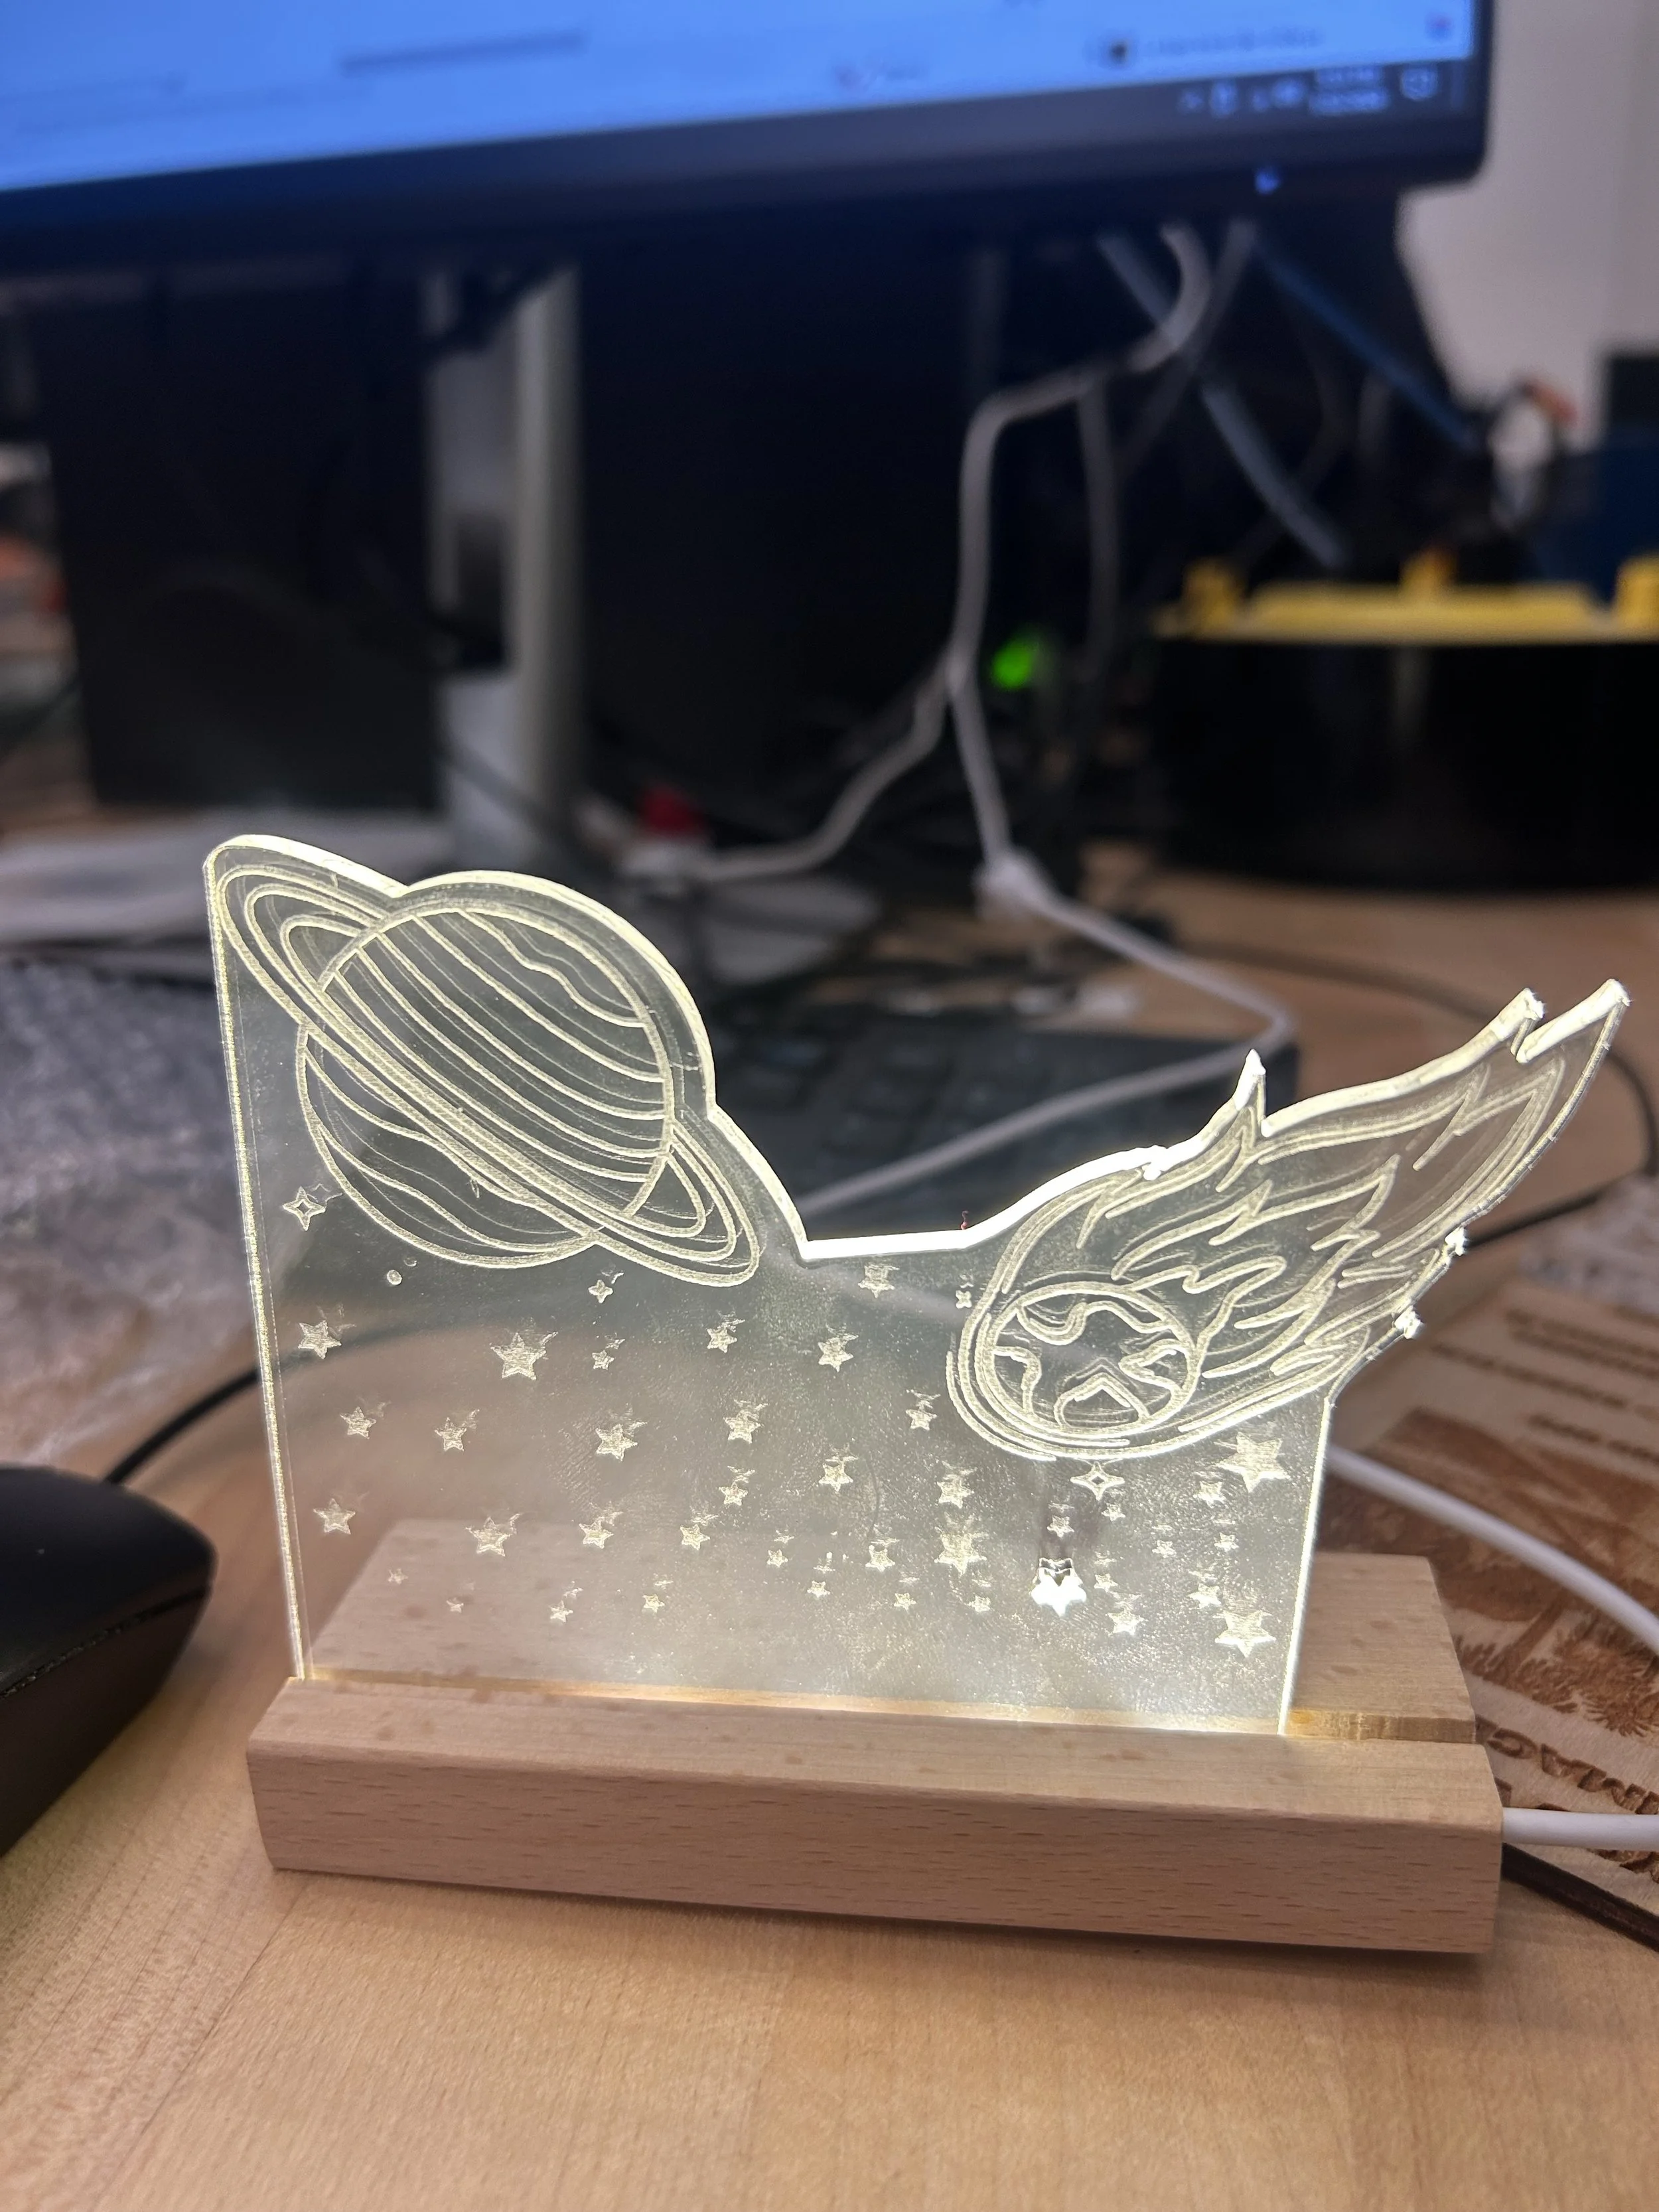
Final design.
In this project I learned how to use different components and settings on inkscape in order to be able to create the parts that would be cut and the ones that would be rostered. I also learned how to use the laser cutter, and to revise my design before sending it to the laser cutter because it could end up in failures and extra cuts like the ones I experienced for this design.