Project 3: 2D to 3D
For my 2D to 3D designs, I had many ideas in mind. I didn't’t know exactly what to make because all my ideas were fighting g for the number one spot. however, I did want to make a house design of some sort, but I didn't’t know exactly what kind of design I would make.
I started experimenting with finger joints on February 3rd to see if I would consider putting them in my design even if that was not an option at first. I was very curious to see how finger joints worked. I spent an hour working on different finger joints to see if I could design them by myself.
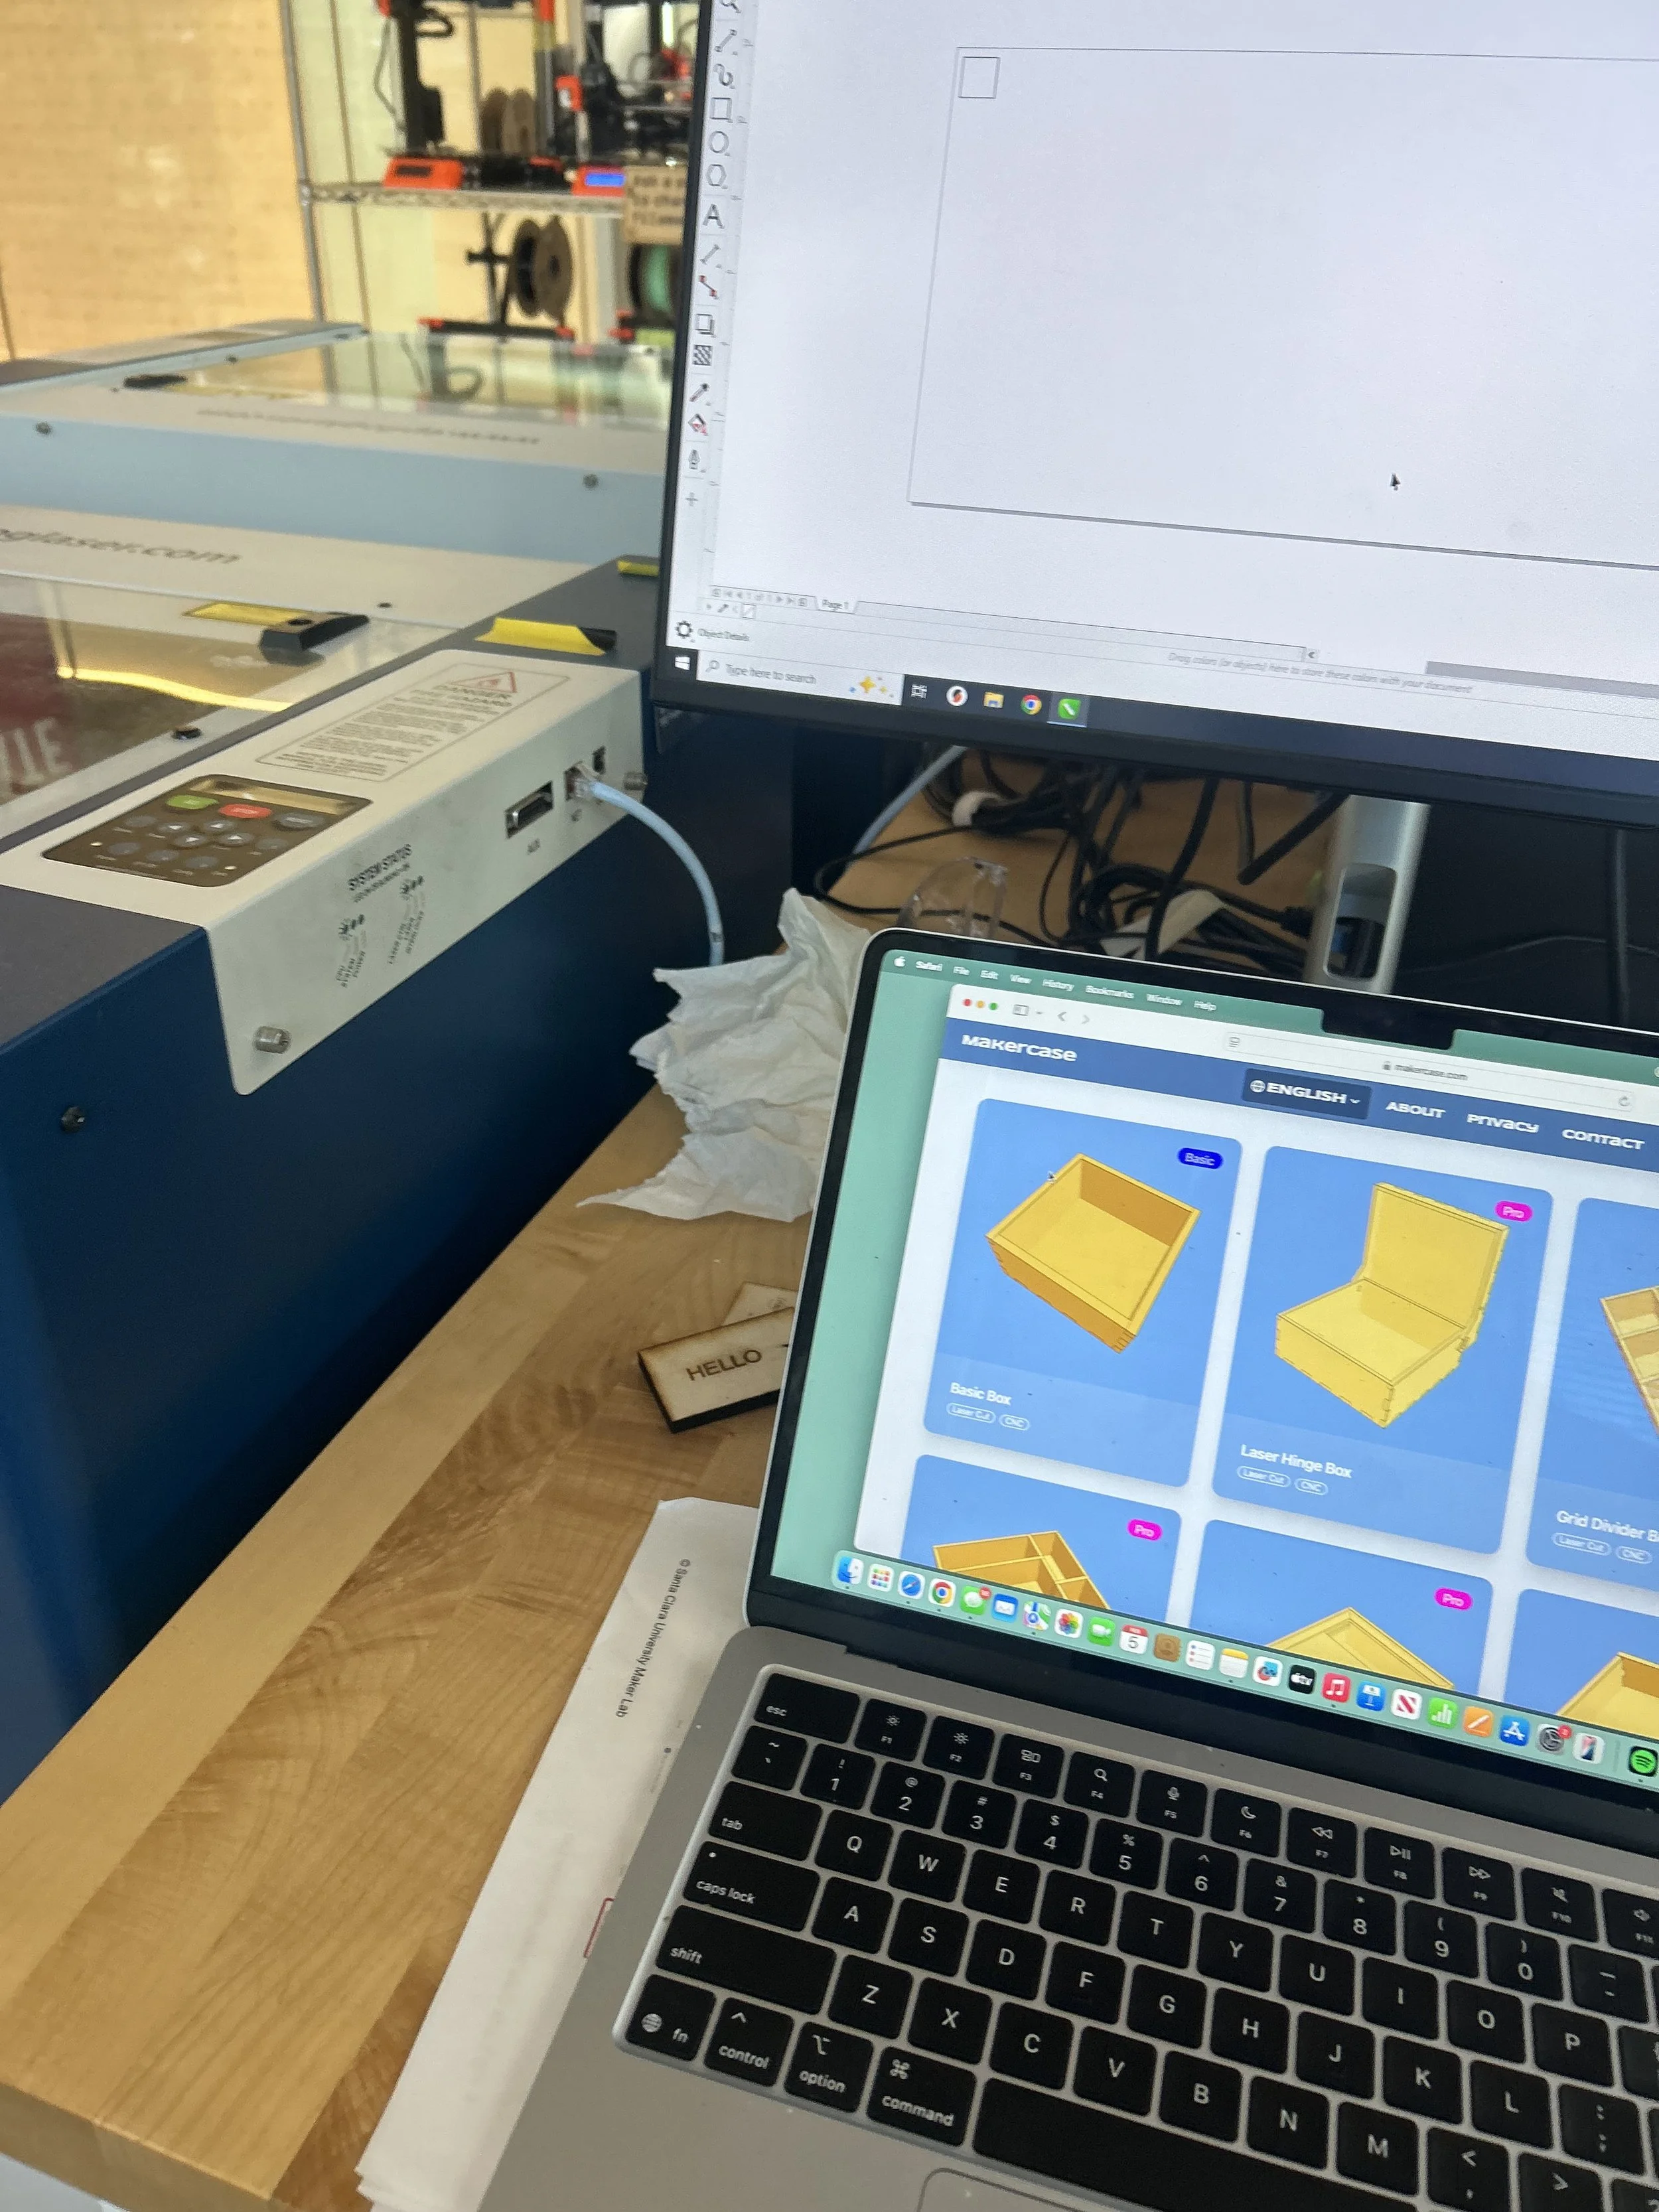
Since I noticed that I was spending a lot of time trying to design the finger joints by myself, I decided to look at “MakerCase” and see if I could download some templates to practice on the finger joints.
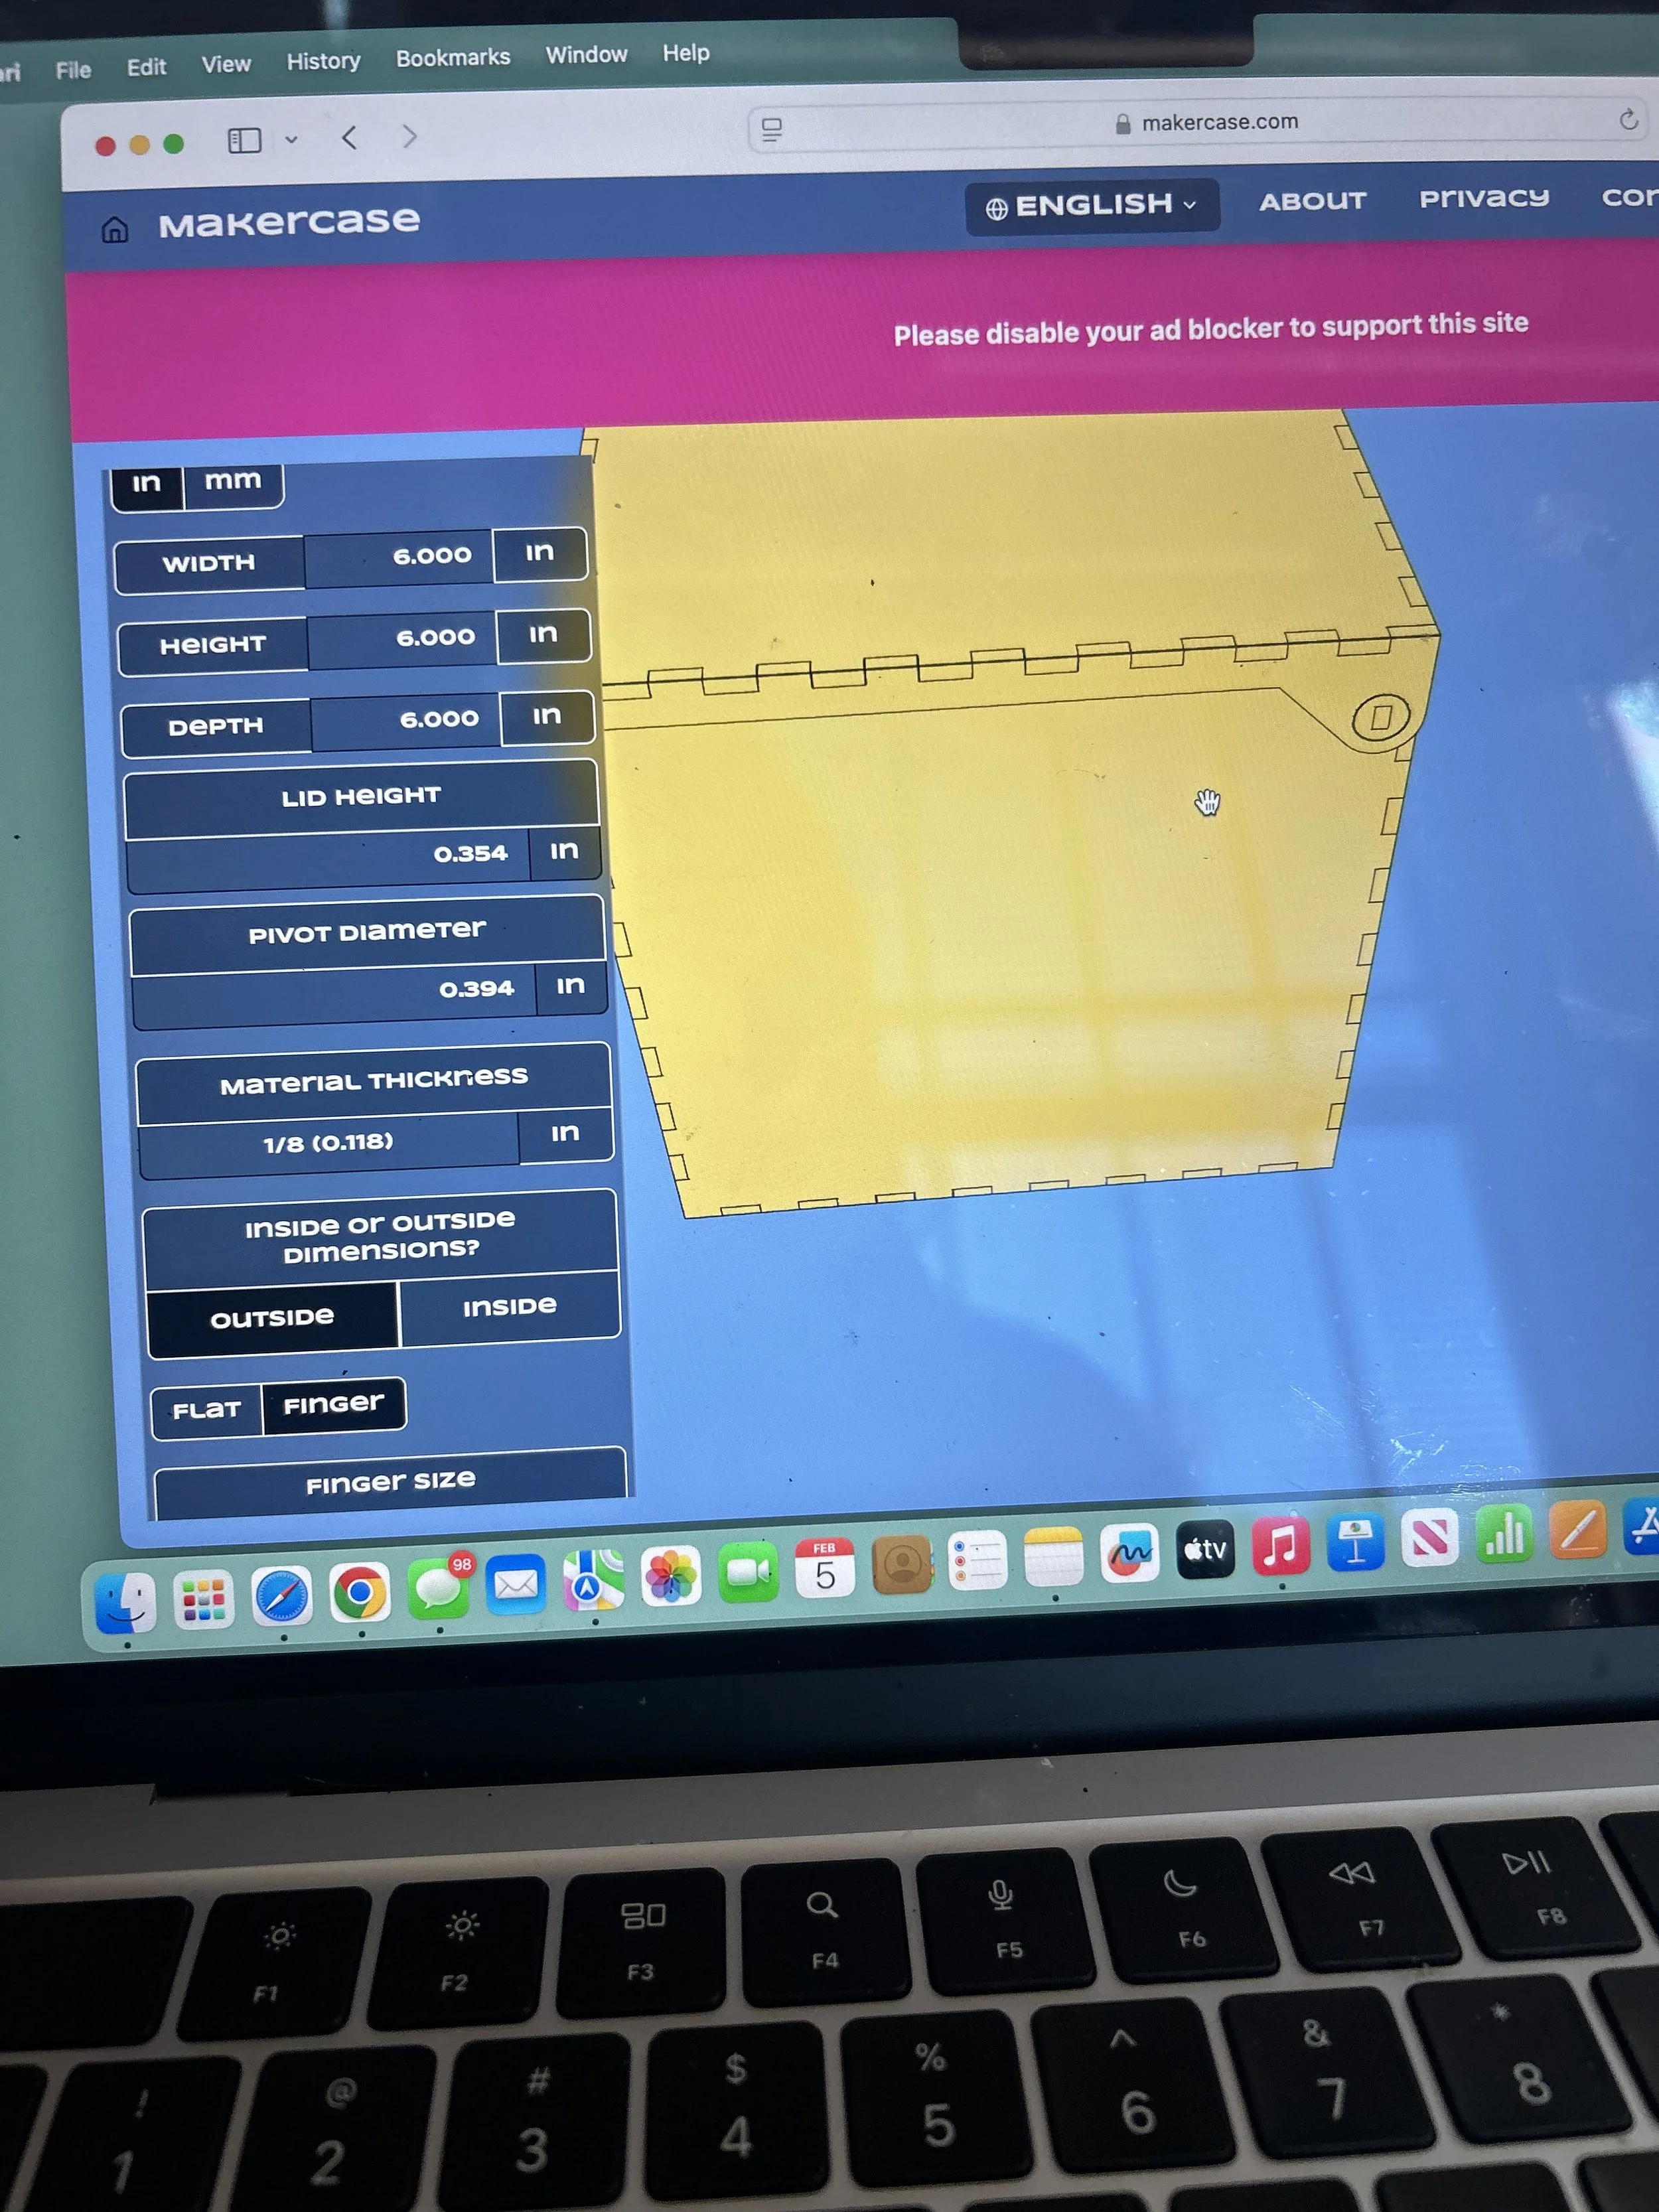
I decided to use a template of a box with finger joints and a hinge lid to see if I could get it to lock everything in place. I chose a 6 inch width, height, and depth. I sent my file to inscape and sized it to the way I wanted it to be.
feb 6 2026

I was able to adjust the actual size of my box and send it to the laser. unfortunately, when I tried putting the pieces together, they did not lock, and the bottom part of the box was a bit off. I spent an hour in total trying to see if maybe I was doing it wrong, but then I learned that is natural for it to happen because the laser has a kerf.
I tried sizing and offsetting it by the kerf (0.005 inches) and still was not getting it right. I assume that maybe I calculated the kerf wrong.
Feb 7 2026 3 pm
I kept experimenting with finger joints to see if I would incorporate it on my design. I decided to experiment with a hexagon with smaller dimensions so that I could get enough material to keep experimenting. unfortunately, the pieces did not lock into place and were a bit loose to do on its own but it was still better than my first attempt.
feb 8 2026 1:30 am
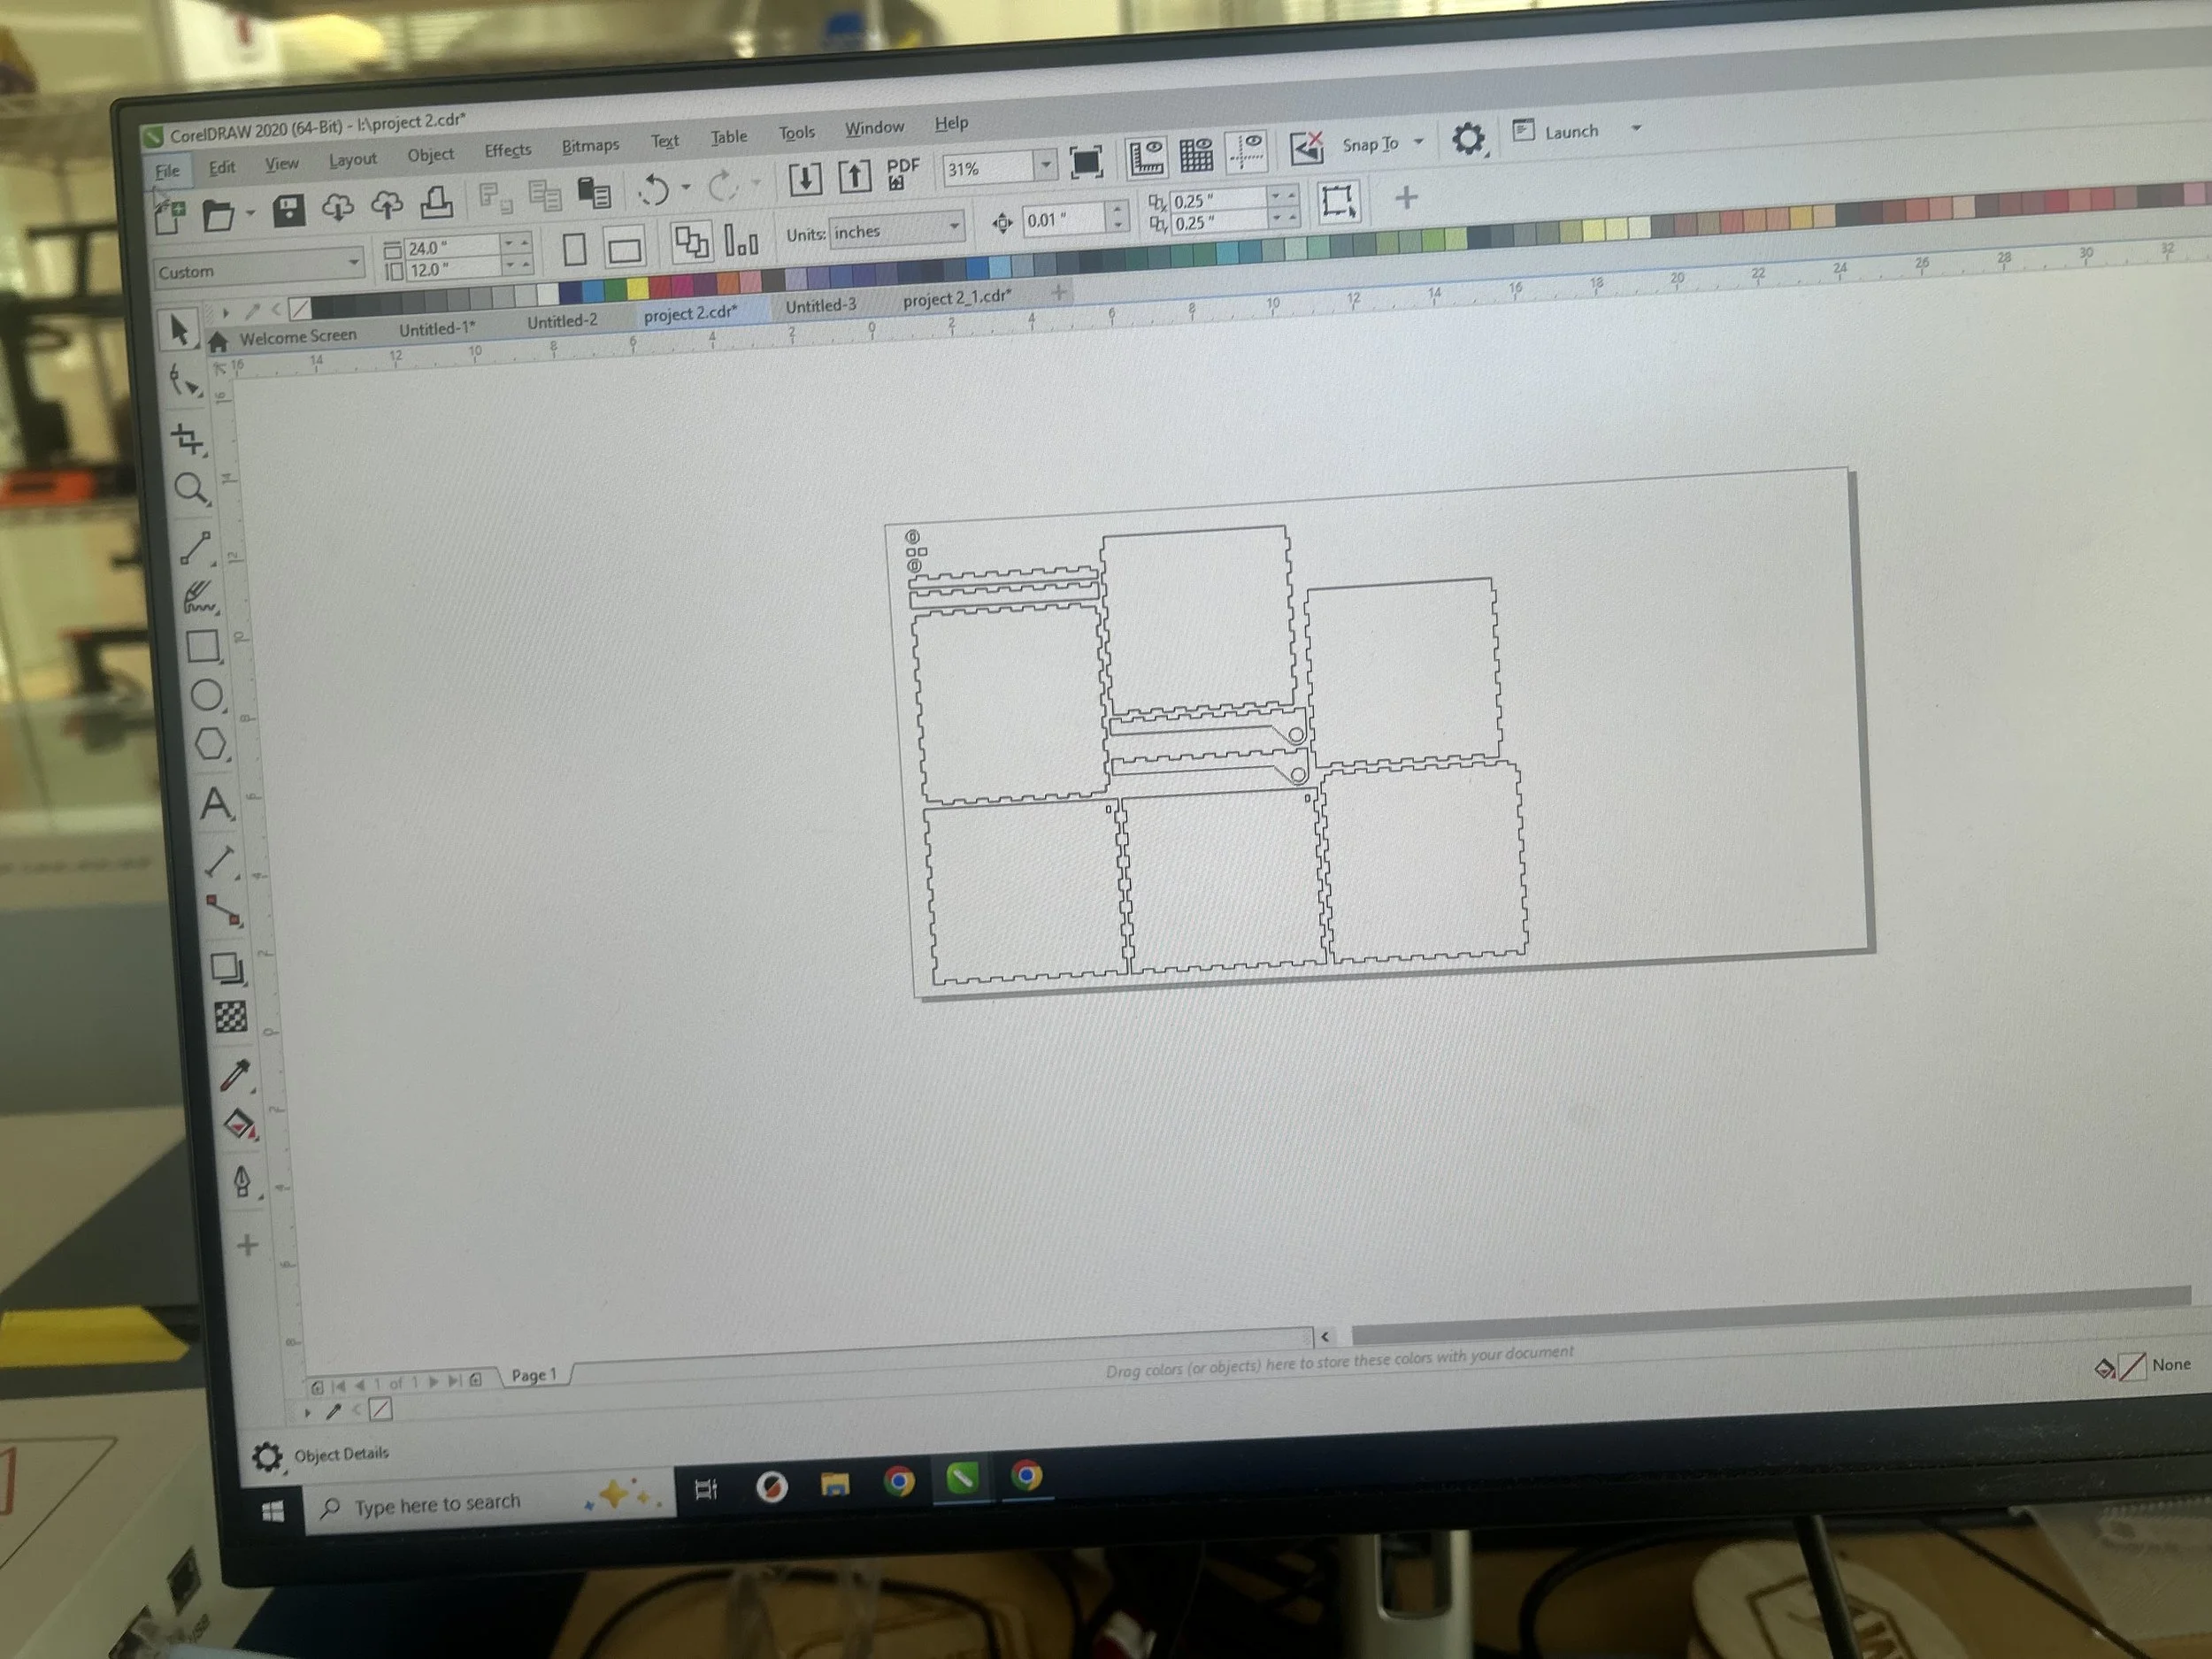
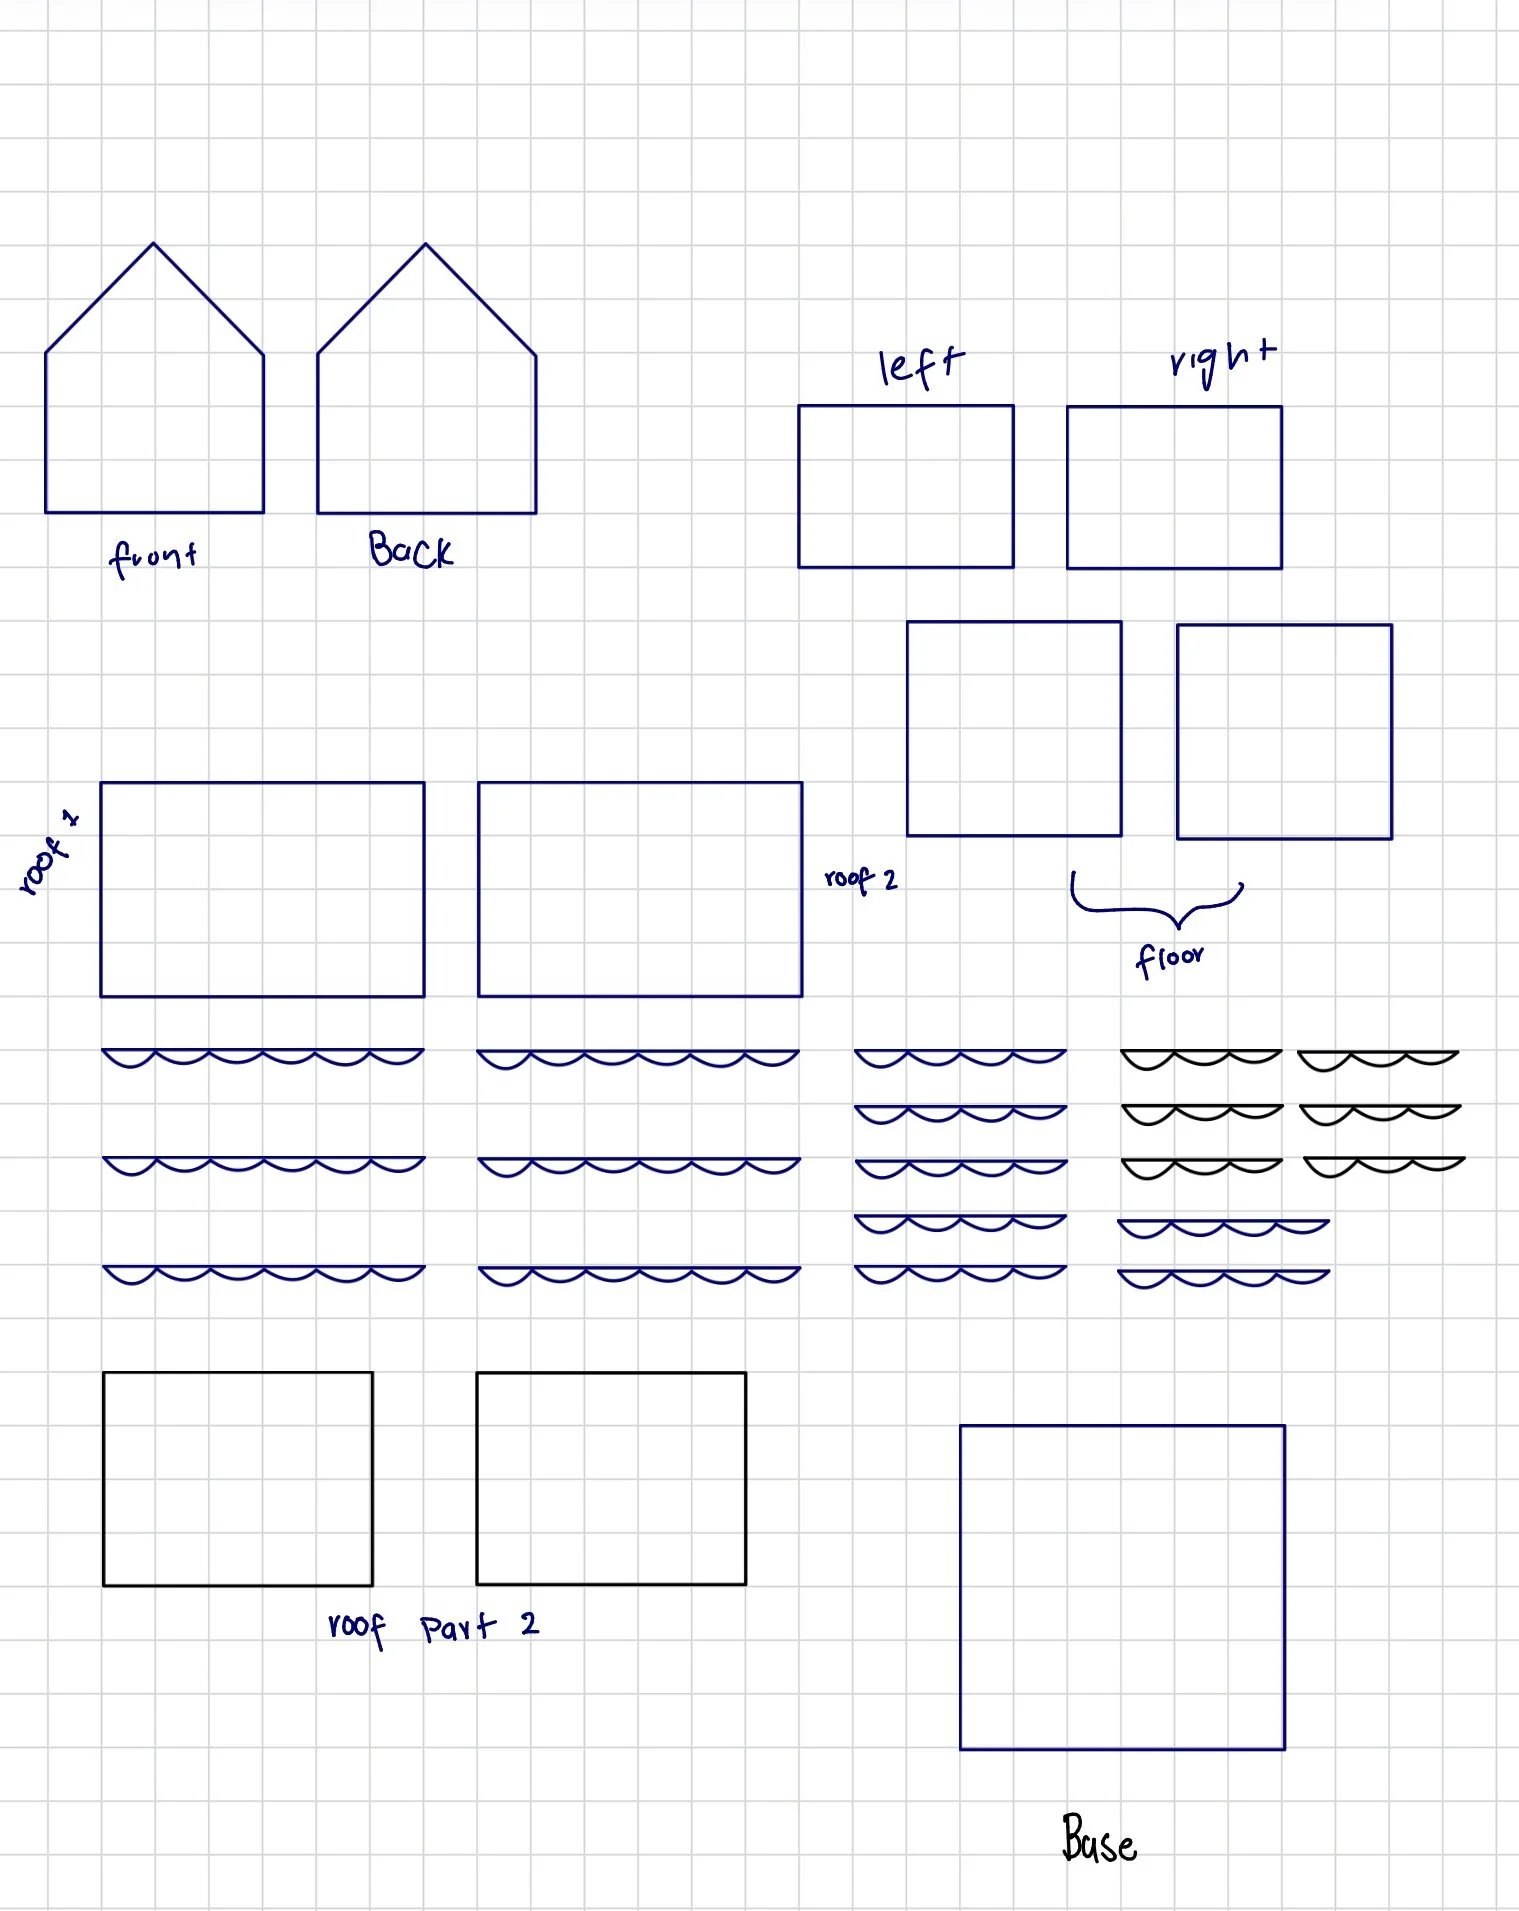
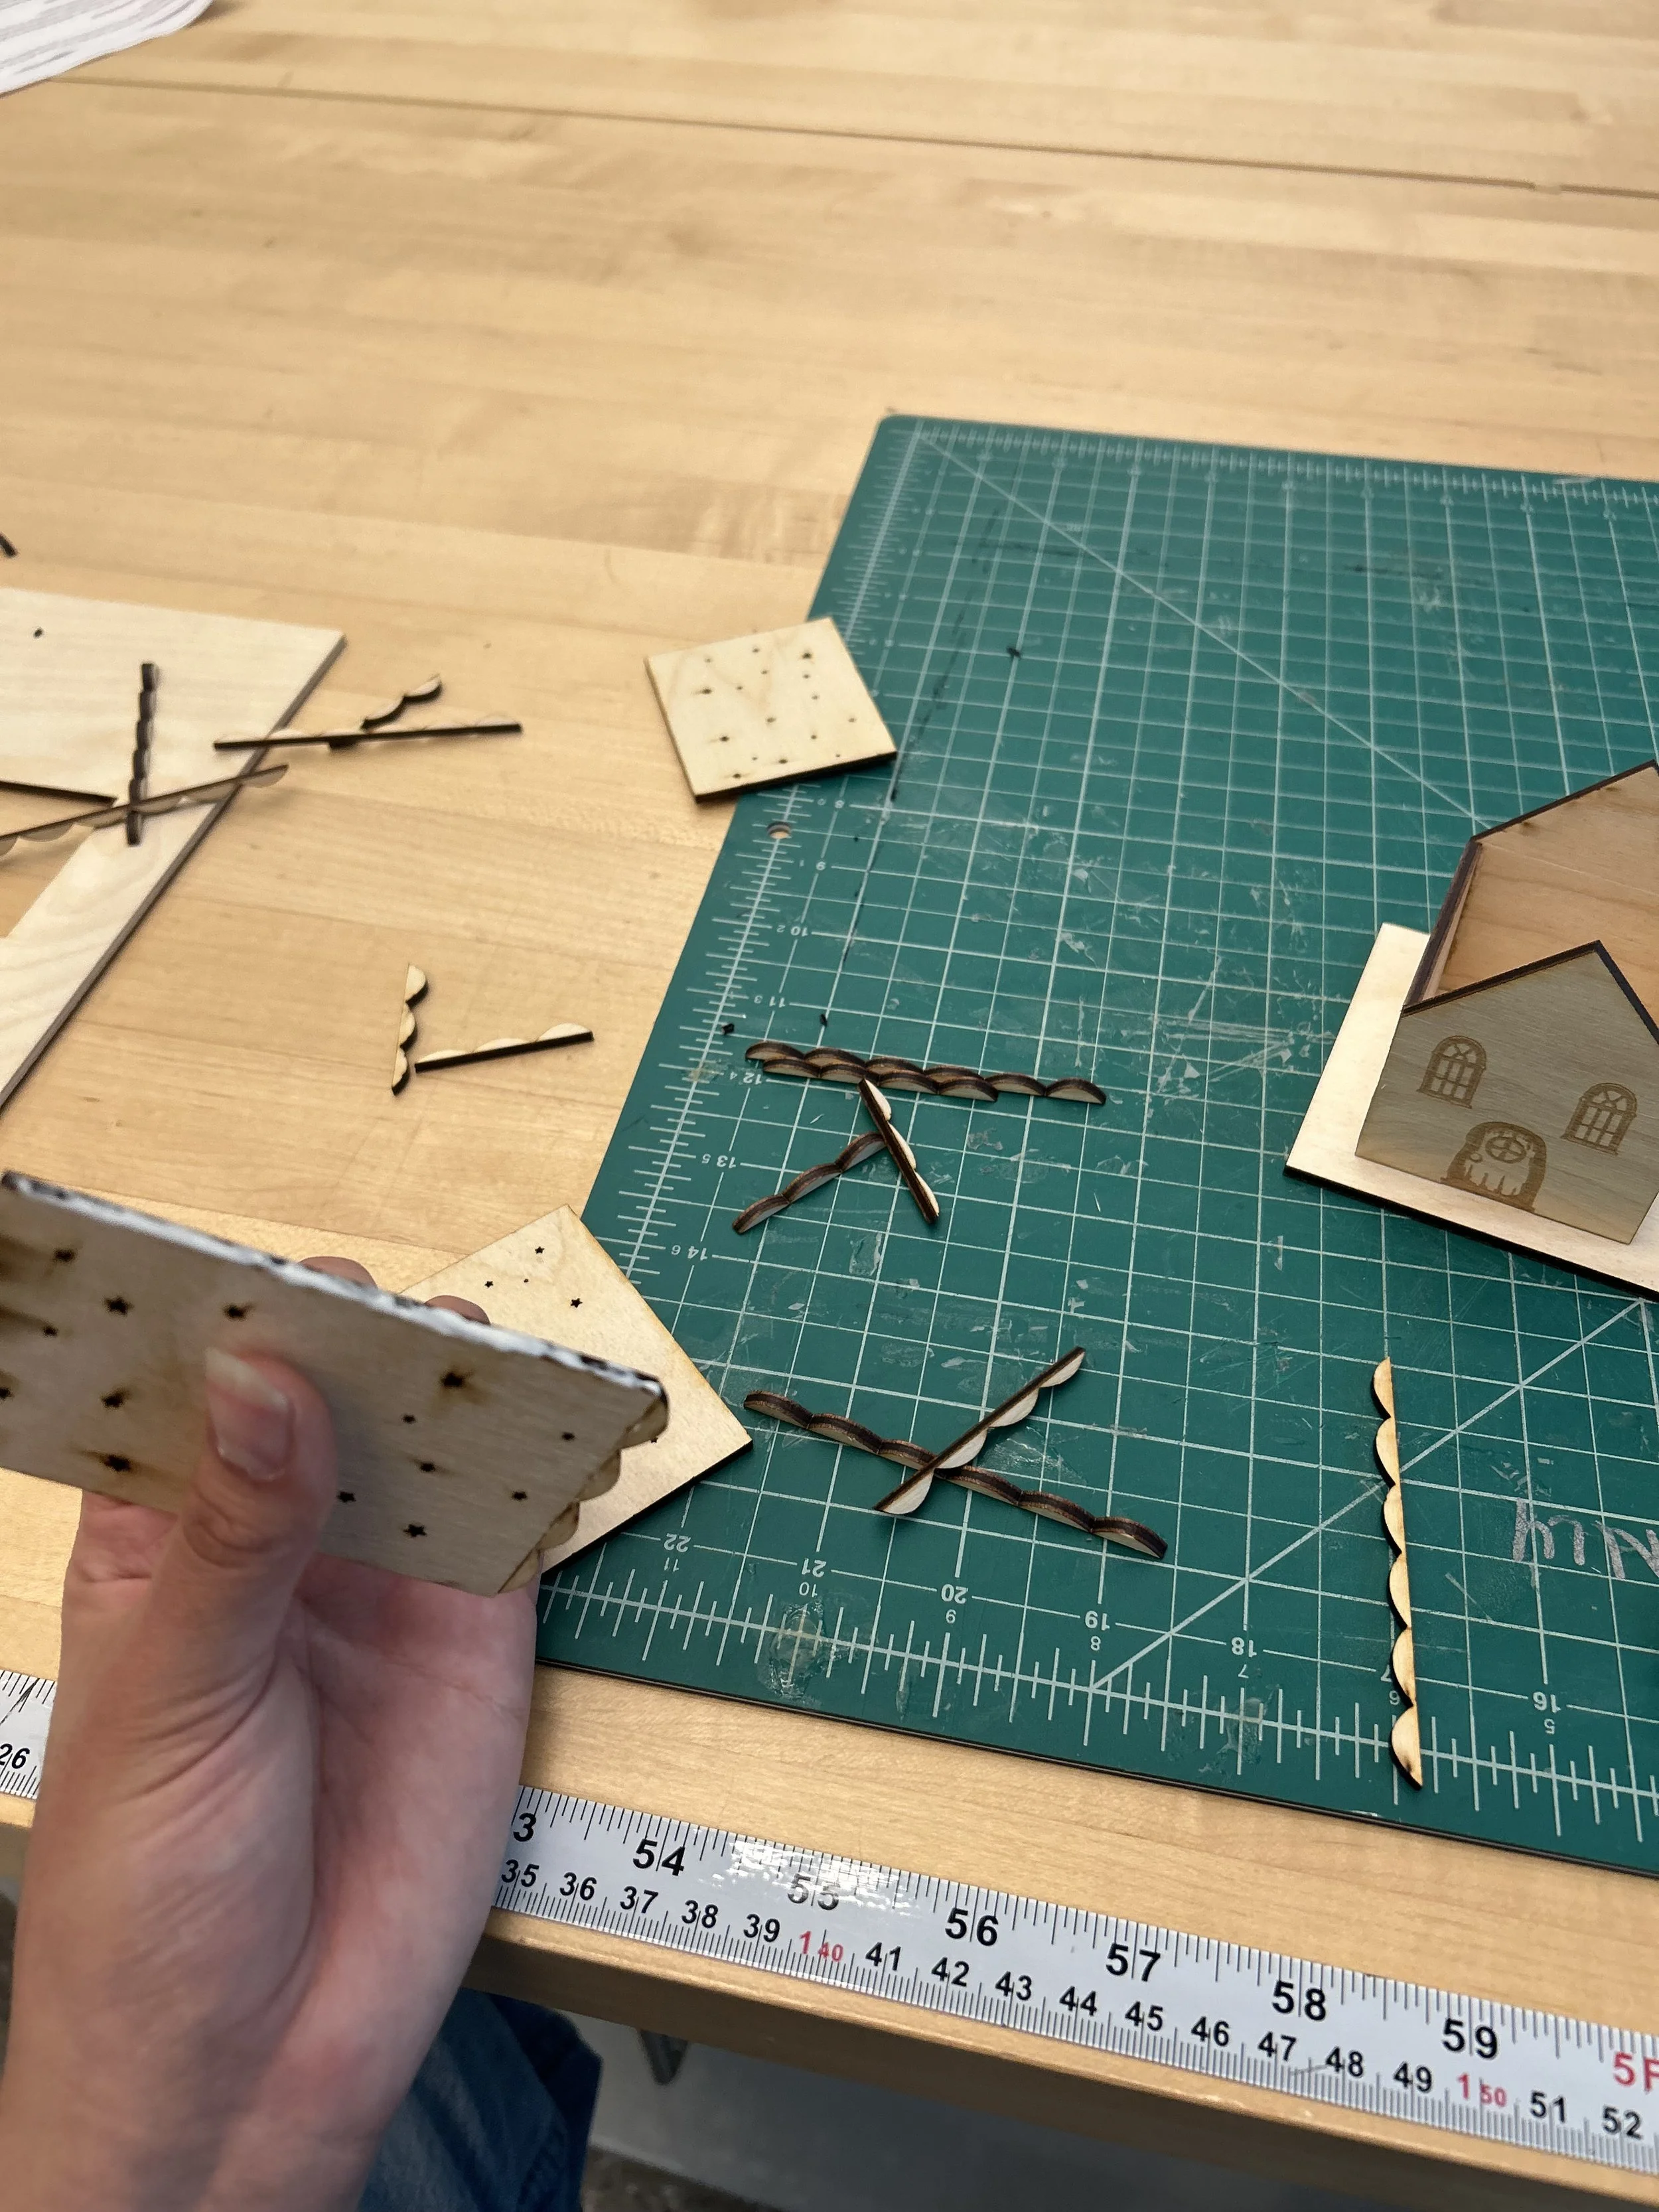
I decided to stick with my original idea of making a house. however, I decided to just draw the pieces by hand instead of using templates on maker case. I used graphing paper as my guide and measured in squares to have a more accurate measurement. I did 2 different measurements for the roof just to see which of the two measurements I would like better.
feb 8 2026 1:20 pm
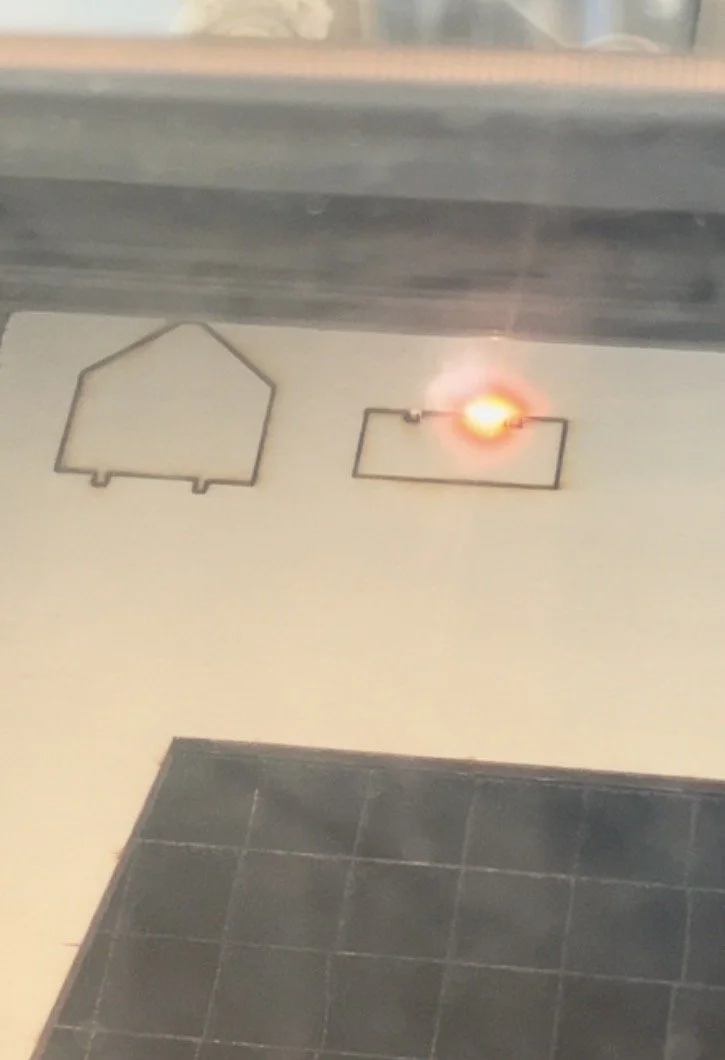
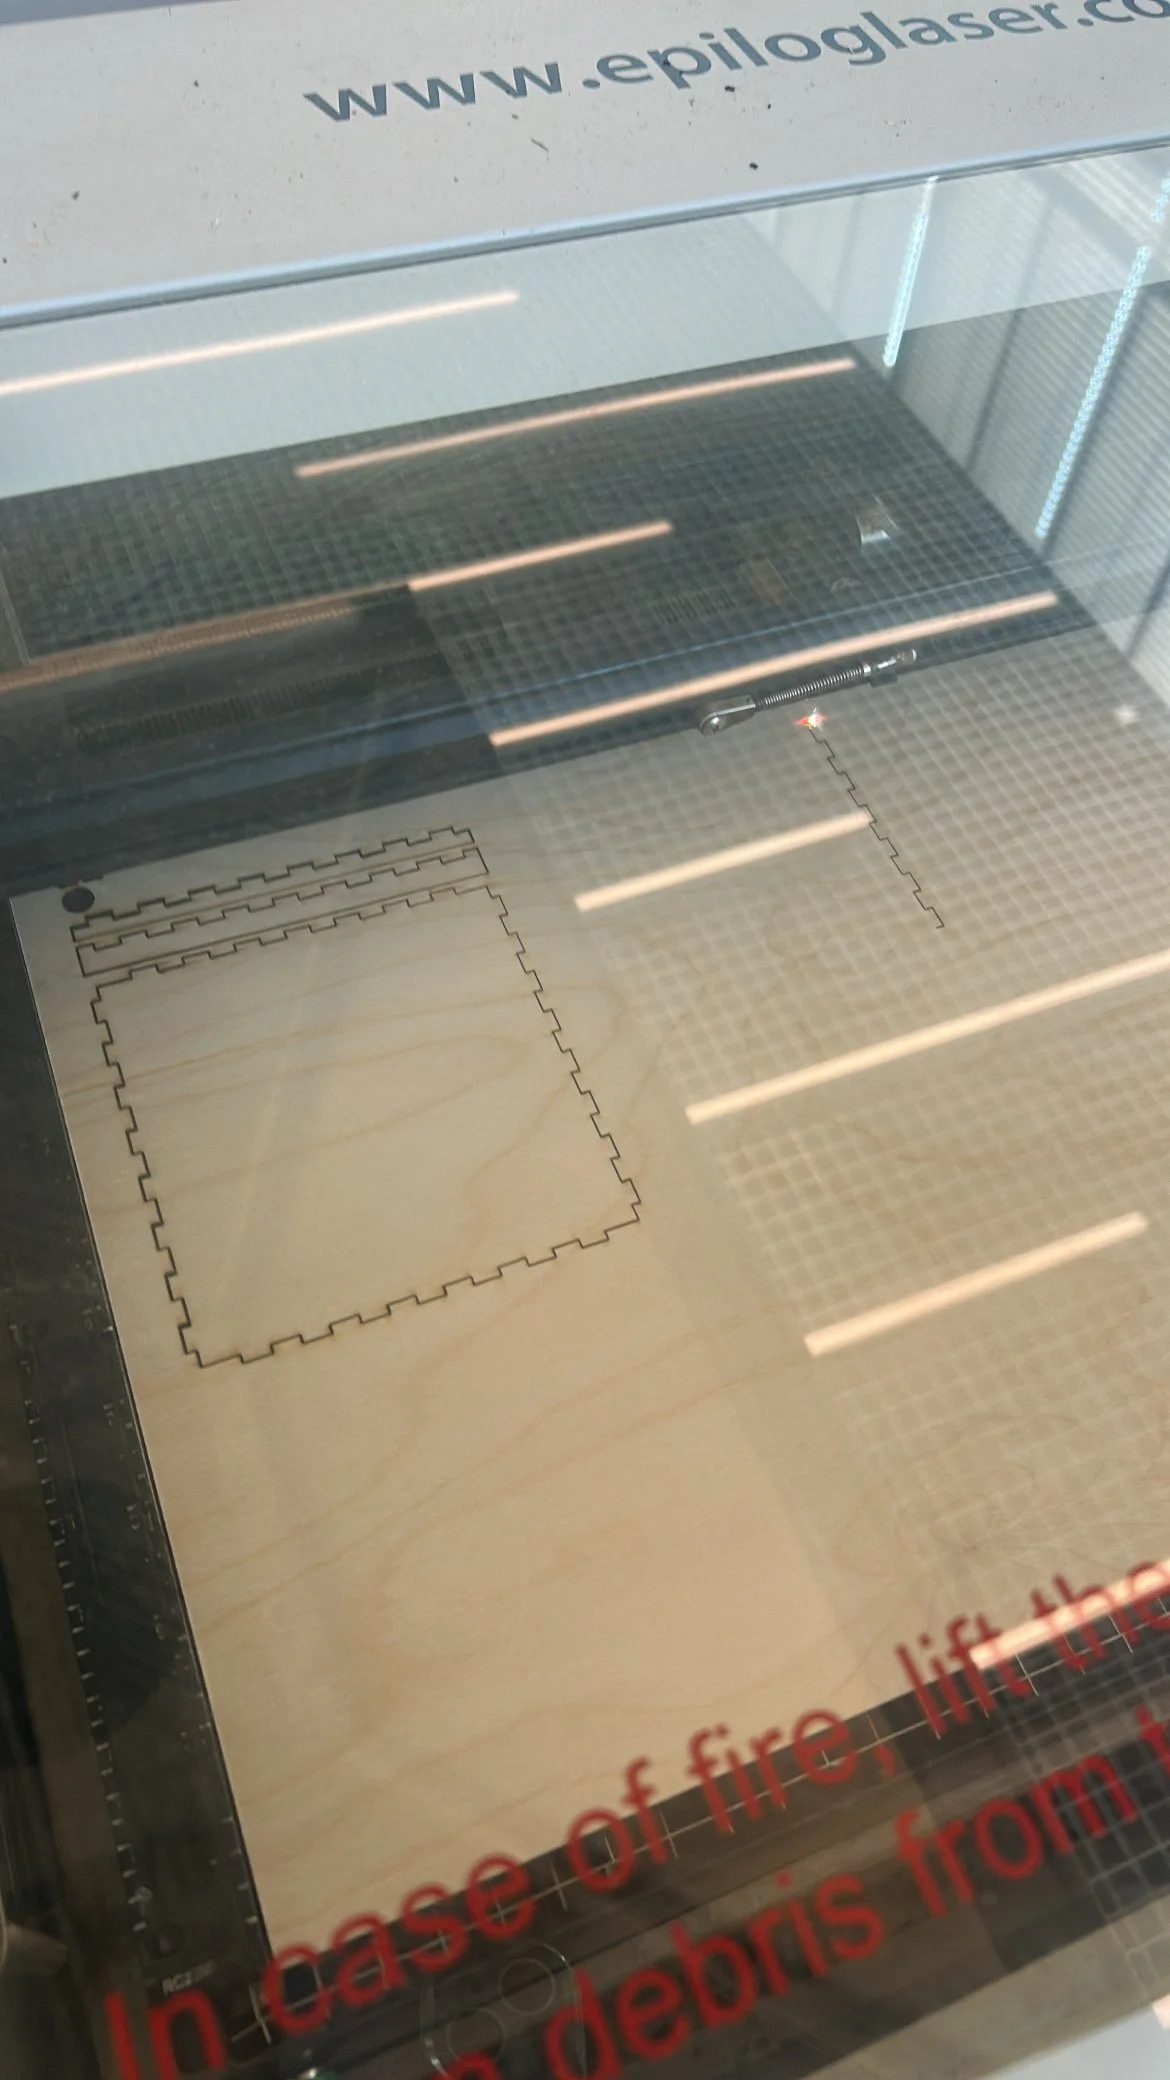
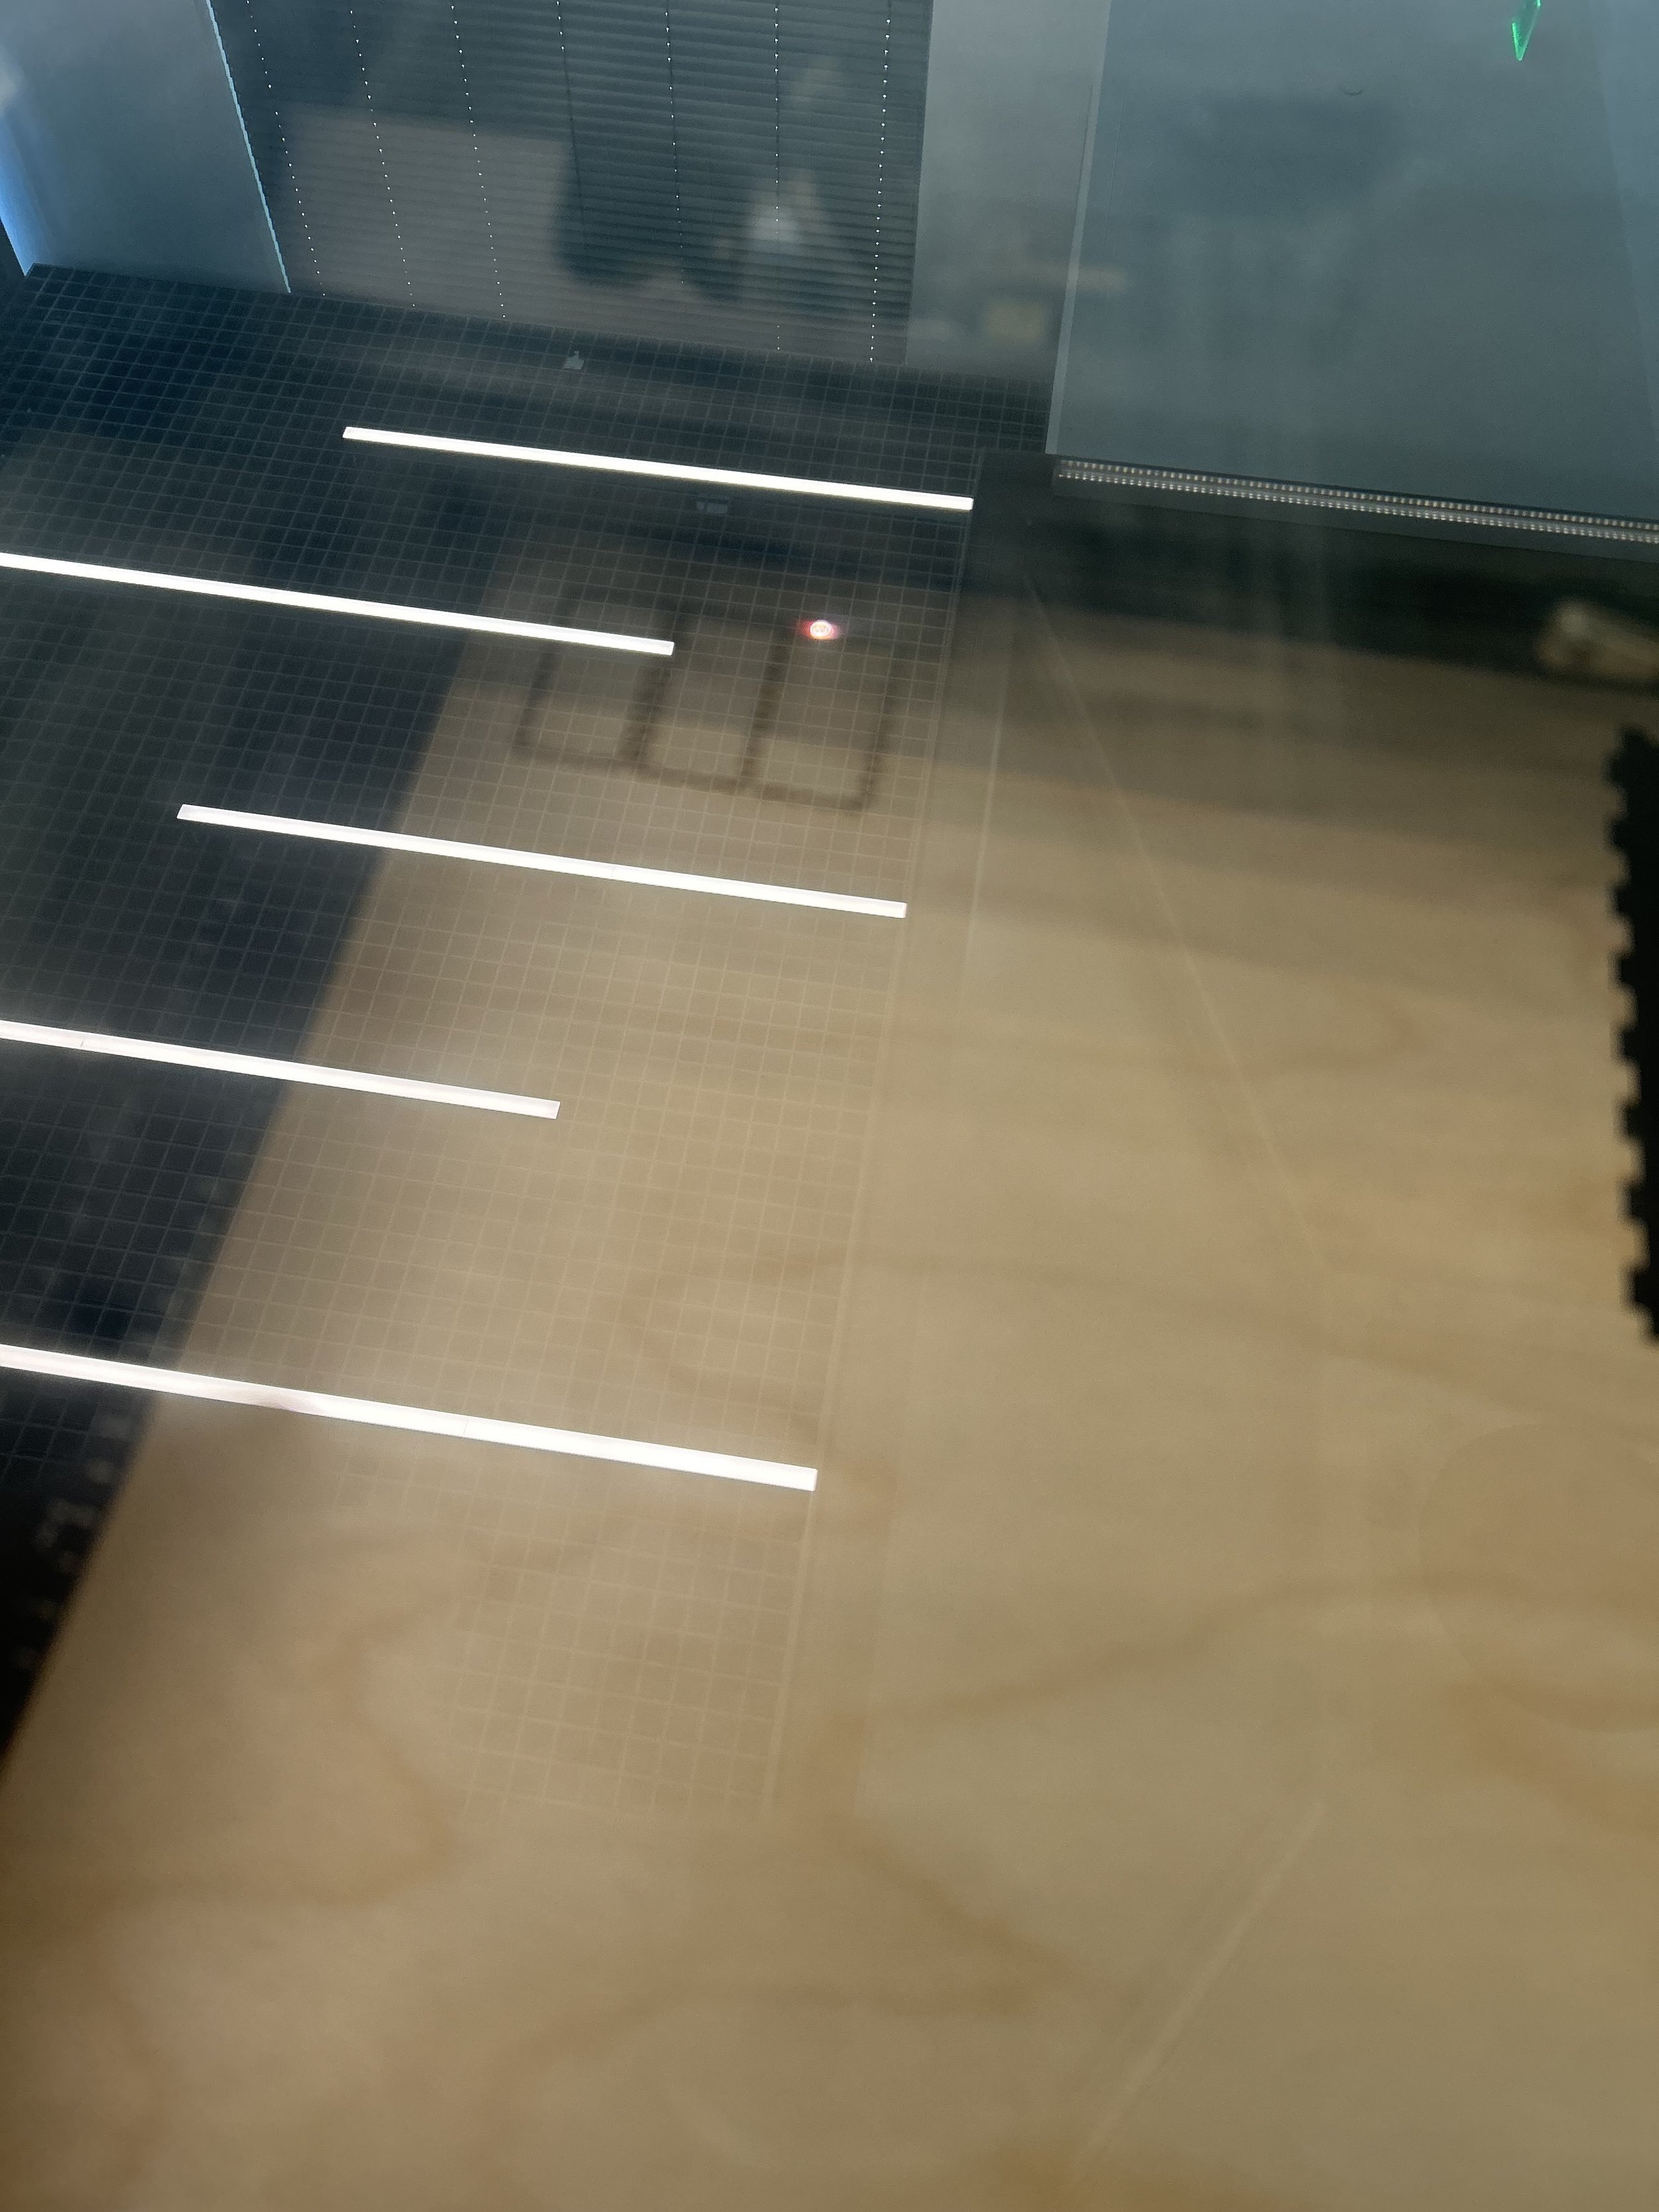
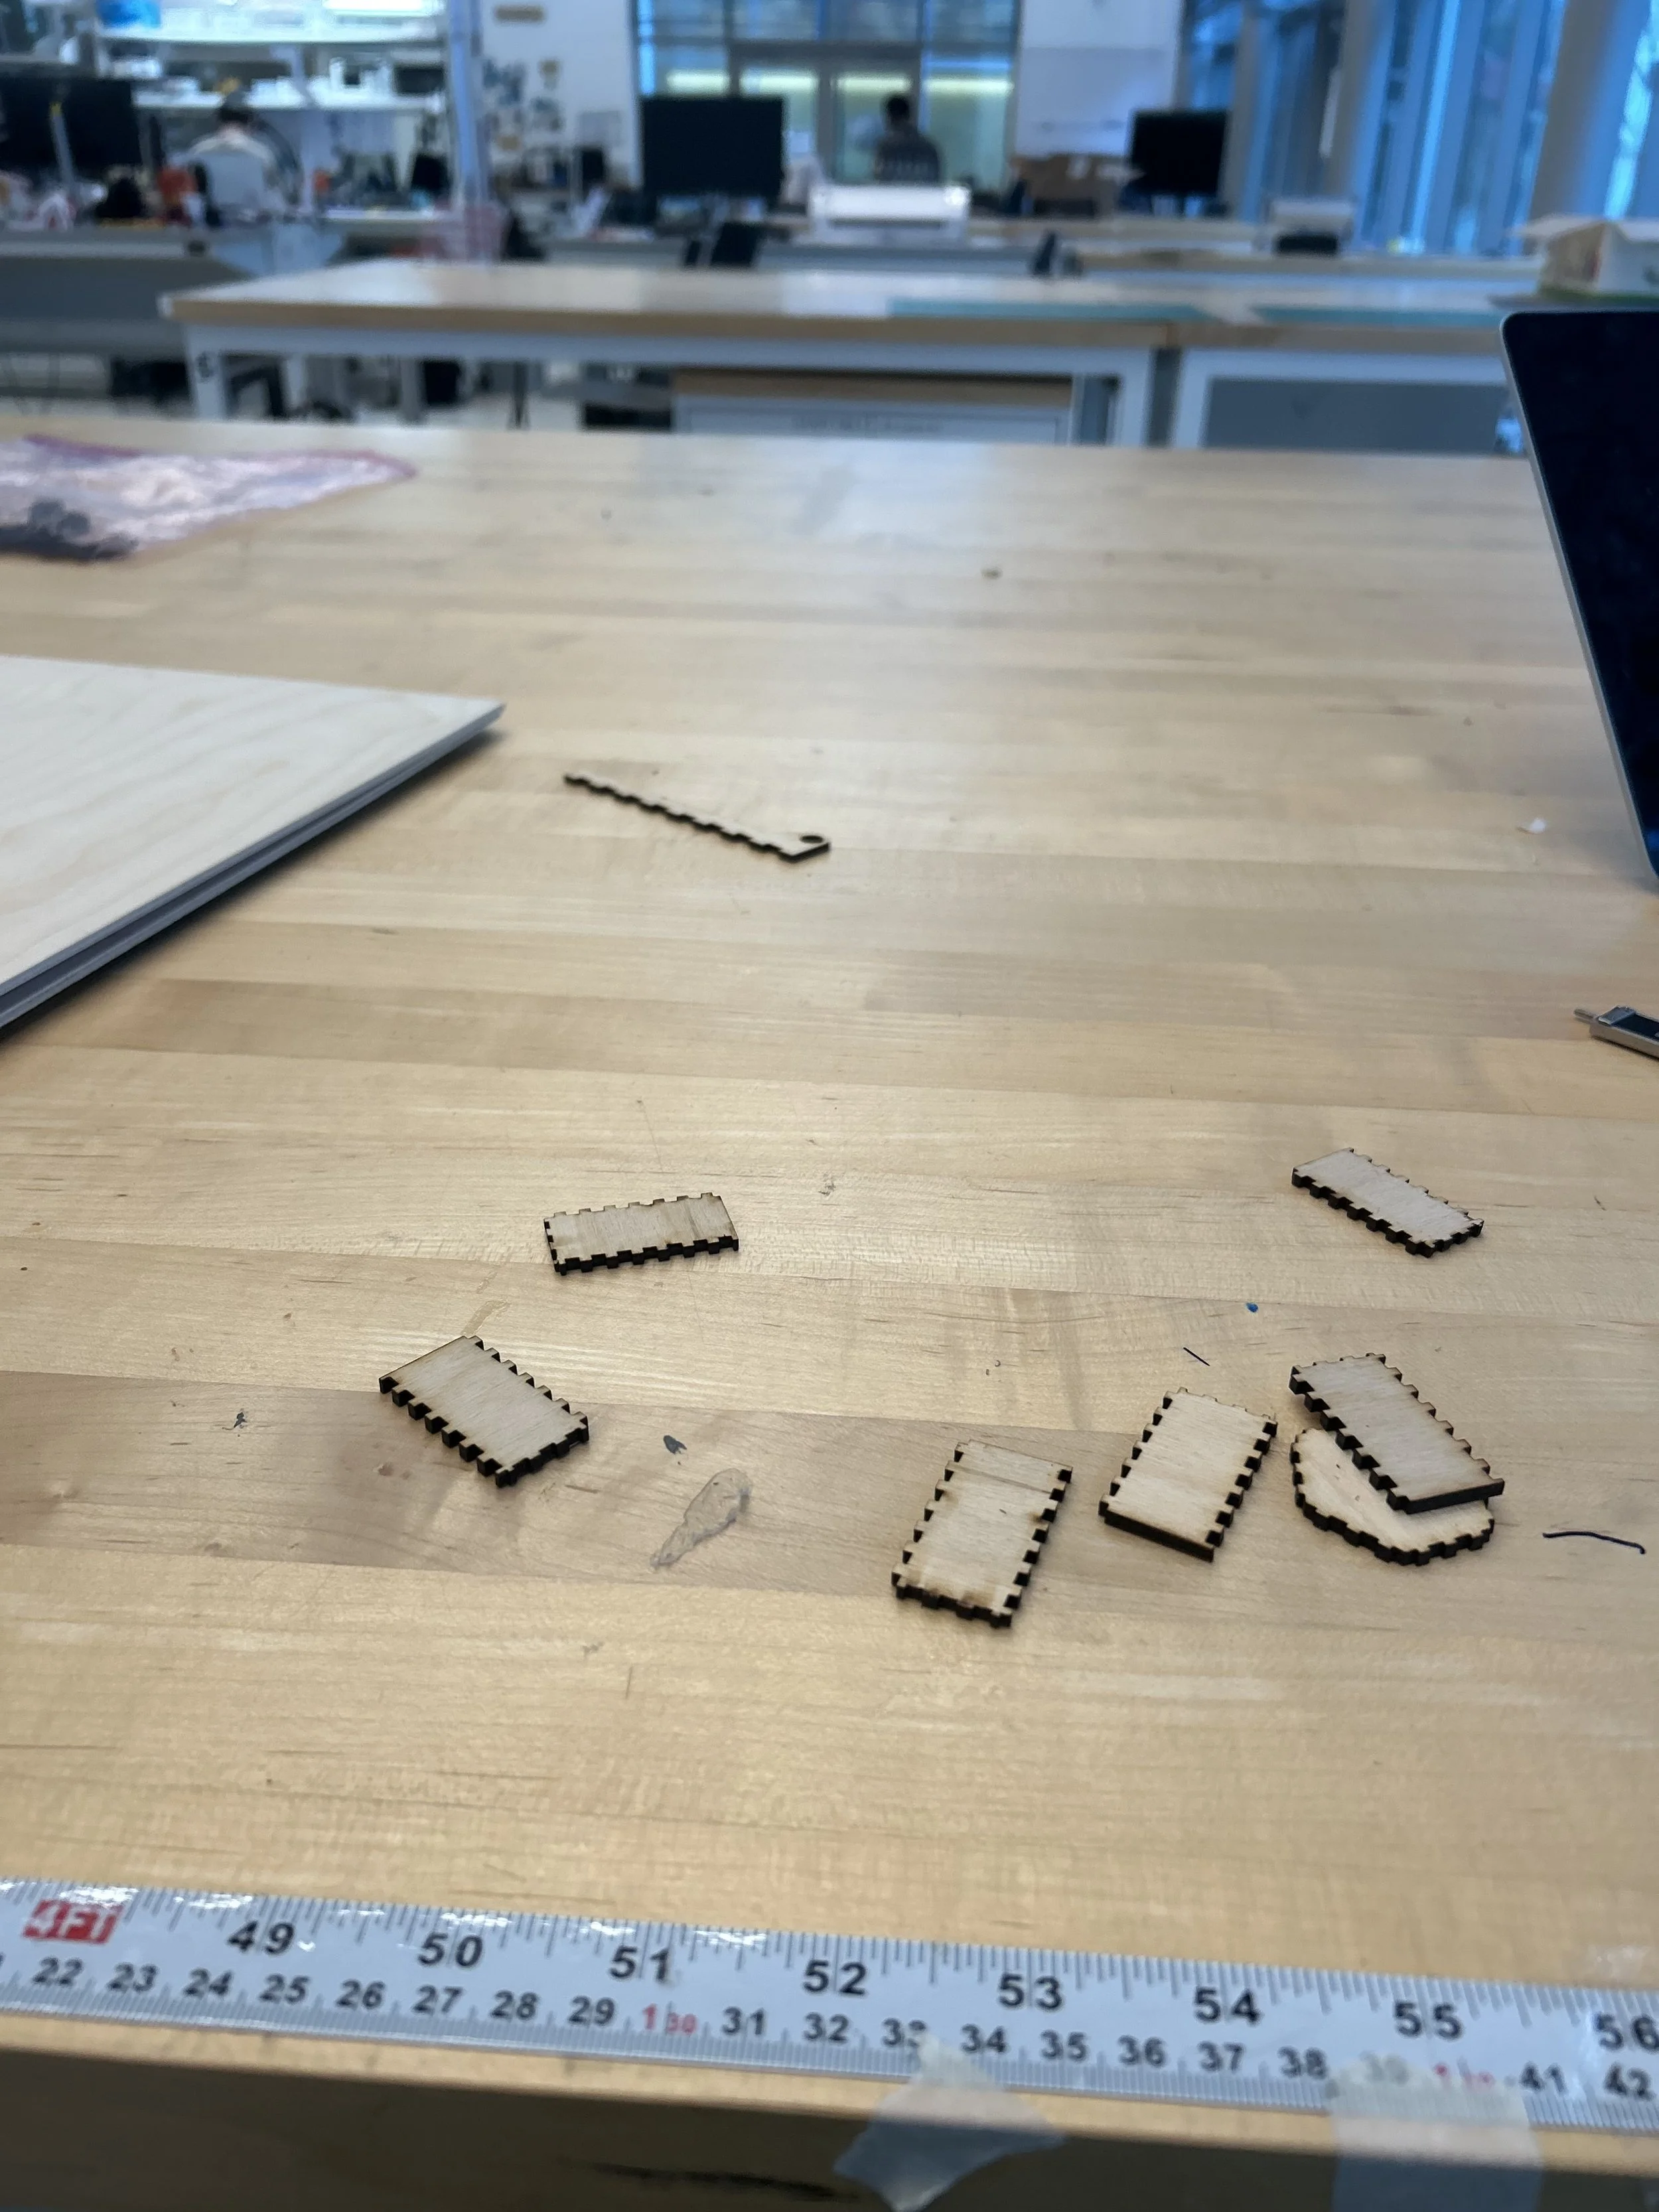
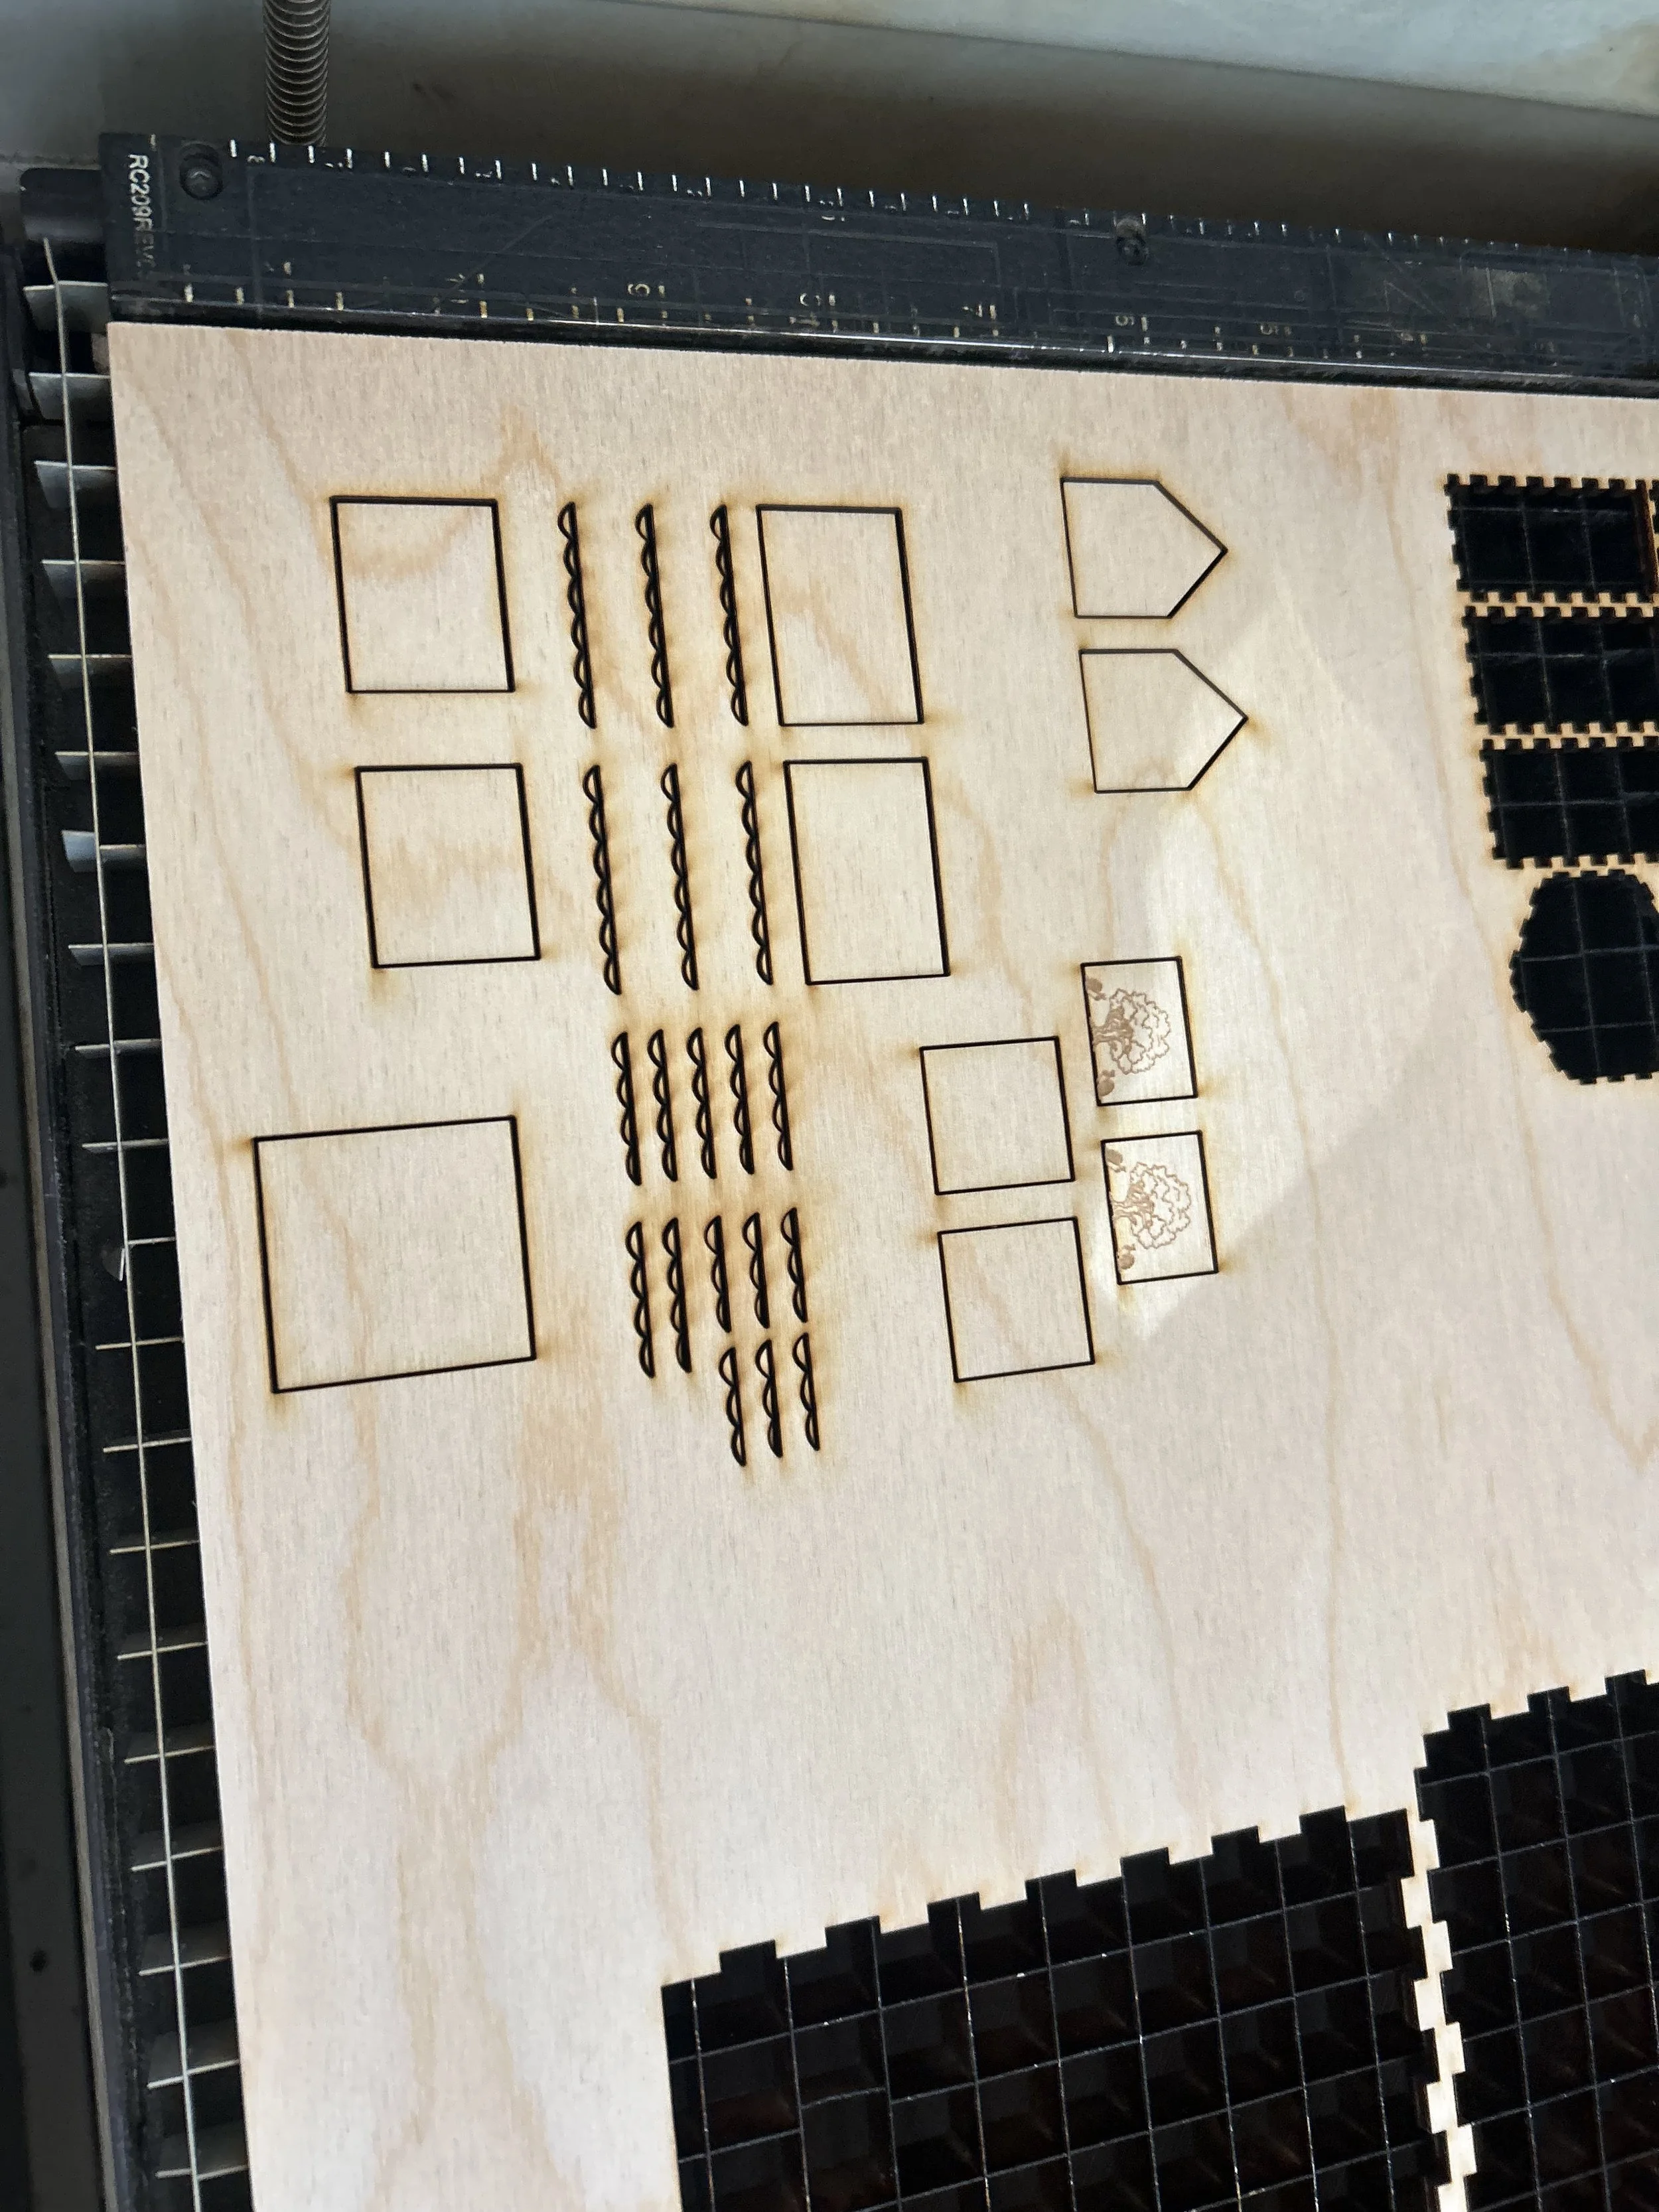
I did a small test cut to see if all the pieces would fit together and to see which roof I liked better. I also tested how my rastered components would look like on the design.
feb 8 2026 3:30 pm
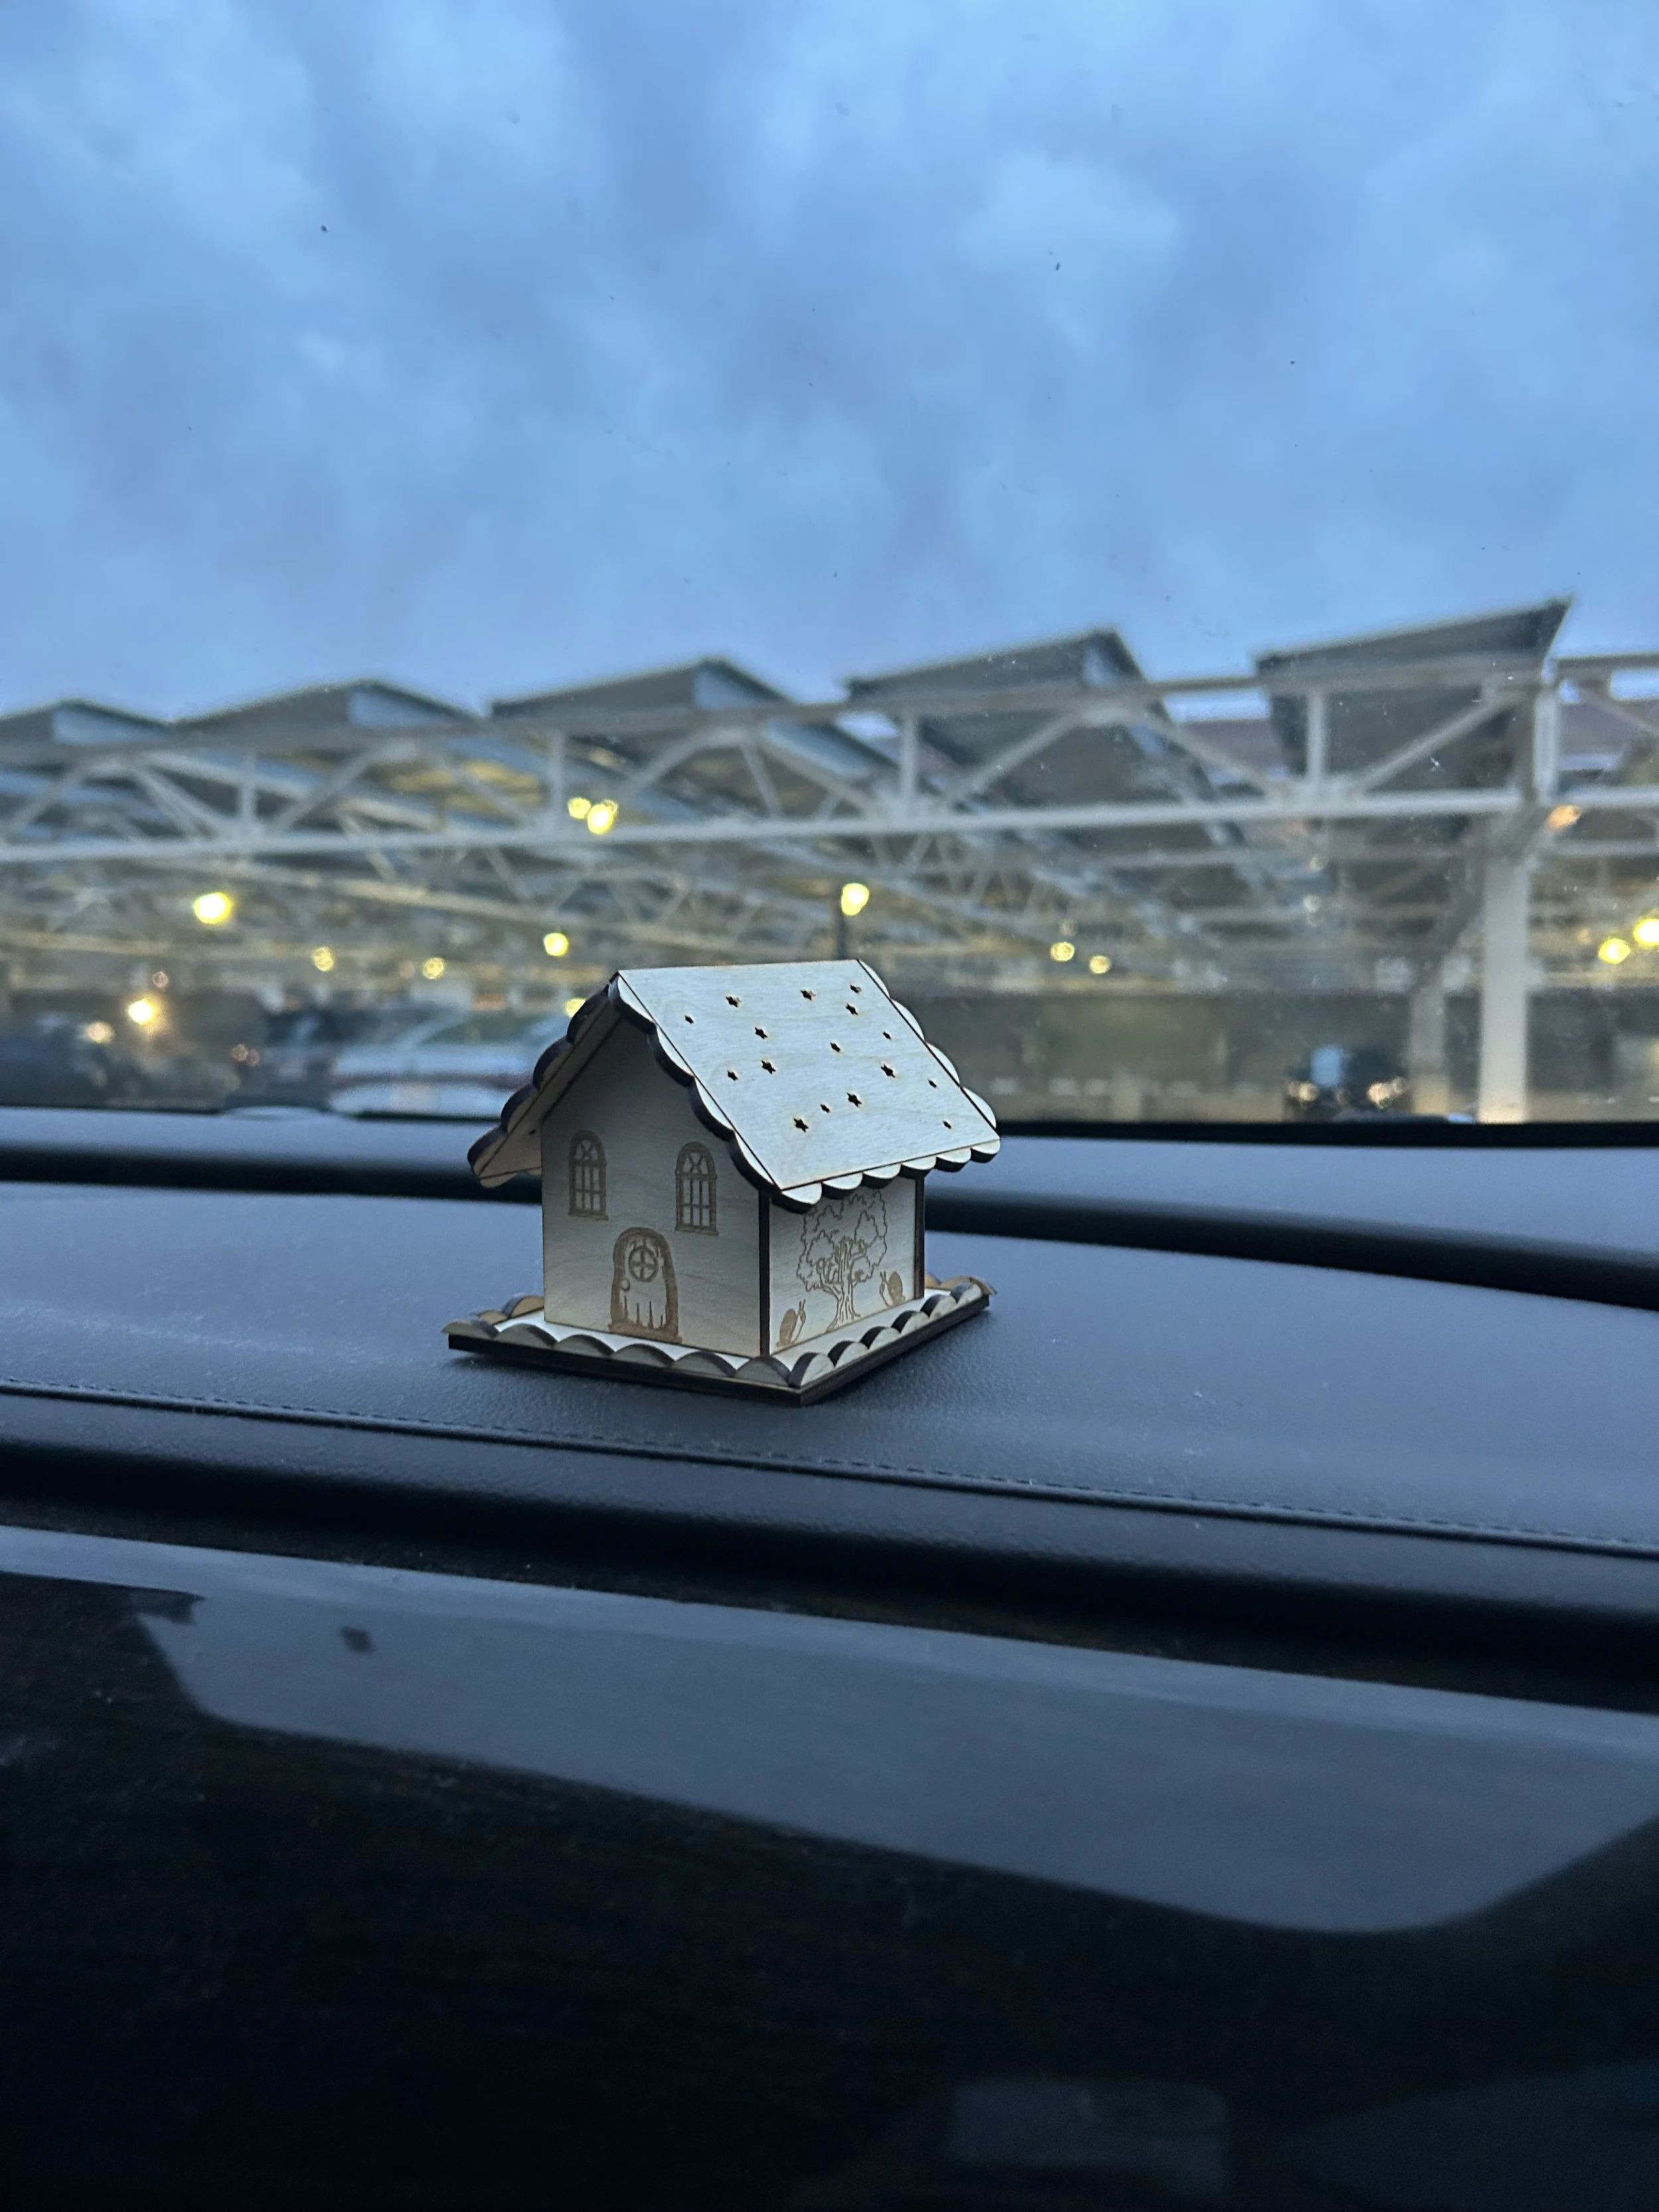
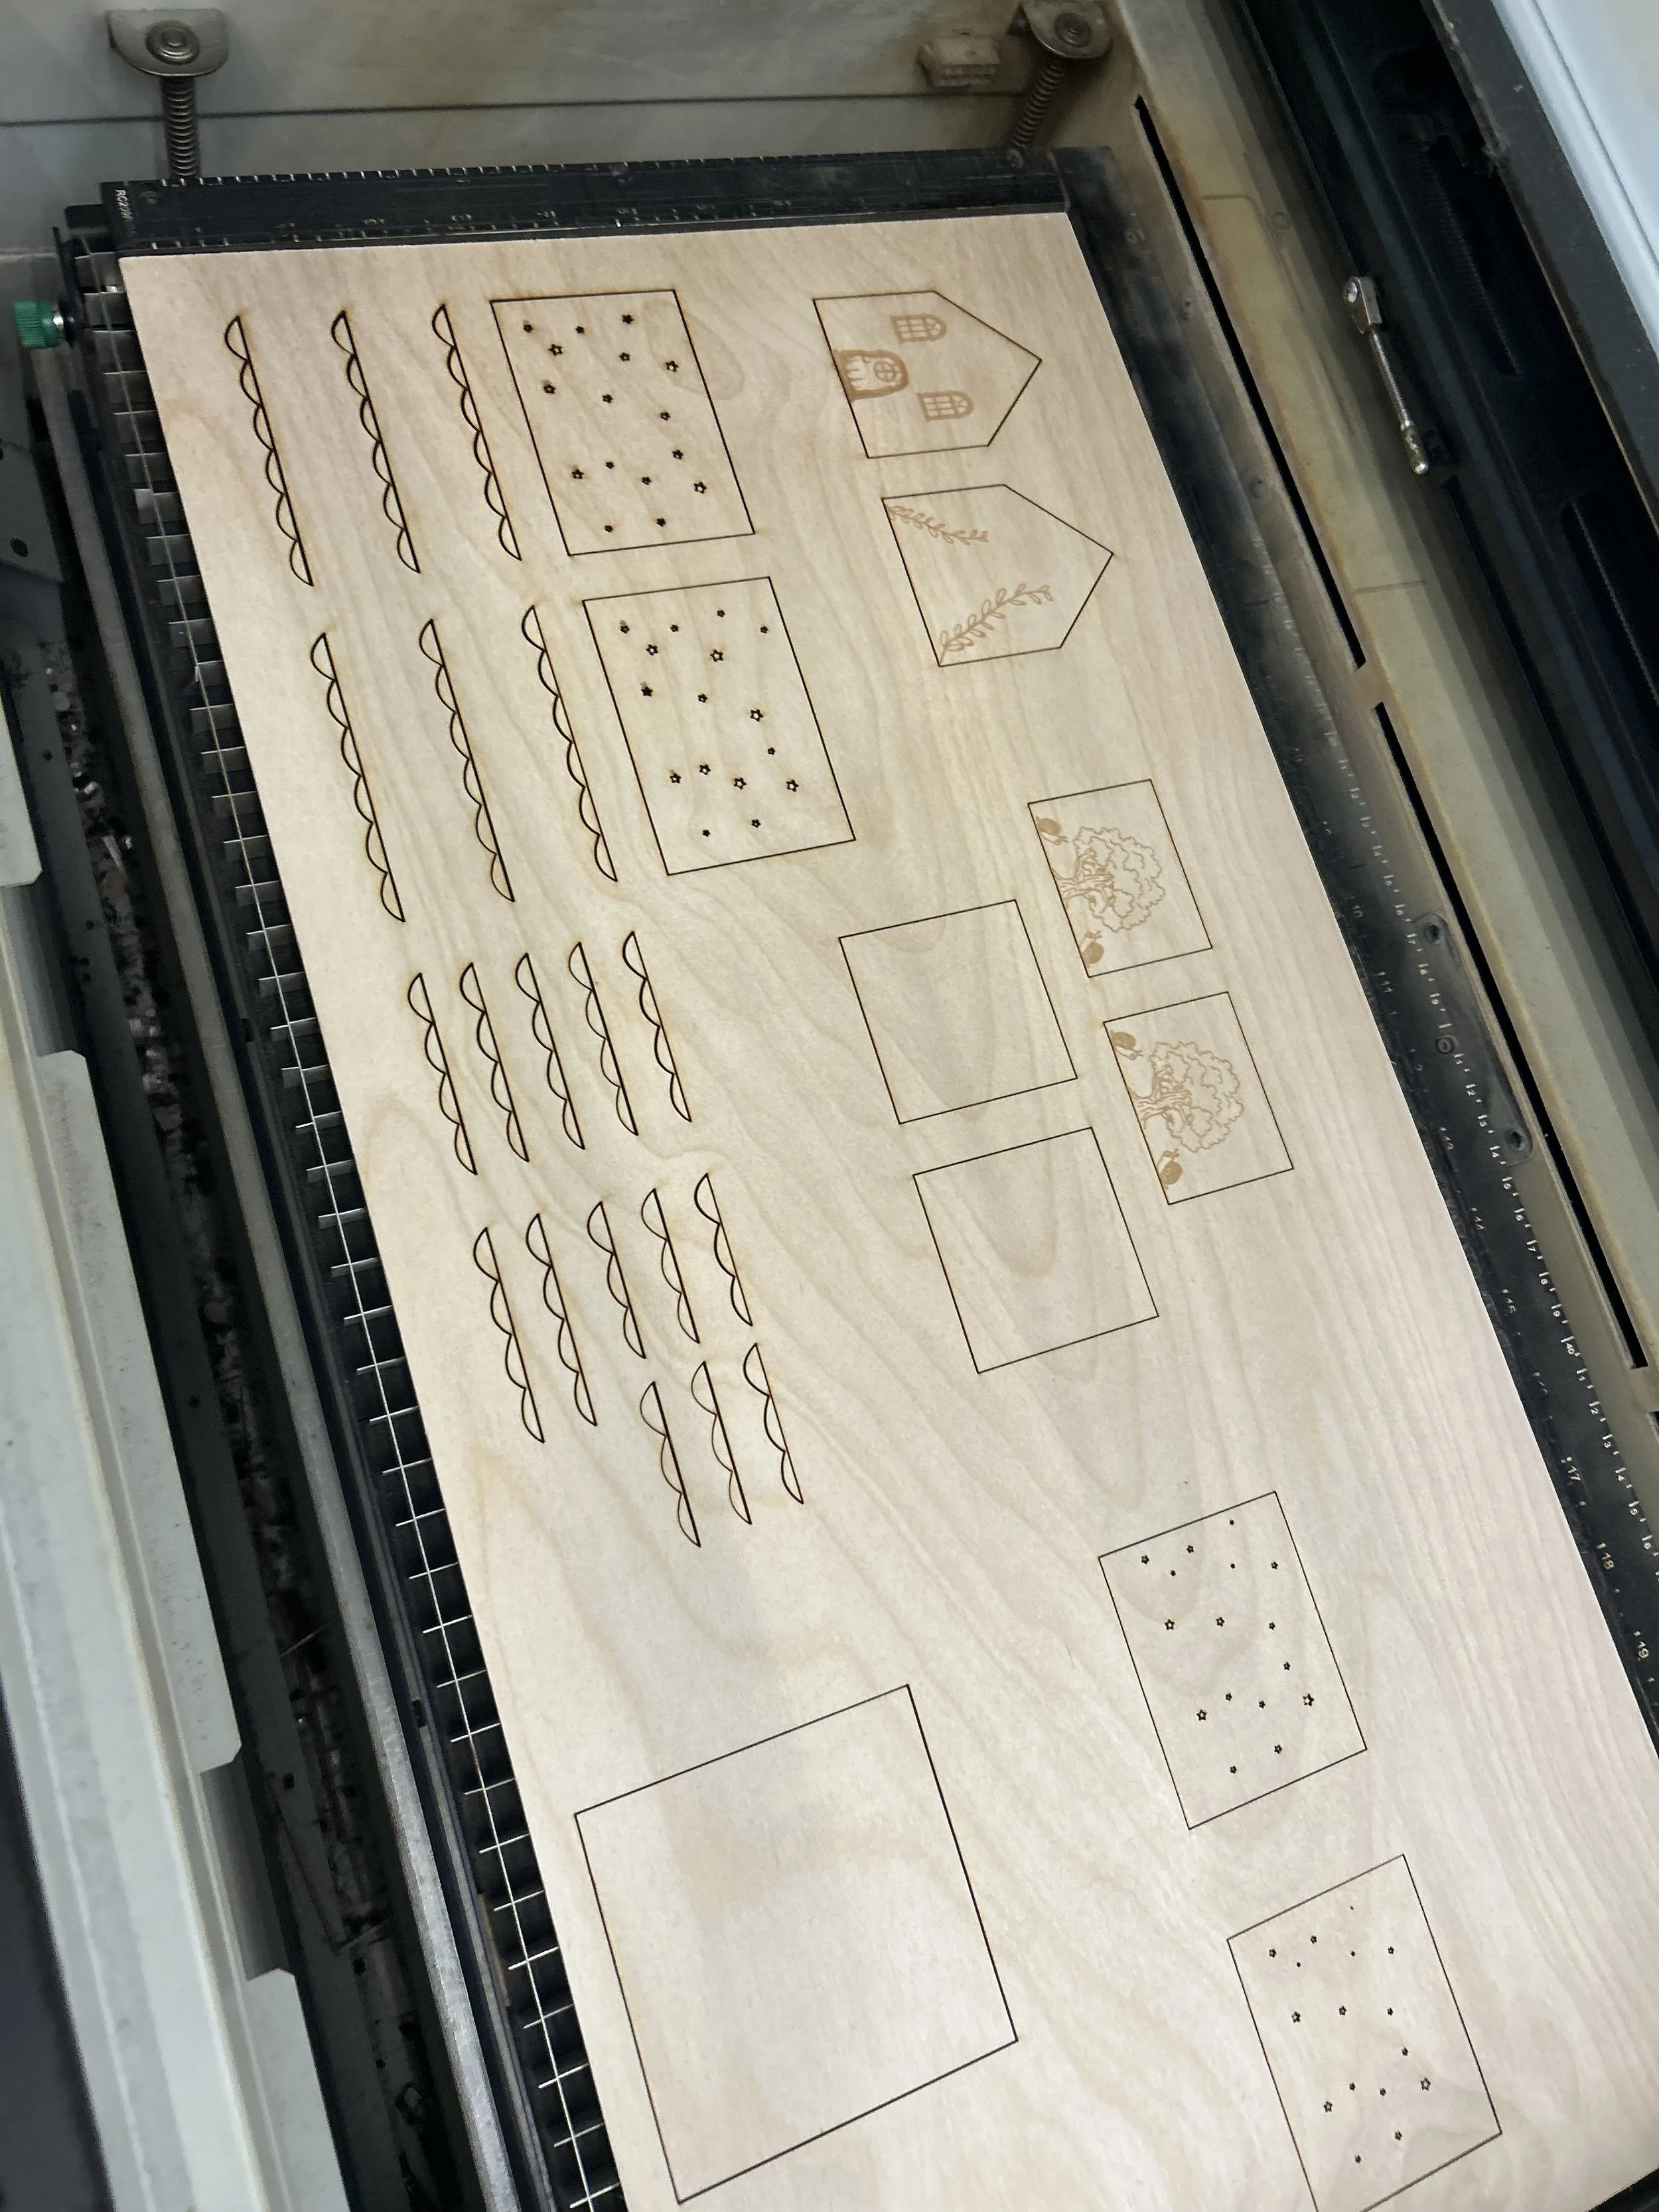
since I liked how the small test cut design looked, I decided to go a bit better and do my final design. I incorporated stars on the roof that were vector cut. I also added snails, leaves and trees to my design.
I wanted this design to look very happy and like a childhood memory. kind of, like a fairy house.
feb 8 2026 3:50 pm
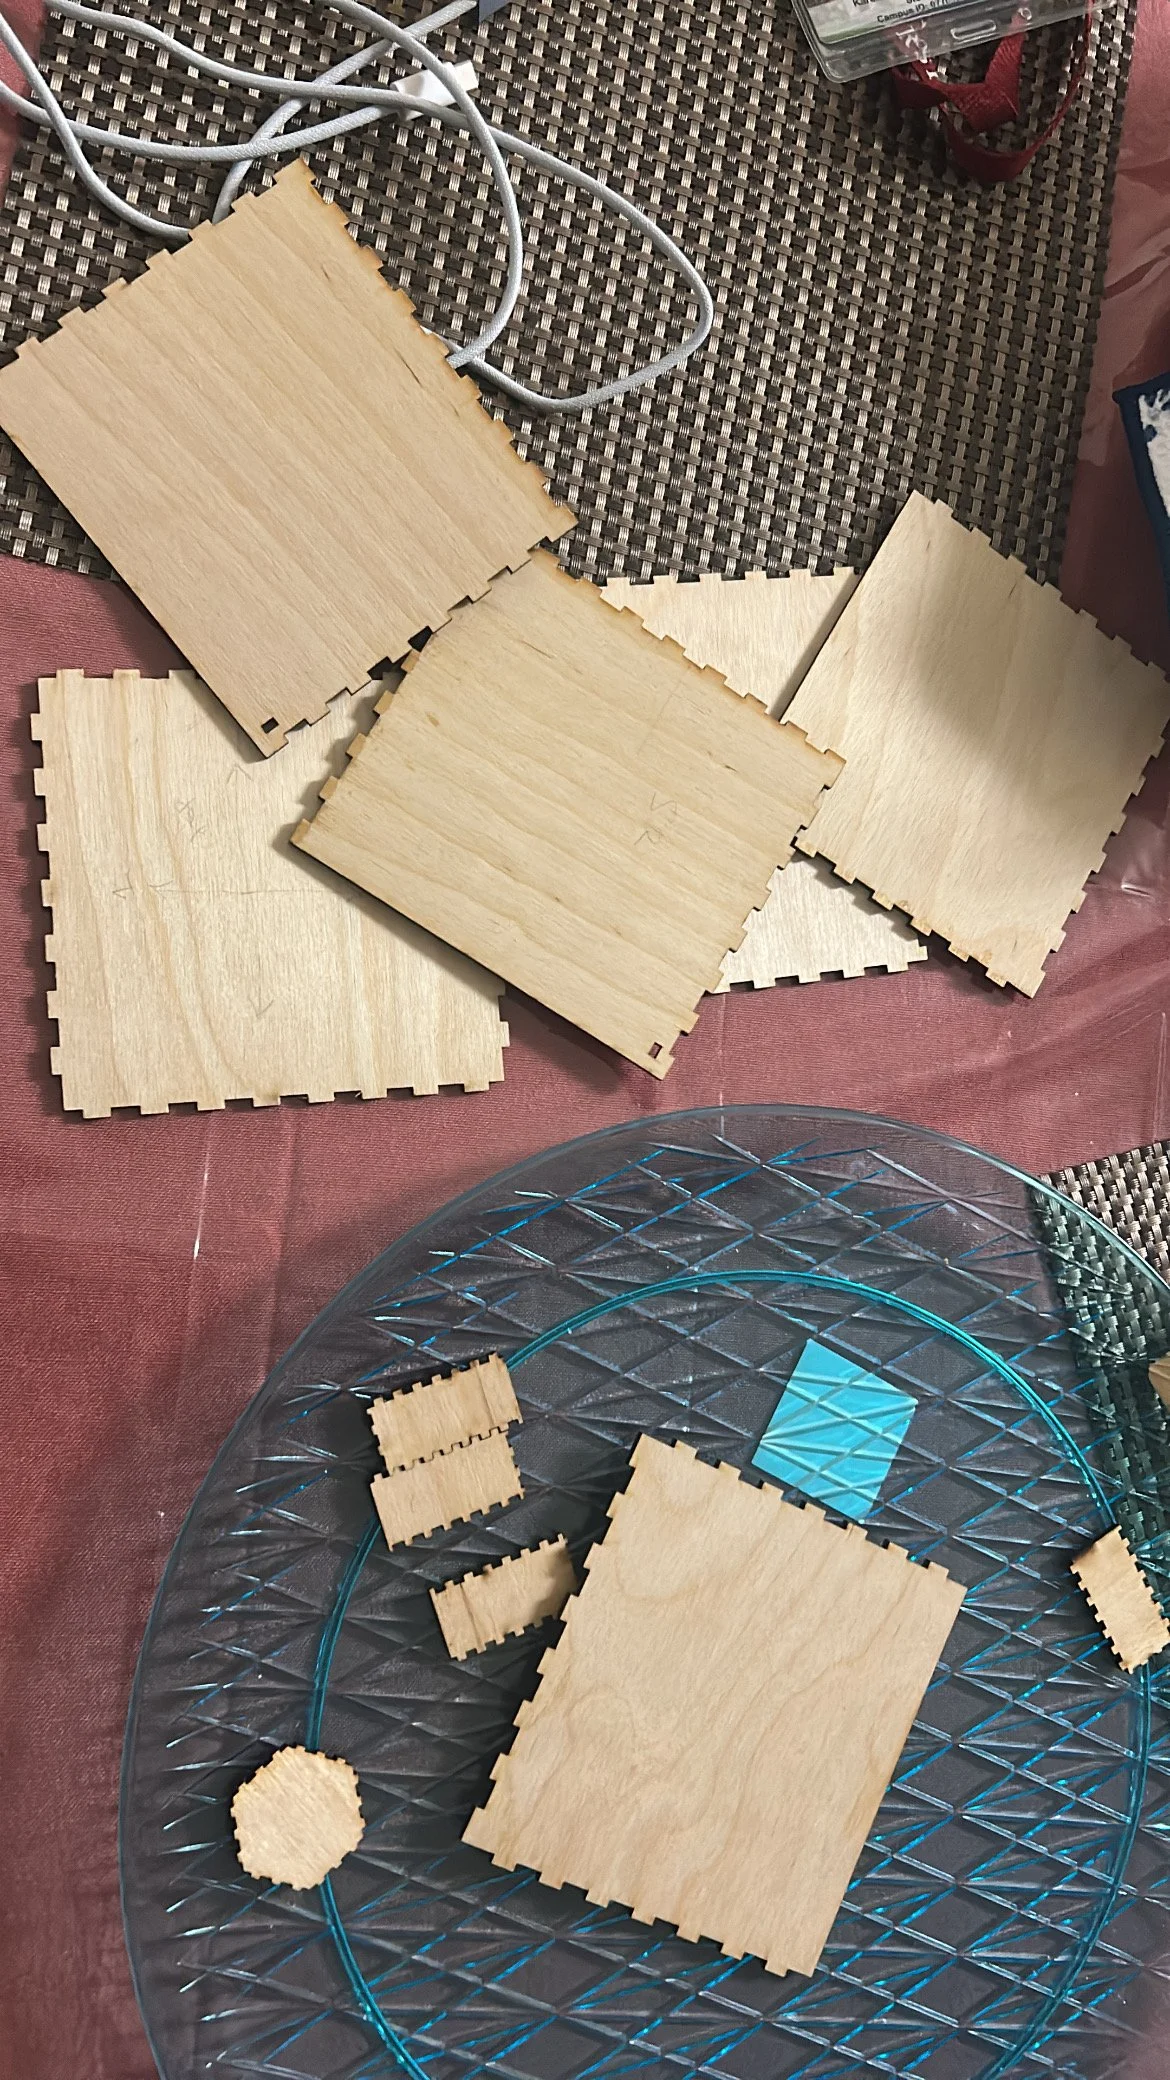
I used wood glue to put all the pieces together and since I felt like my base needed something because I thought it looked too plain, I decided to use my leftover scalloped edges from the roof to put them in my base.
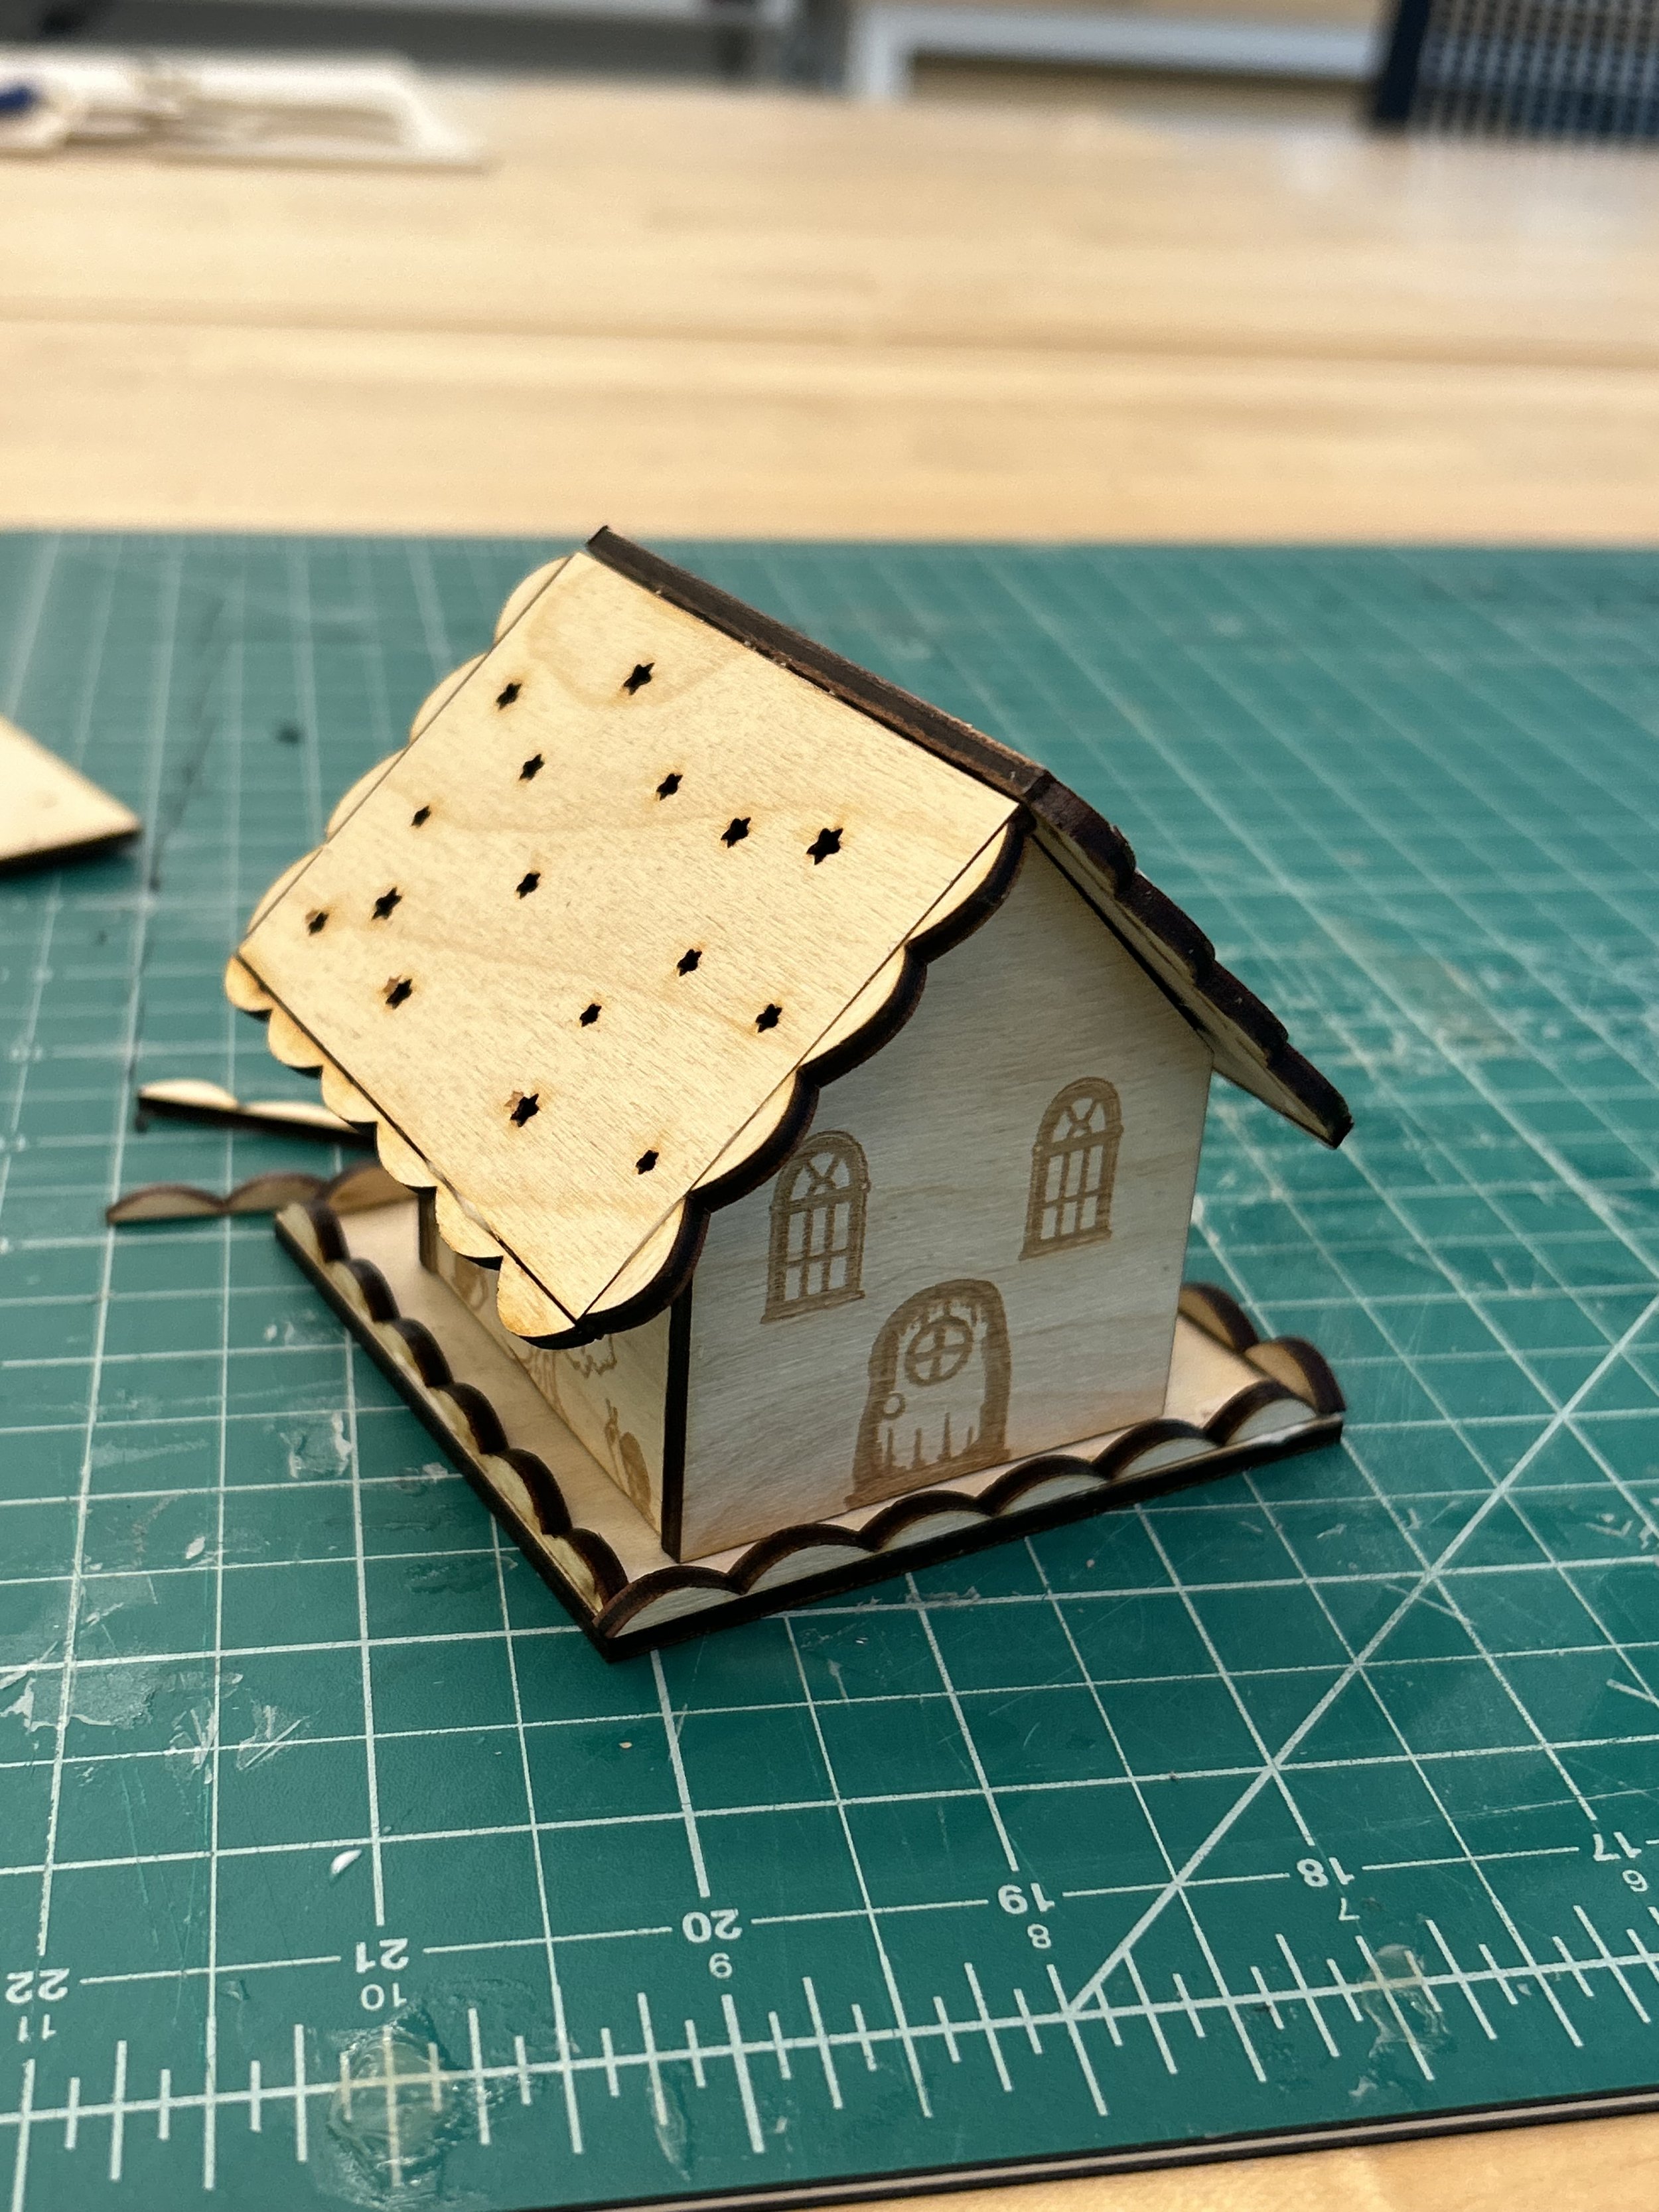
final design.
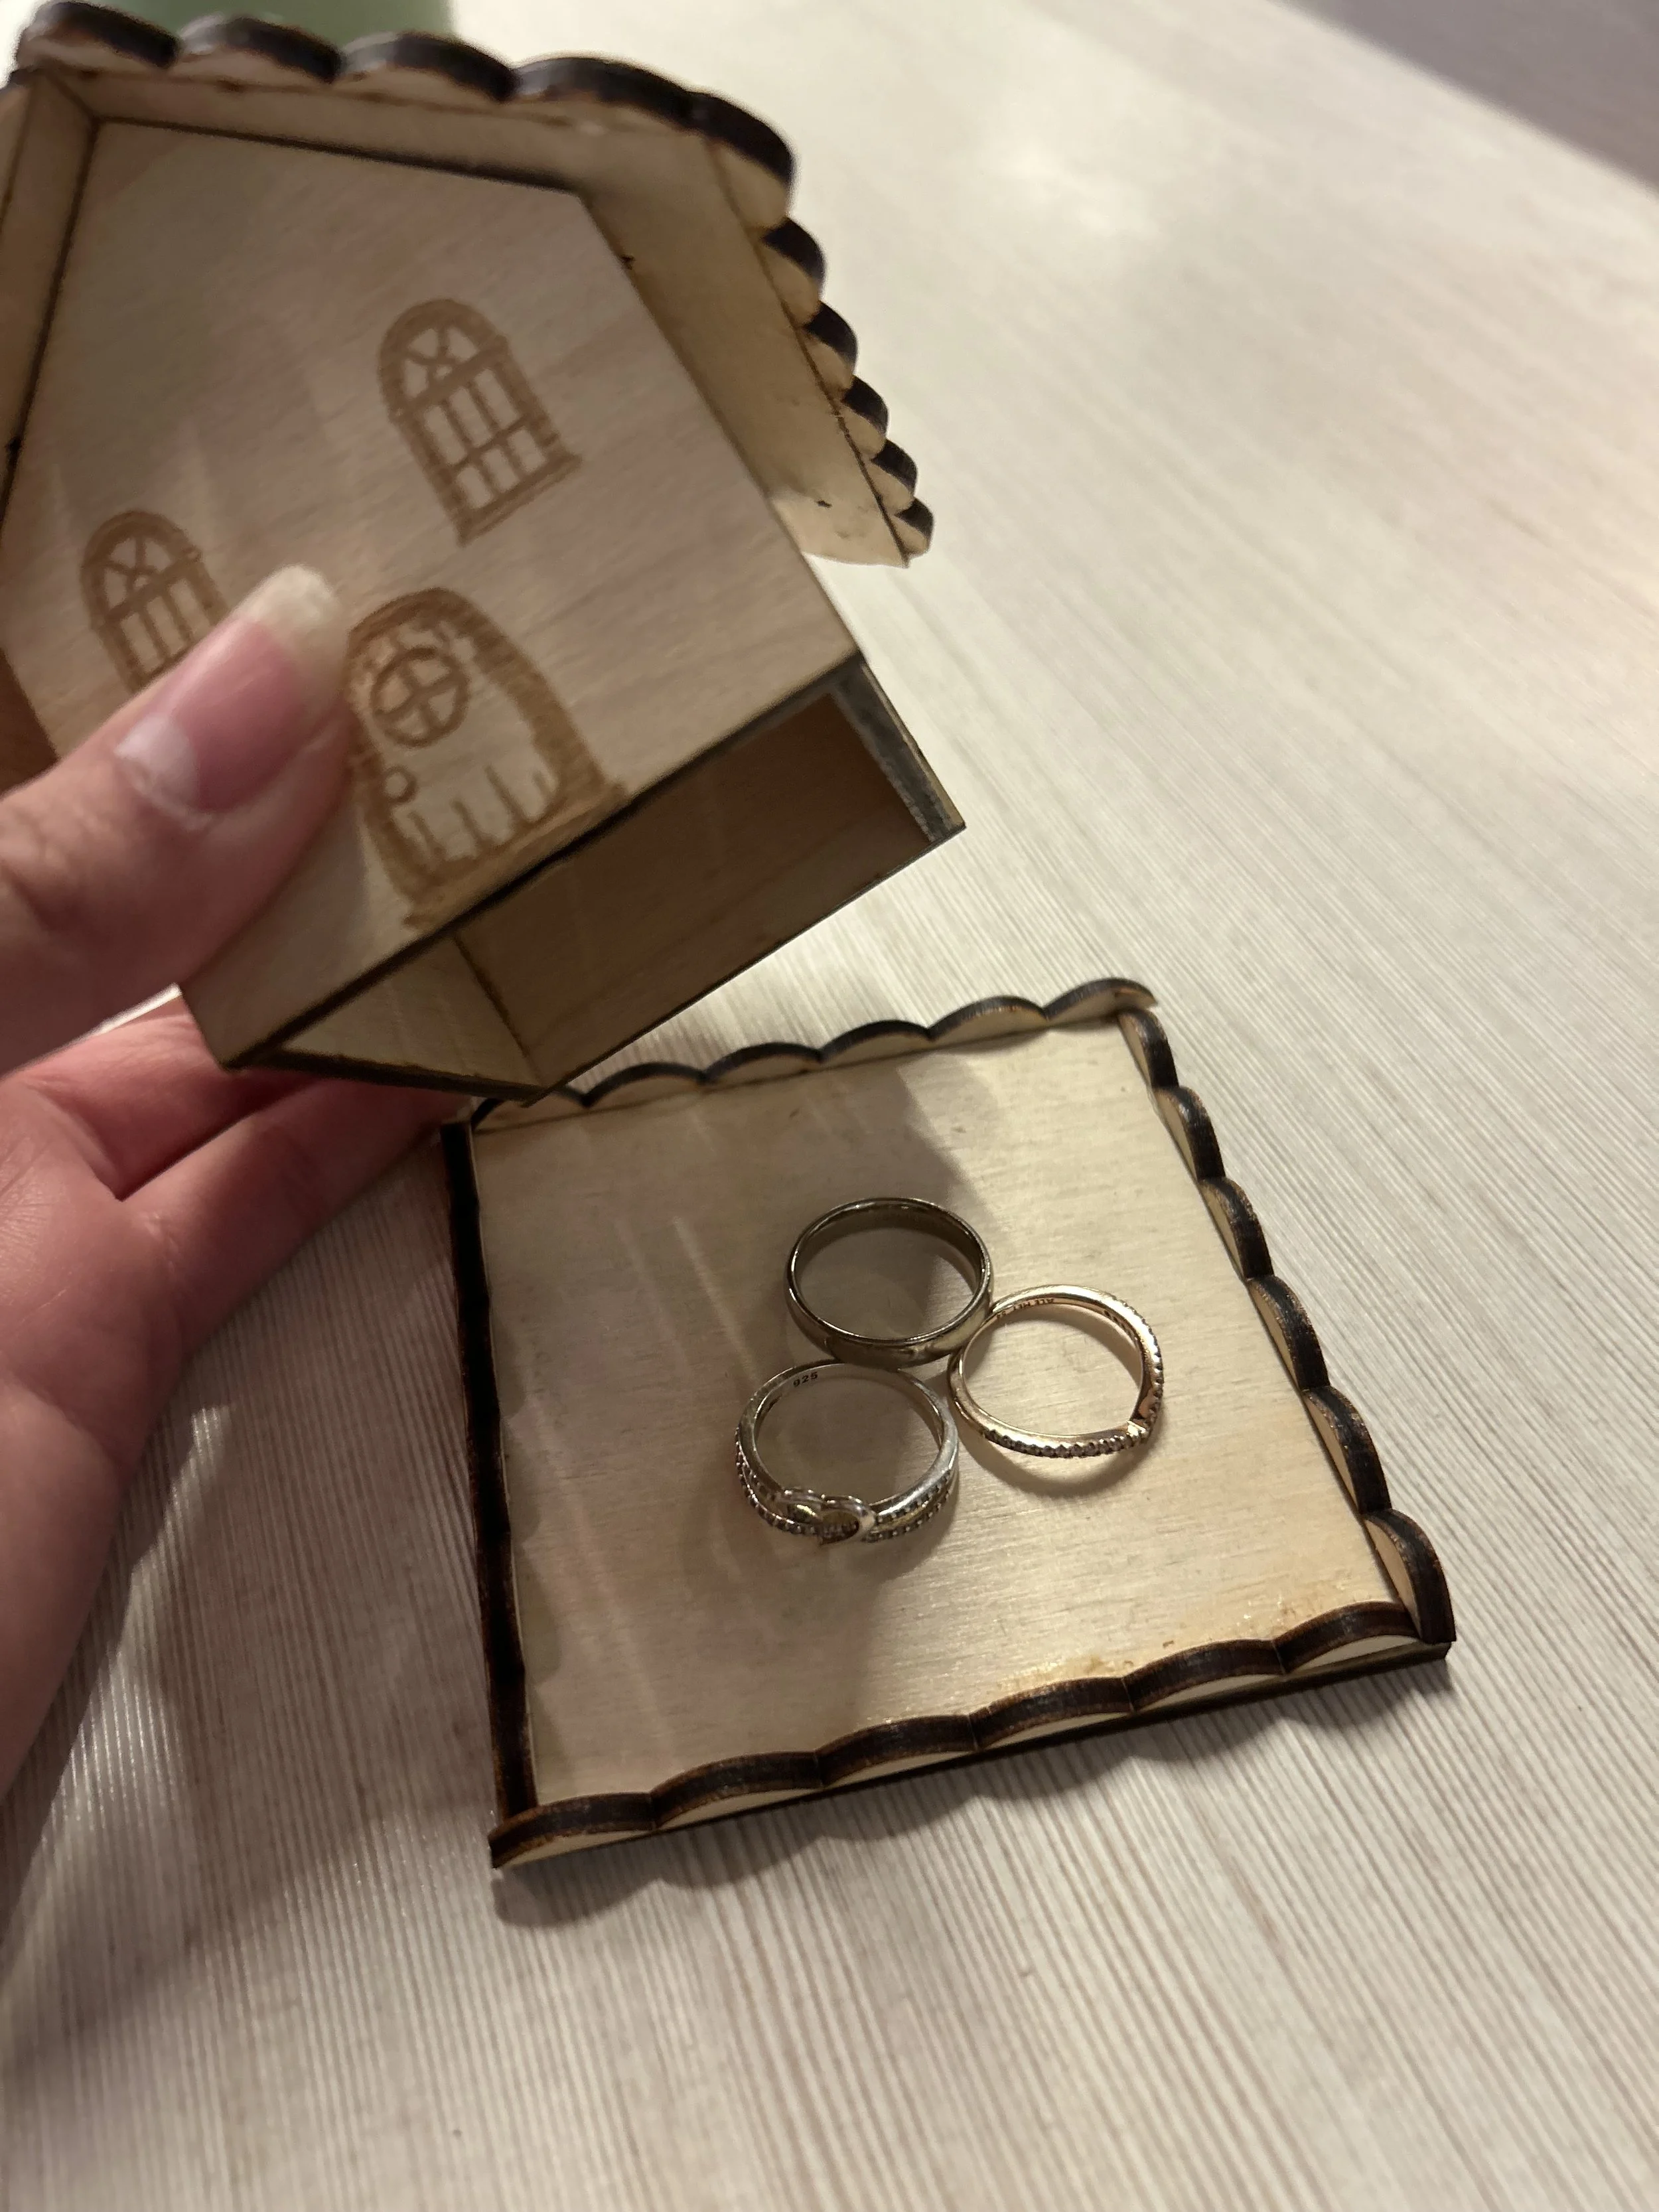
I decided to not glue the house onto the base because I thought it would be a good idea to use it to store small things, like rings!
in this project I learned how to get better in using the laser cutter, and how to do finger joints. I am still experimenting with finger joints because I really want to use them for future designs. I was able to understand what a kerf was and why it is important to take it into consideration.