Project 4: Phone Stand
For this project, I decided to make a simple phone stand with measurements for any average size phone.
Feb 12 2026
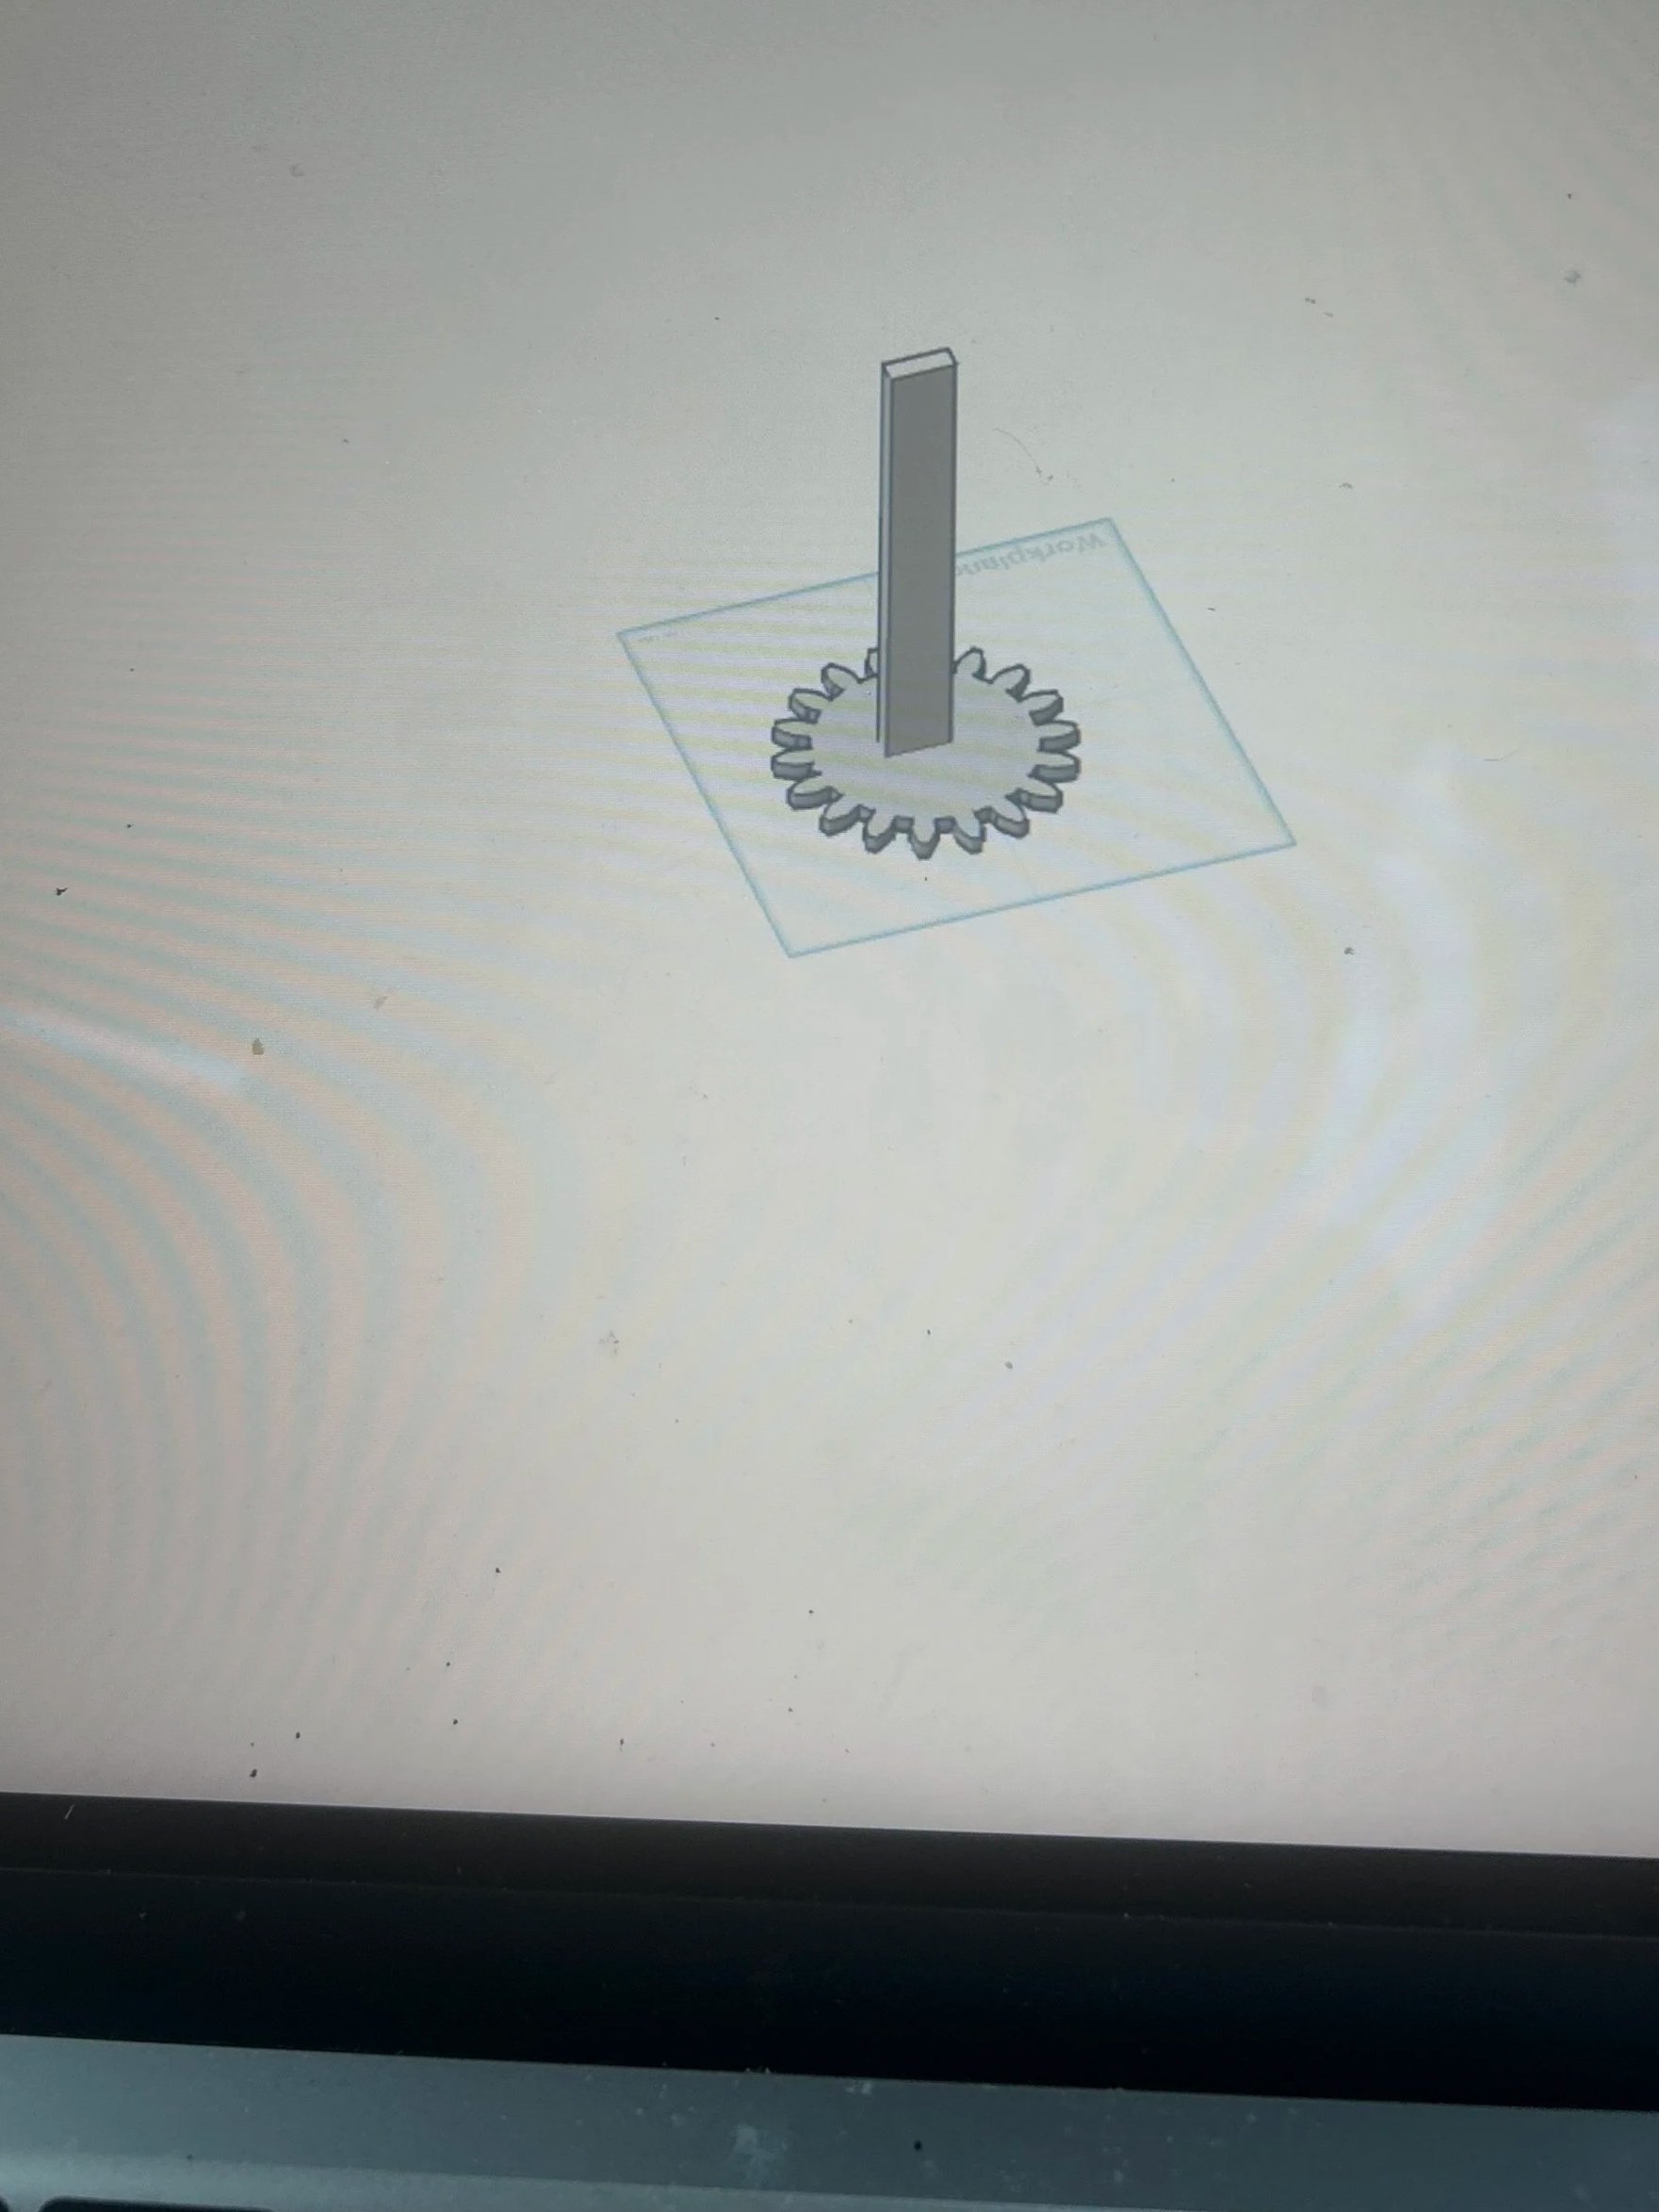
I started off with wanting to explore different softwares because I wanted to create my own design. I explored Tinkercad and Onshape.
I was very curious on how these two softwares worked and which one would be better for the dead I had in mind.
I spent hours switching from tinkercad to onshape and vice versa because I really wanted to learn both at the same time, and I did learn a lot from my mistakes.
however, I noticed that I was losing a lot of time trying to learn both that I didn’t have enough time for my actual assigment.
feb 14 2026
I saw that my friend had this phone stand on her dorm and I went on onshape and tried to see if I could do it too.
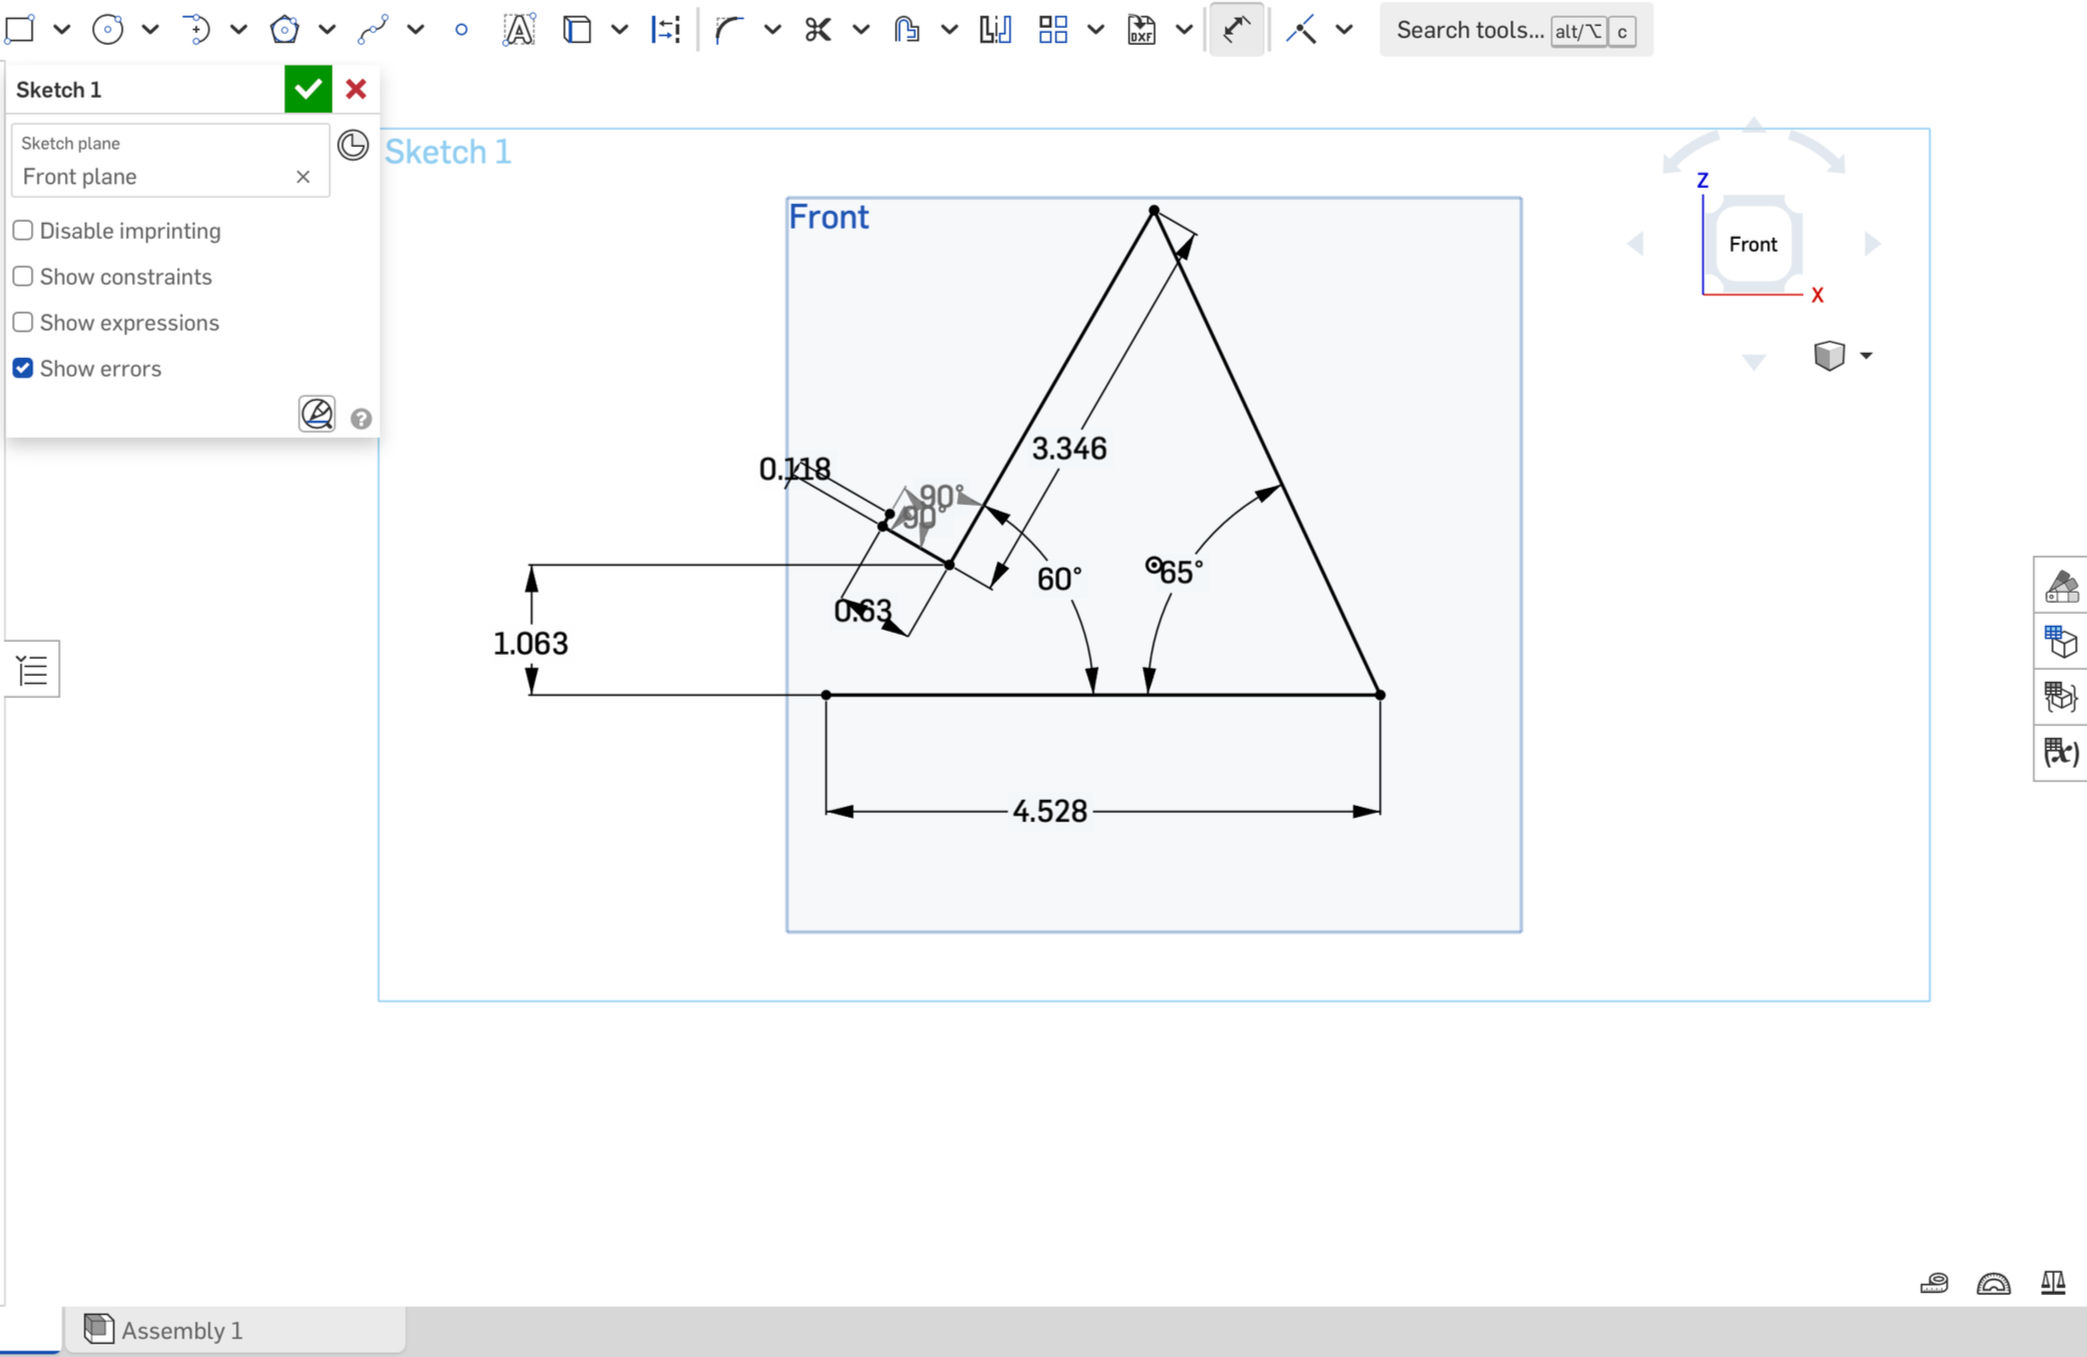
I was familiar with solid works and onshape was very similar to it so it wasn't hard to understand how to do all the dimensions and design. I did however had a YouTube tutorial open in case i was stuck and didn’t know what to do. I saw a model very similar to my friend’s phone stand on YouTube, and had it open as my back up plan.
I converted all the measurements to inches since that made the most sense to me.
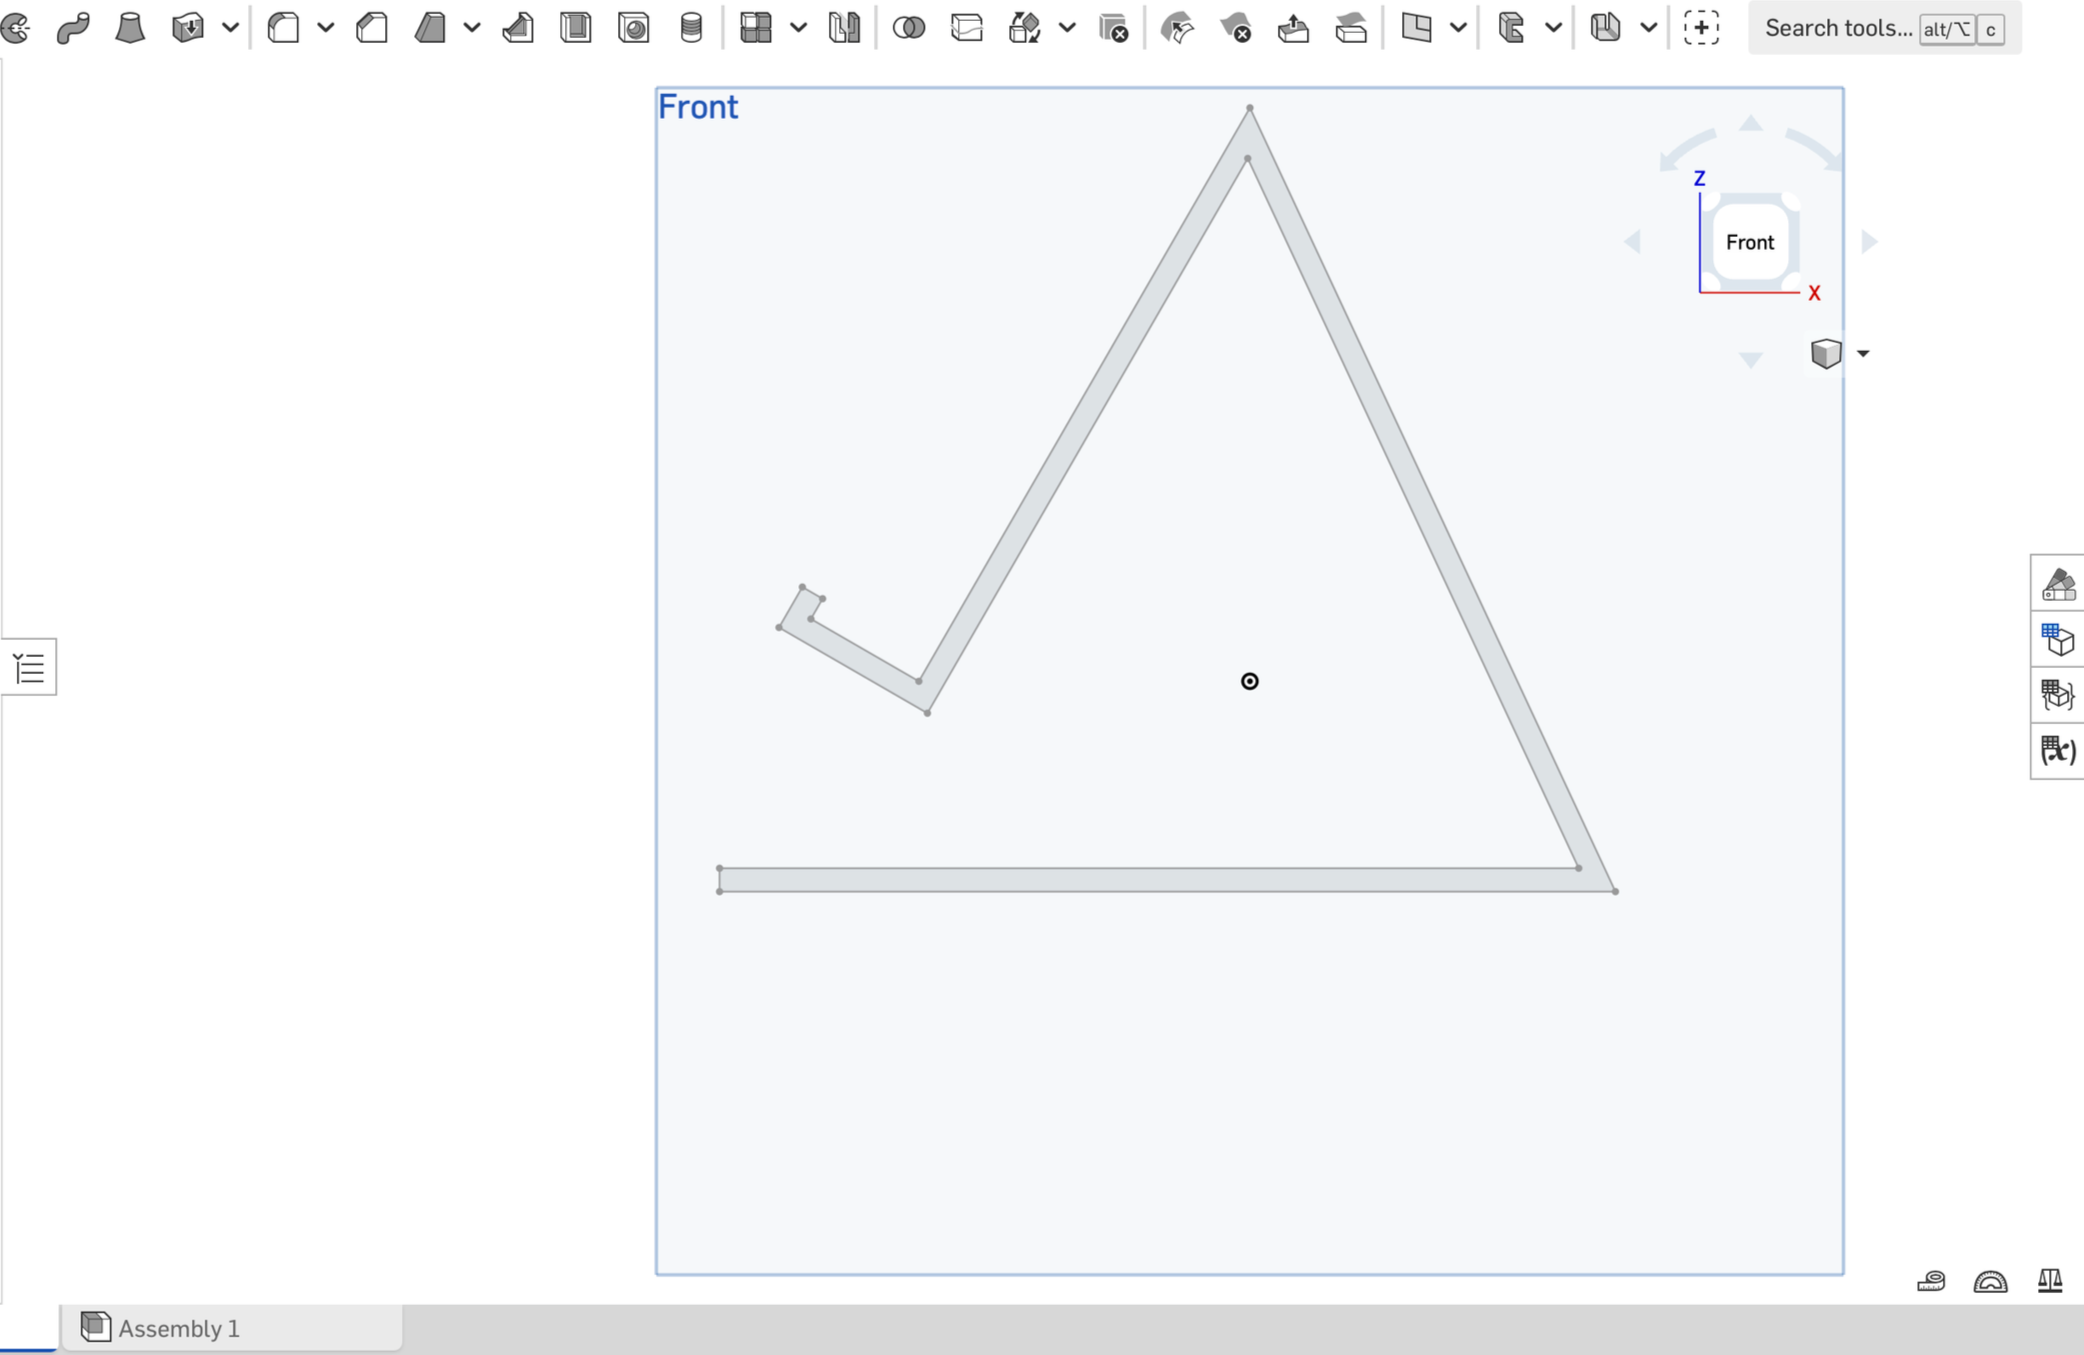
I used the offset feature on onshape to create that “border” and closed all the gaps on the design because if you dont close them, you won’t be able to extrude your piece.
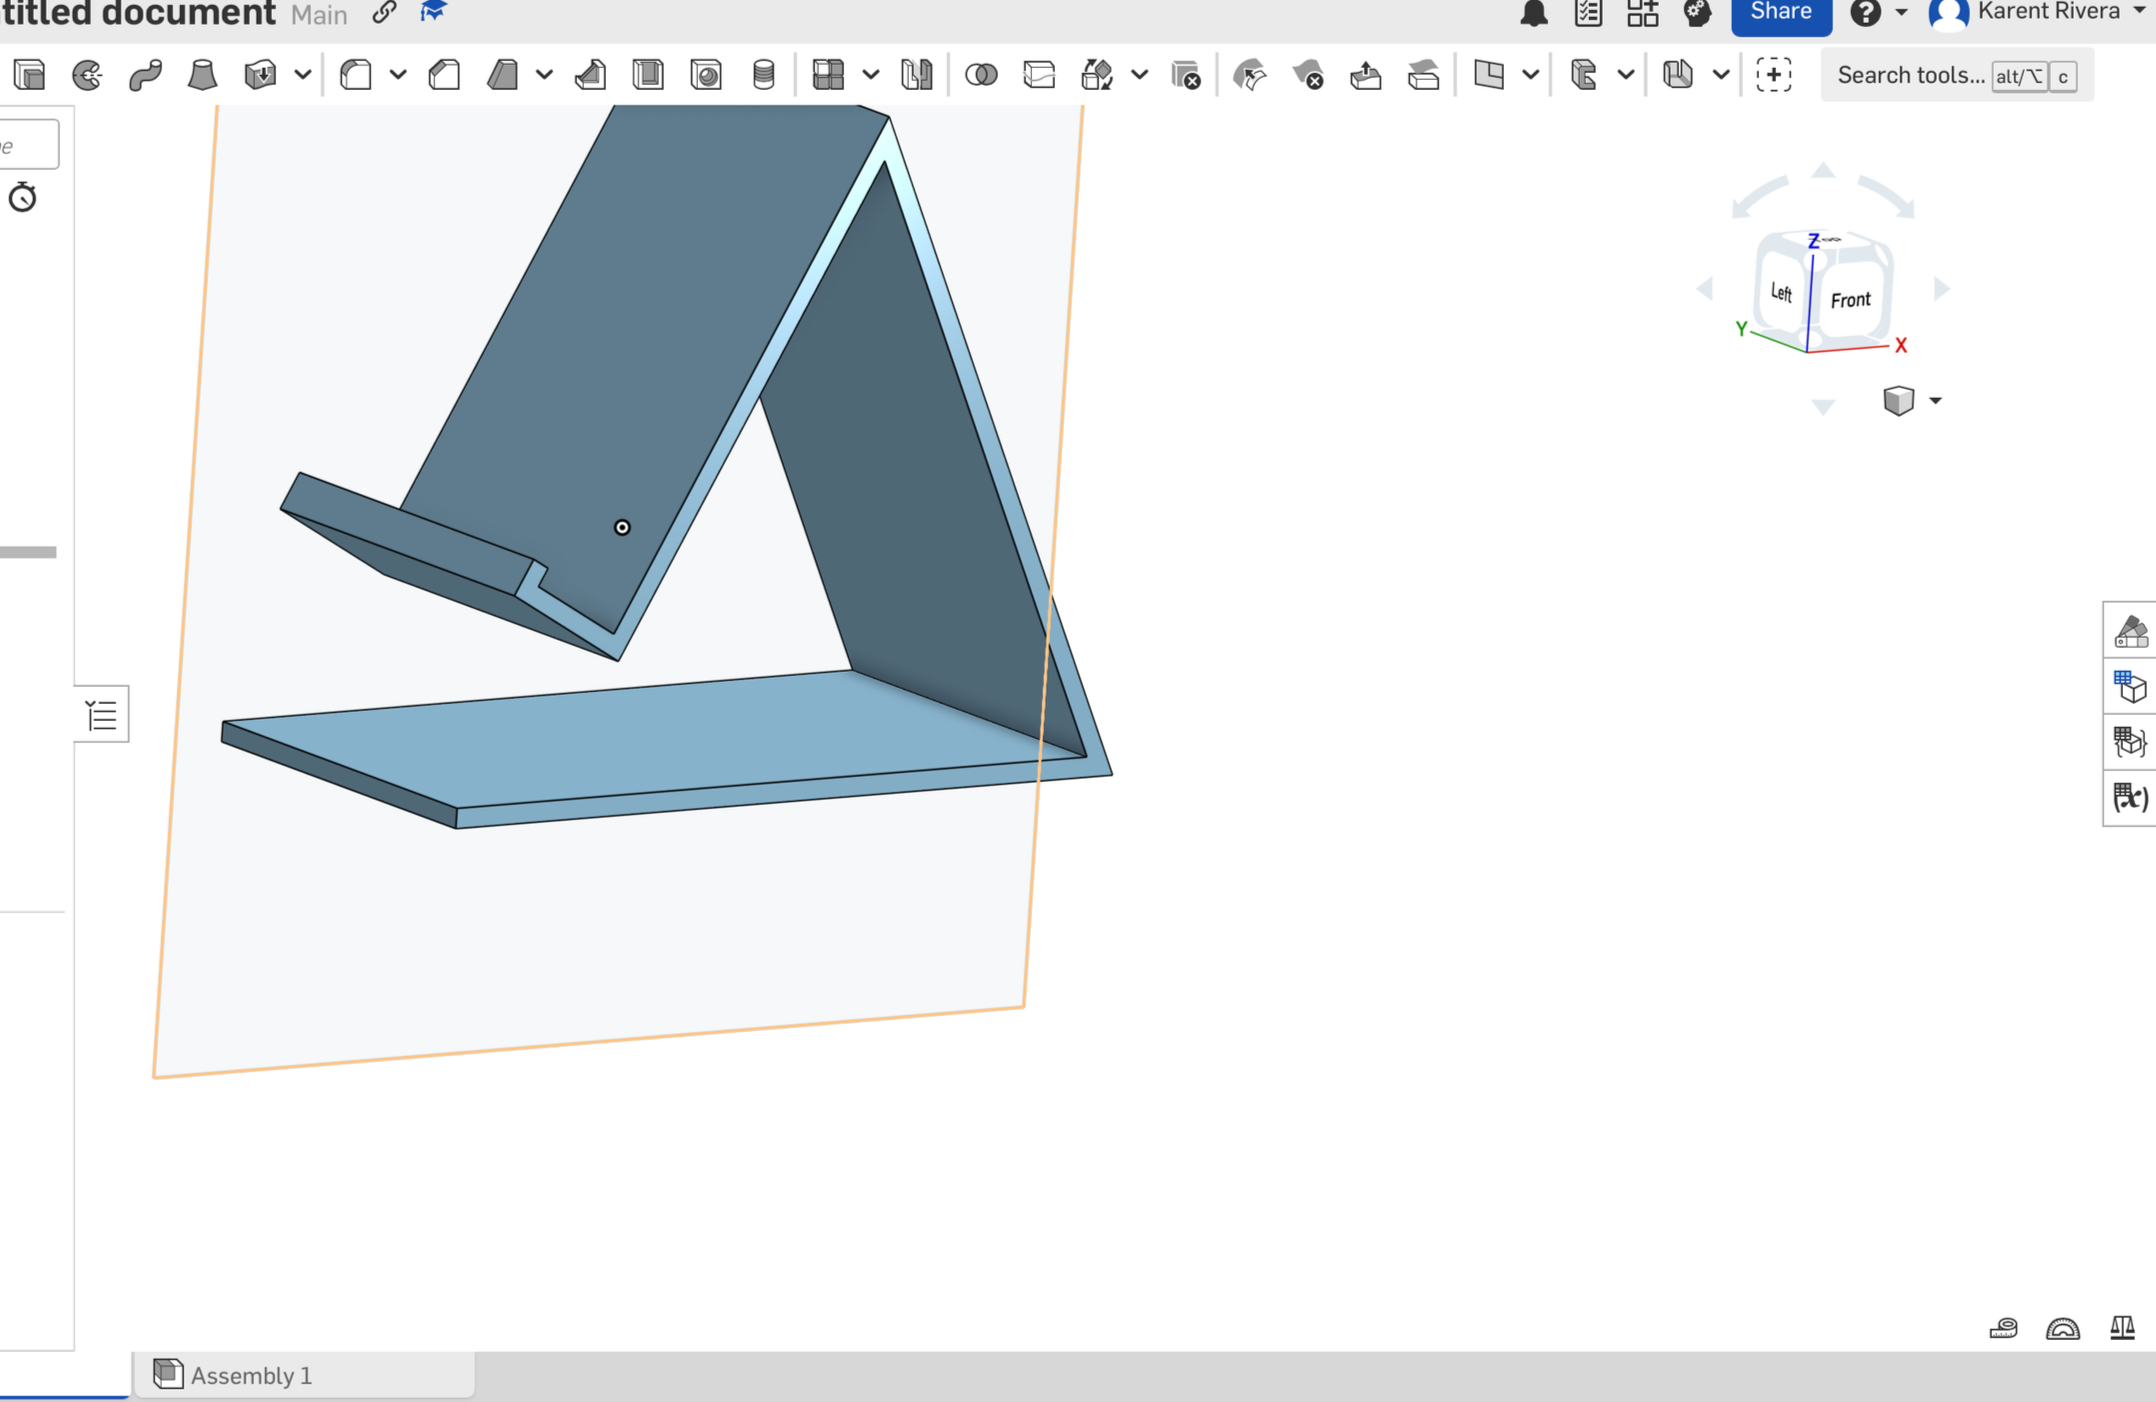
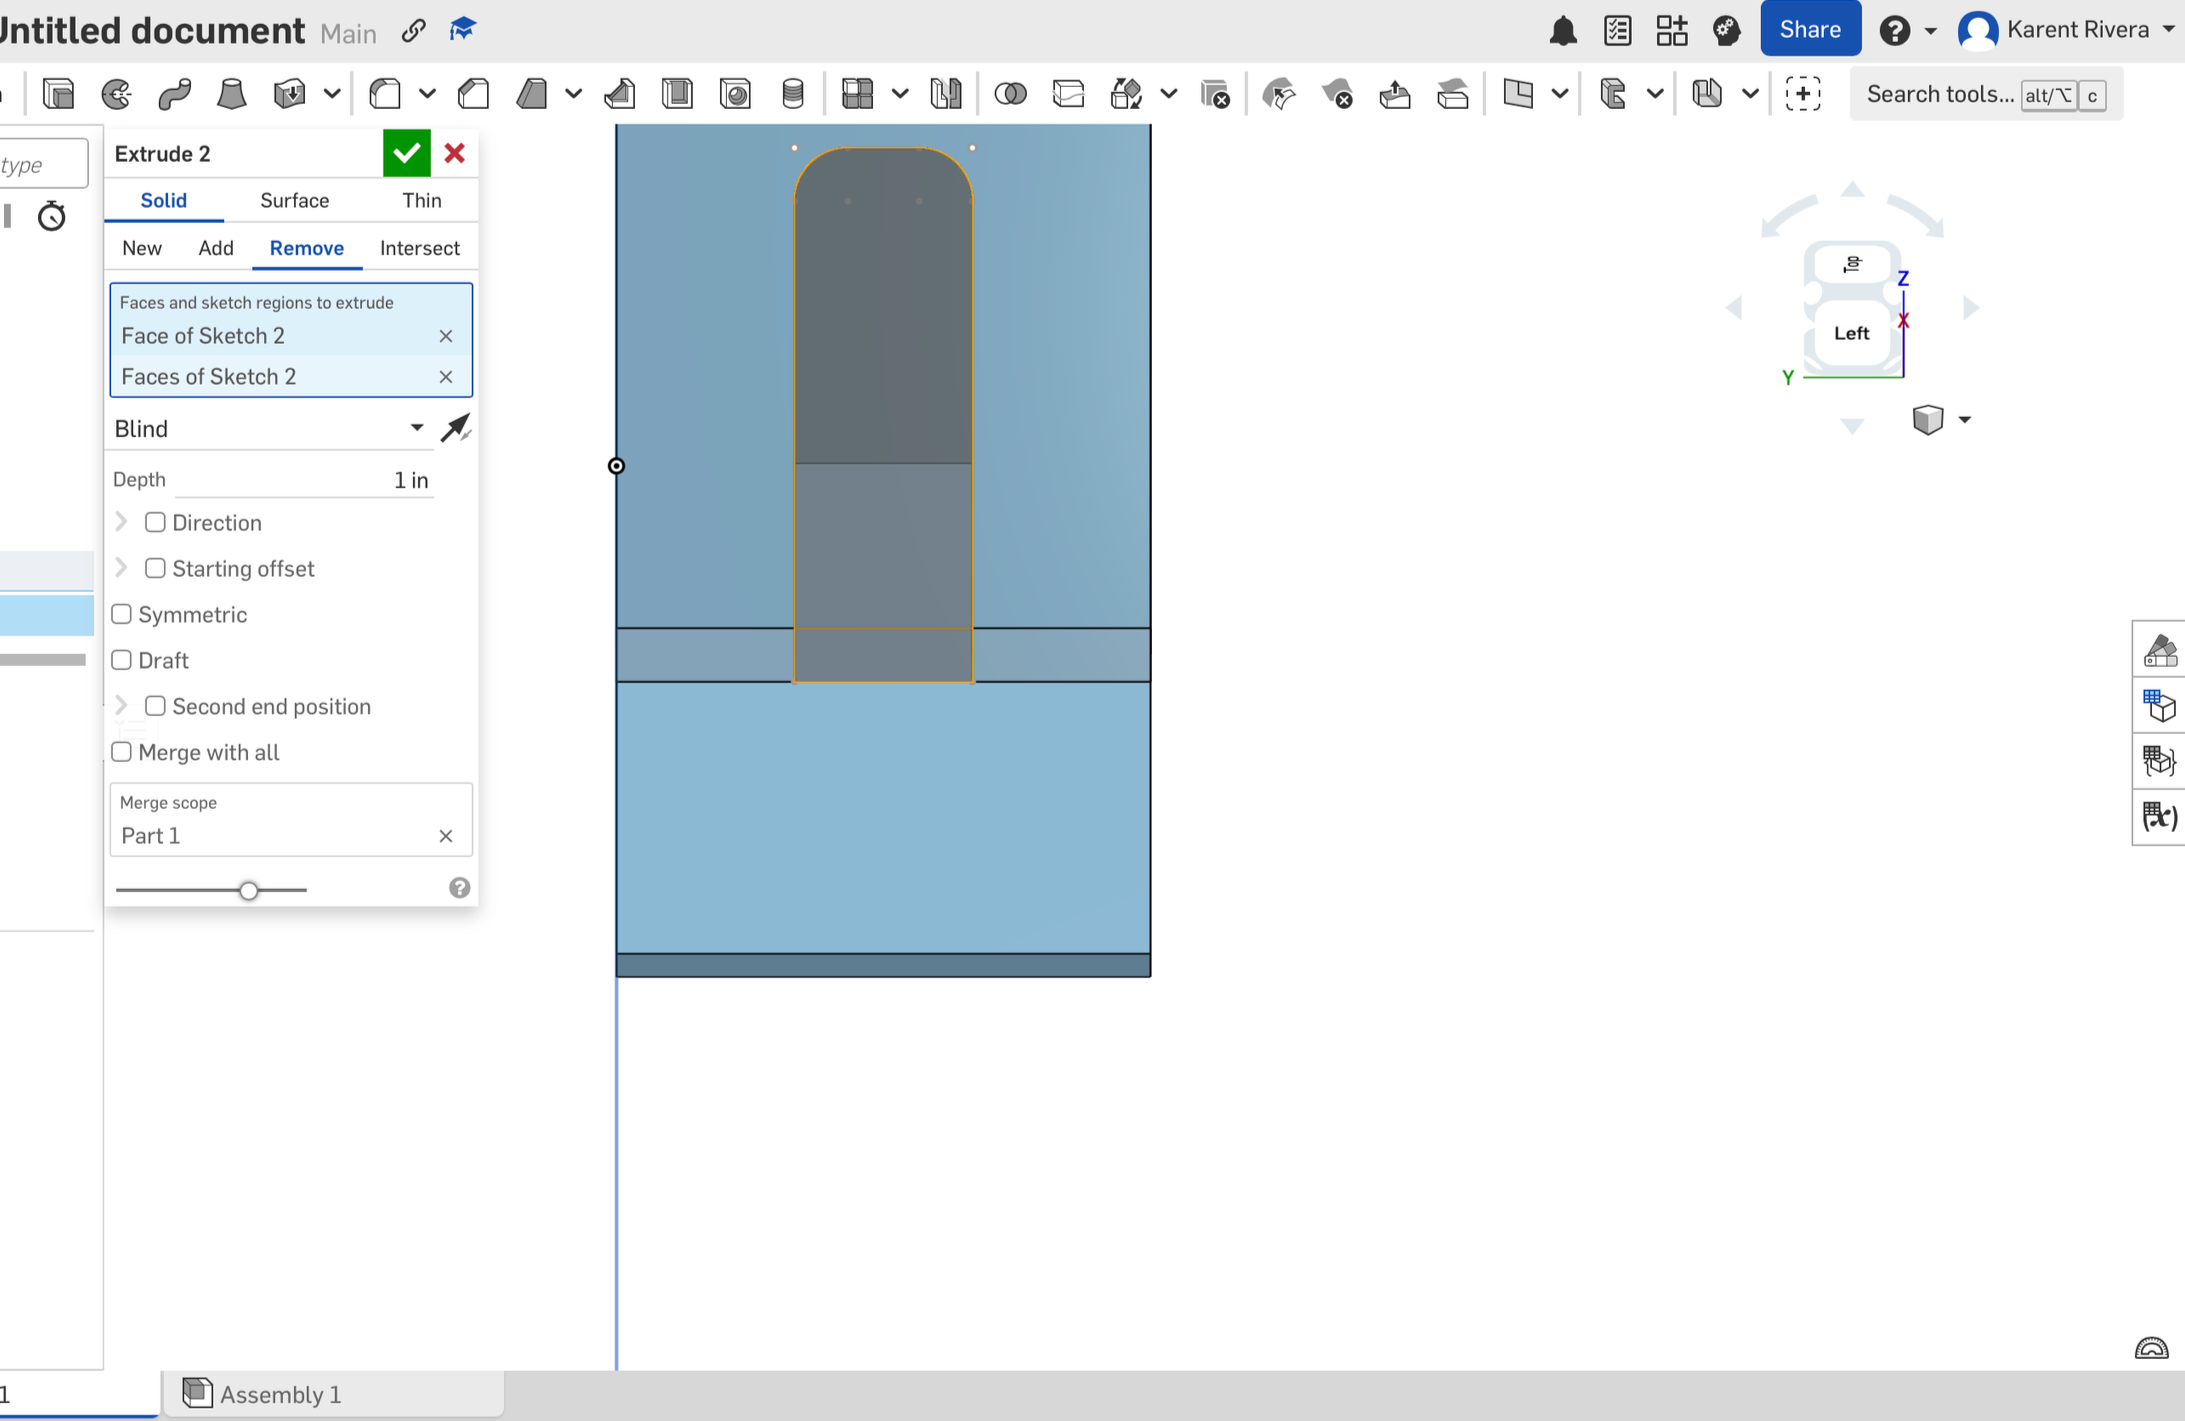
I extruded my piece and also oriented my piece to face forward so that I could cut a piece and make the whole that would allow the phone charger to fit.
feb 14 2026
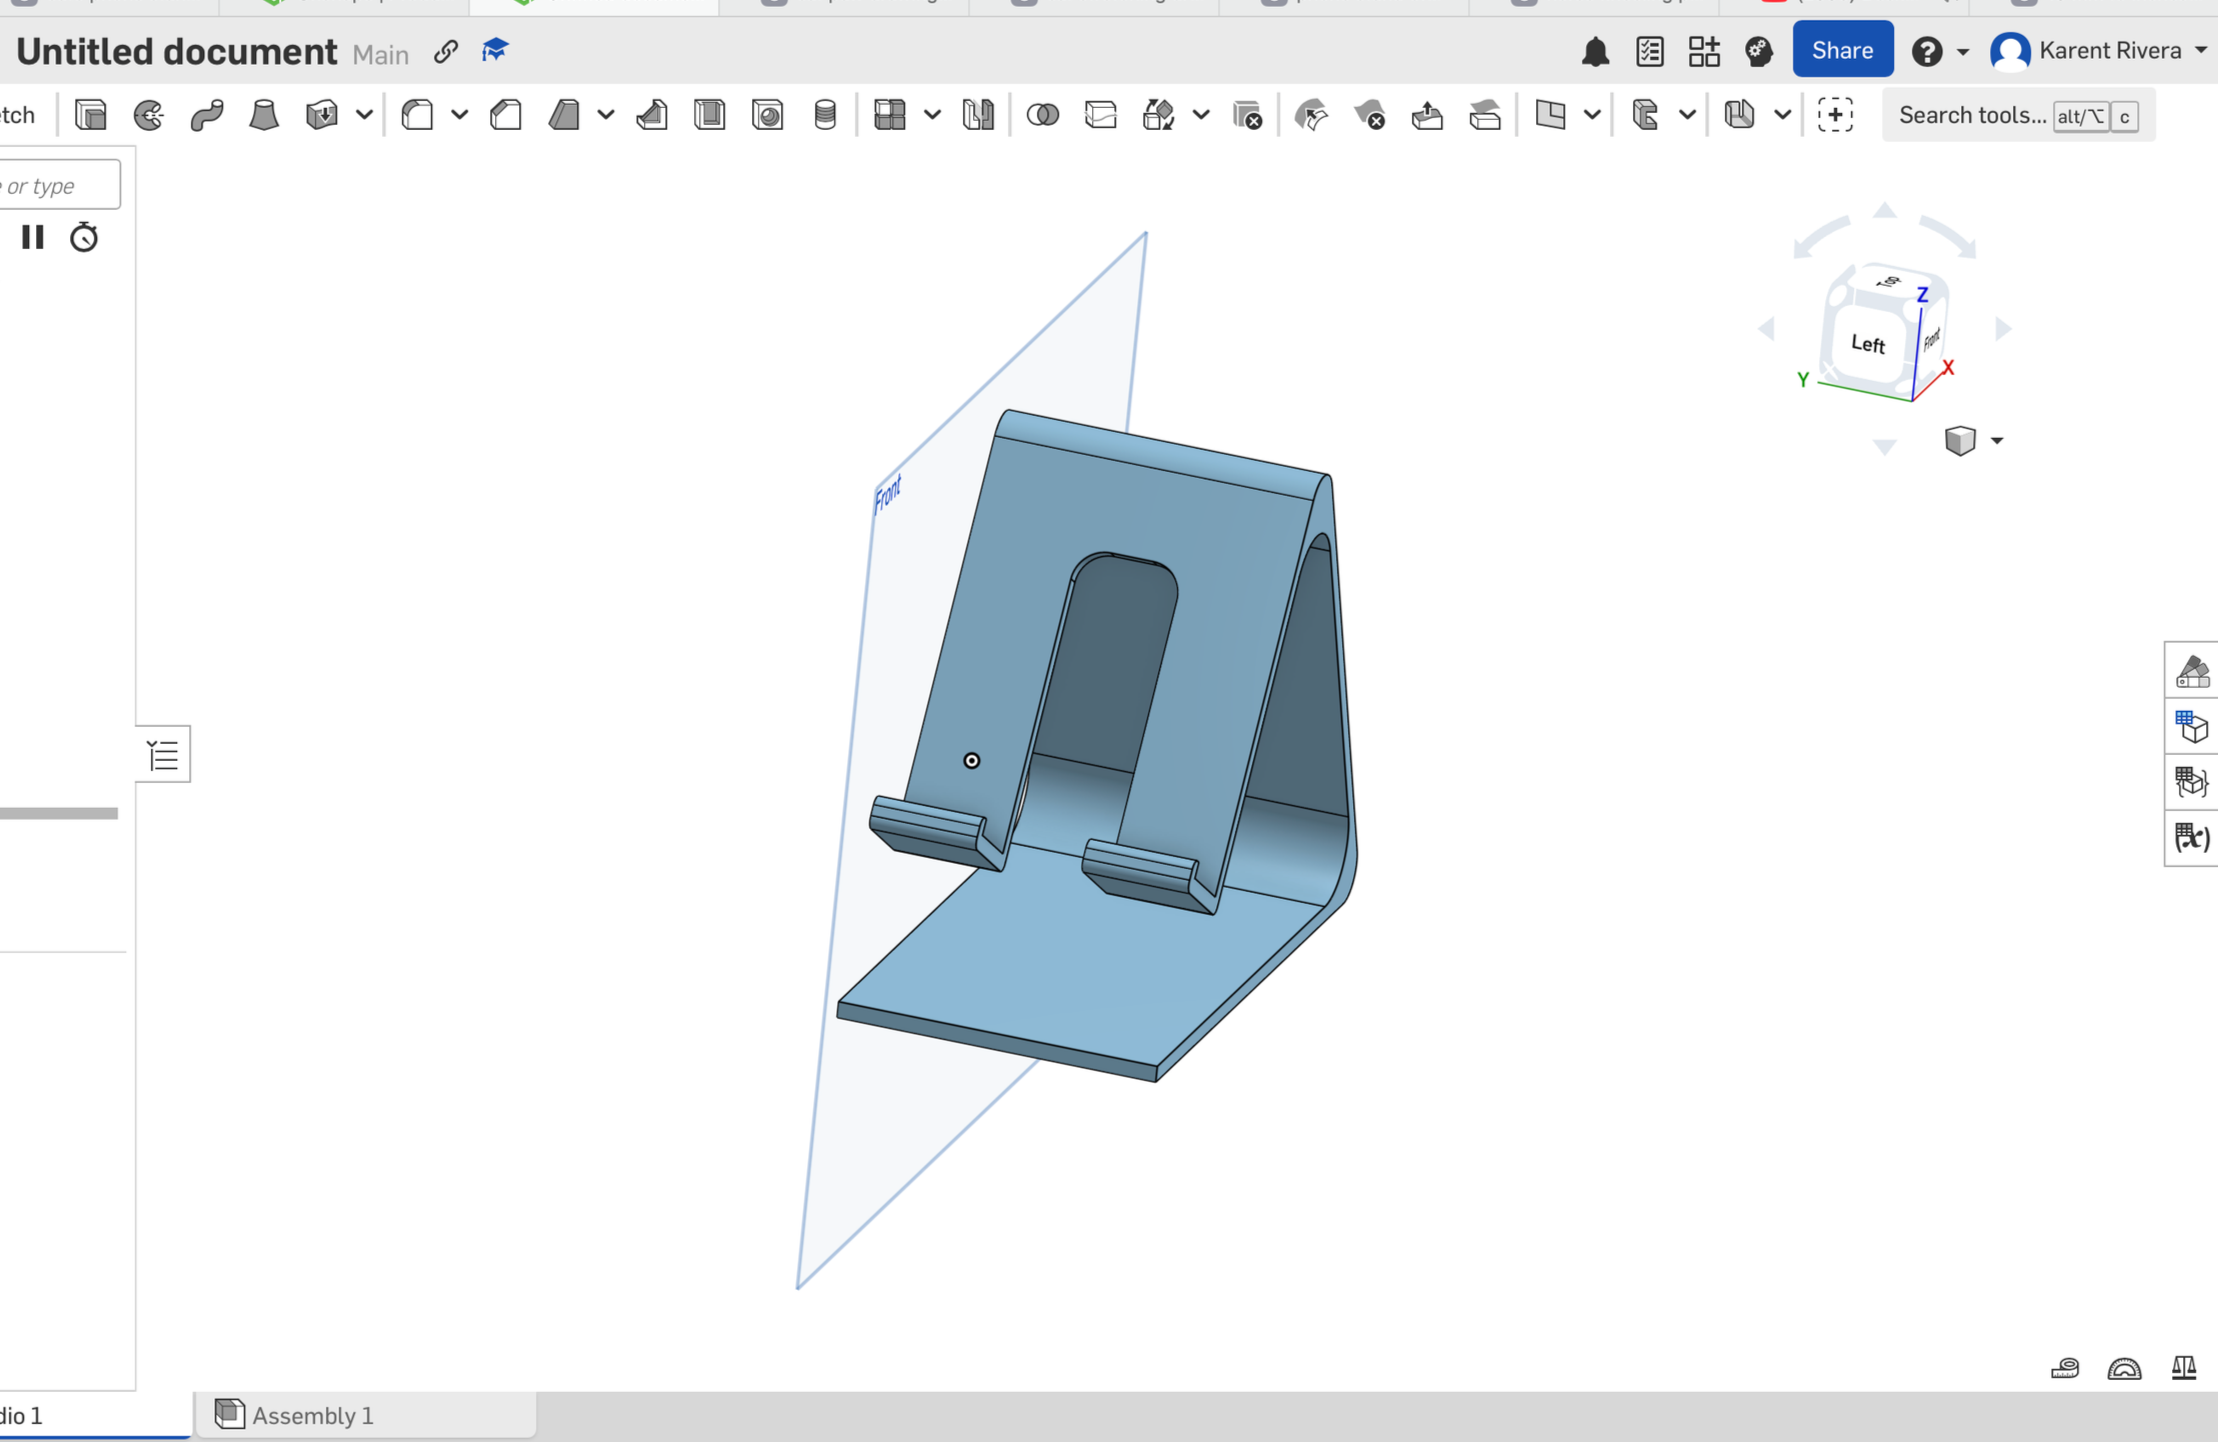
I then went in and used the fillet option and clicked on every corner of the design to smooth it out and get a better looking piece.
After that, I saved my file and sent it to the 3D printer.

One thing I learned from this was that the orientation of your design matters when you want to 3D printed. this is because when I oriented my design vertically, PrusaSlicer tells you how the orientation can waste material. After noticing how much material it was going to waste if I decided to do that, I opted for placing my design horizontally. That way, I wouldn’t waste material and have a faster result.
feb 14 2026
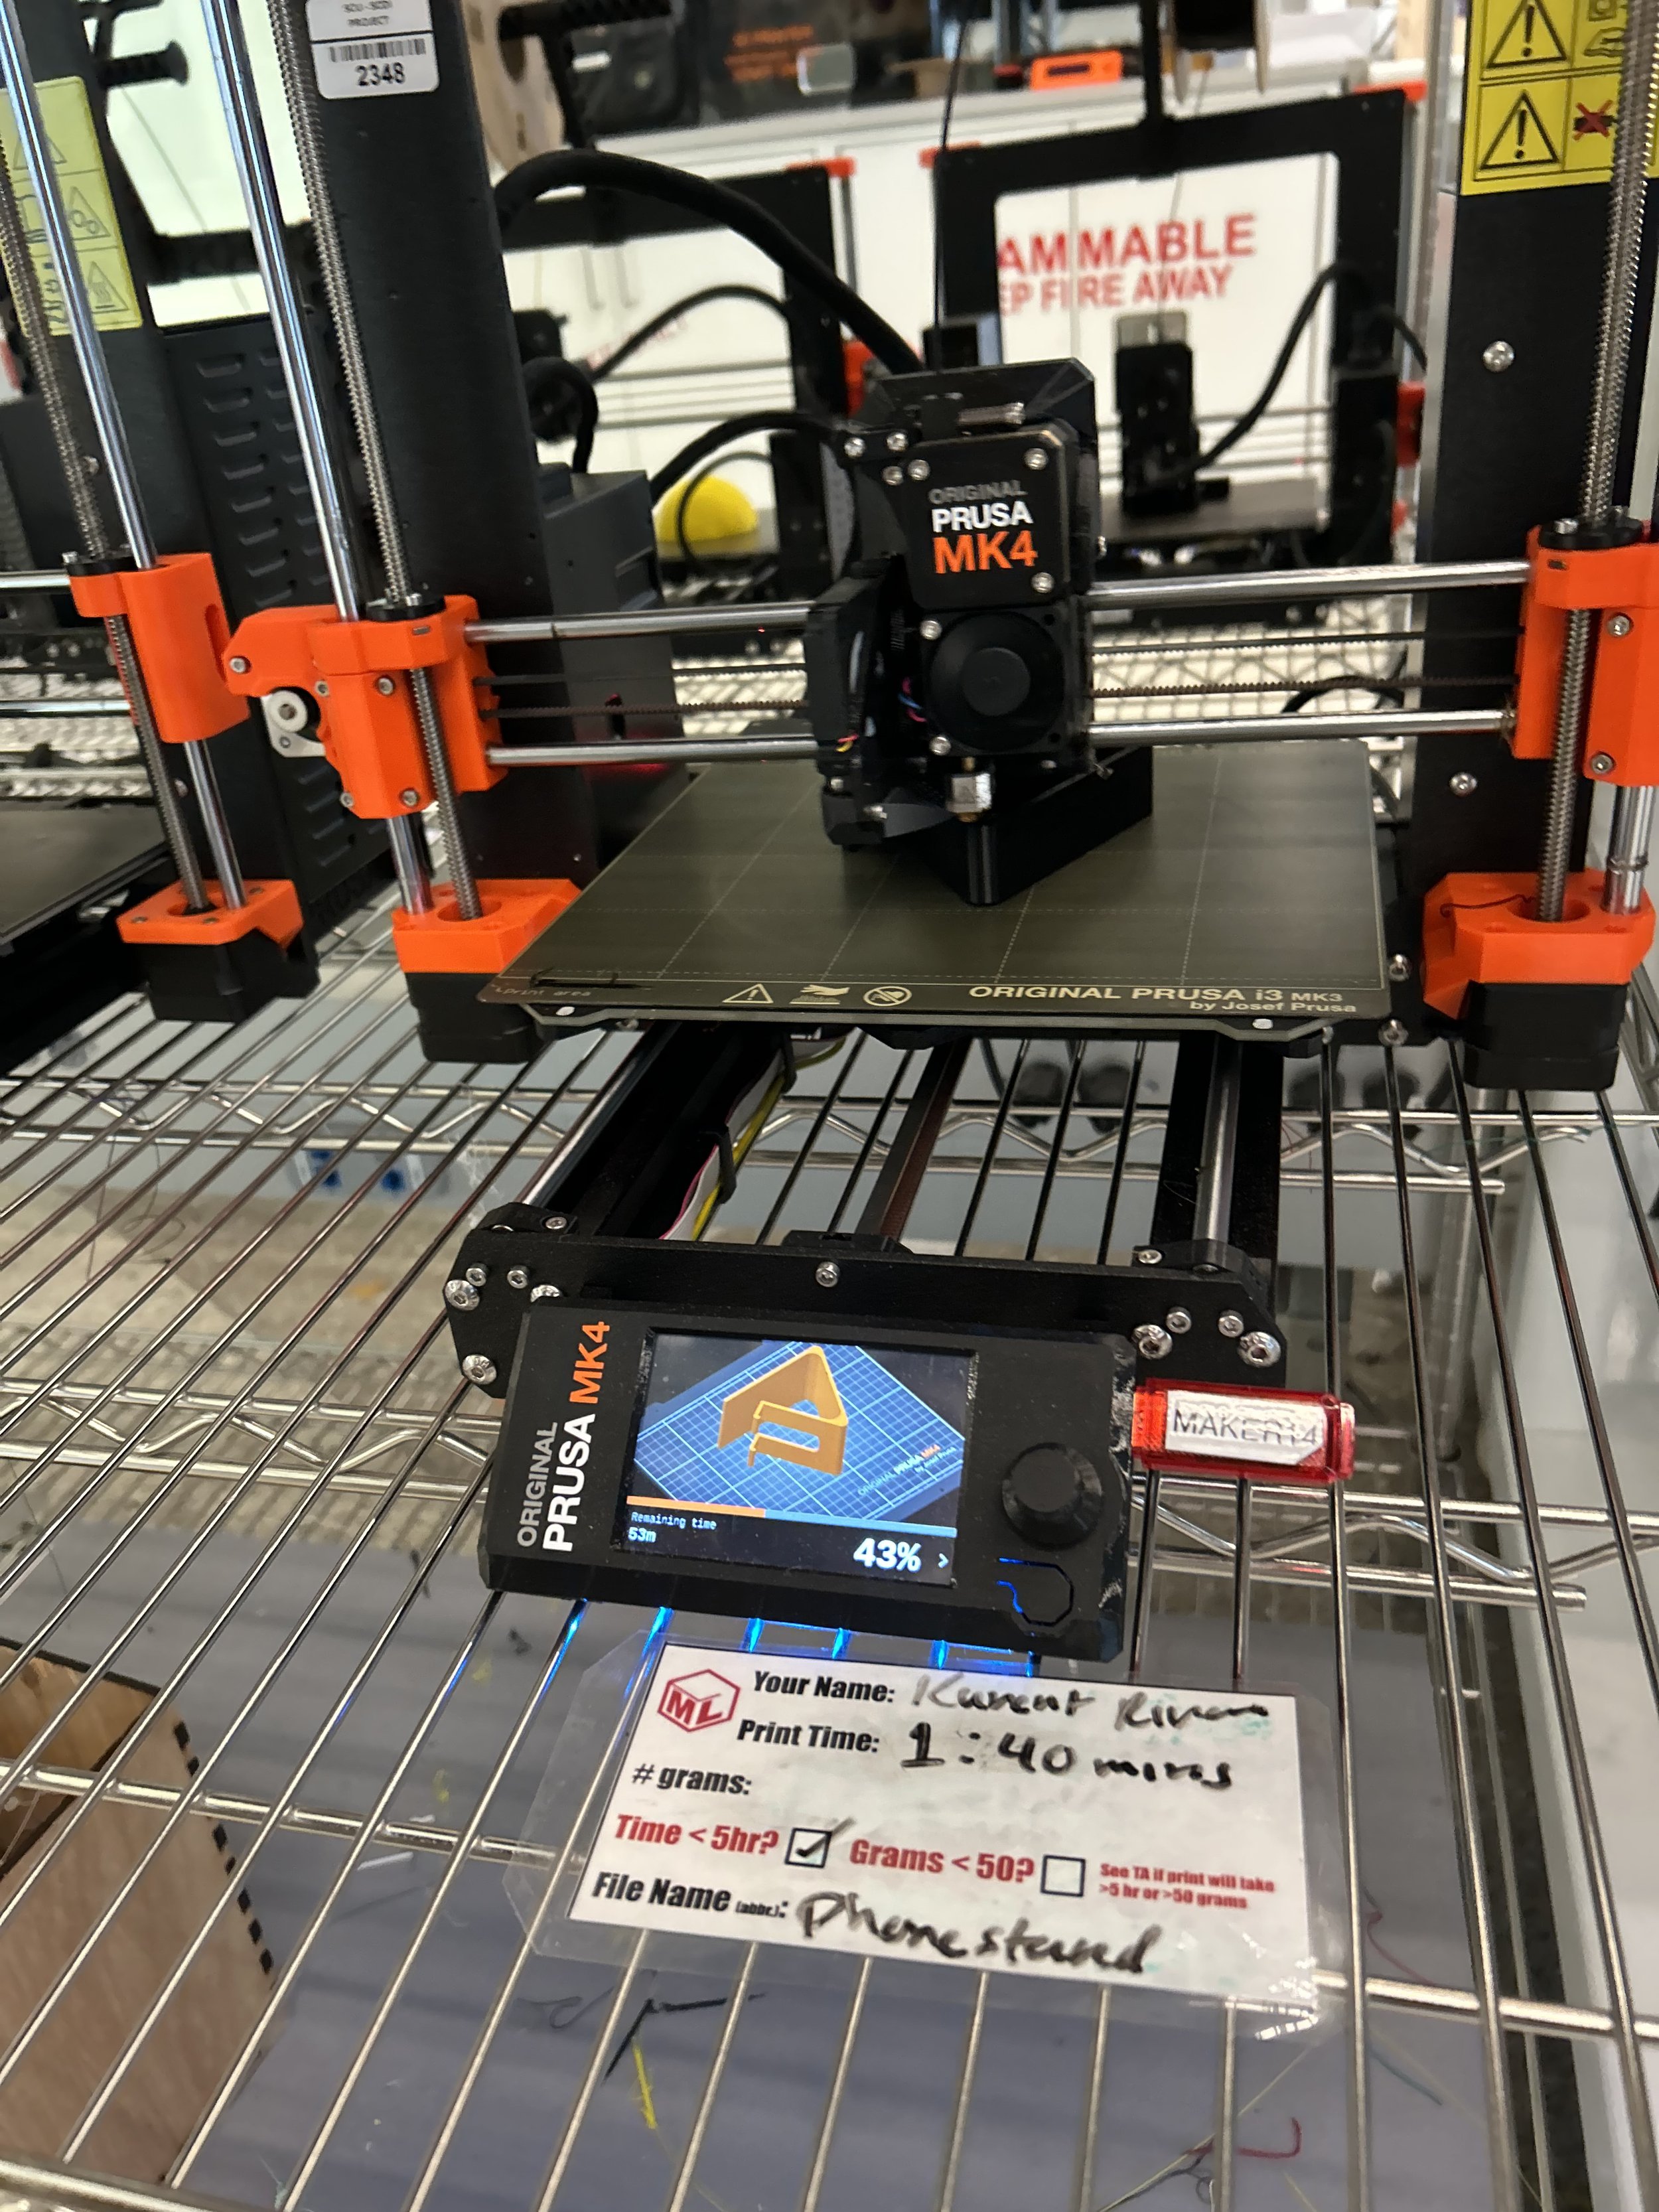
Something very cool about the 3d printer is that it tells you how long it’ll take for your project to finish printing and PrusaSlicer lets you know how much money your project is worth based on difficulty and material used.
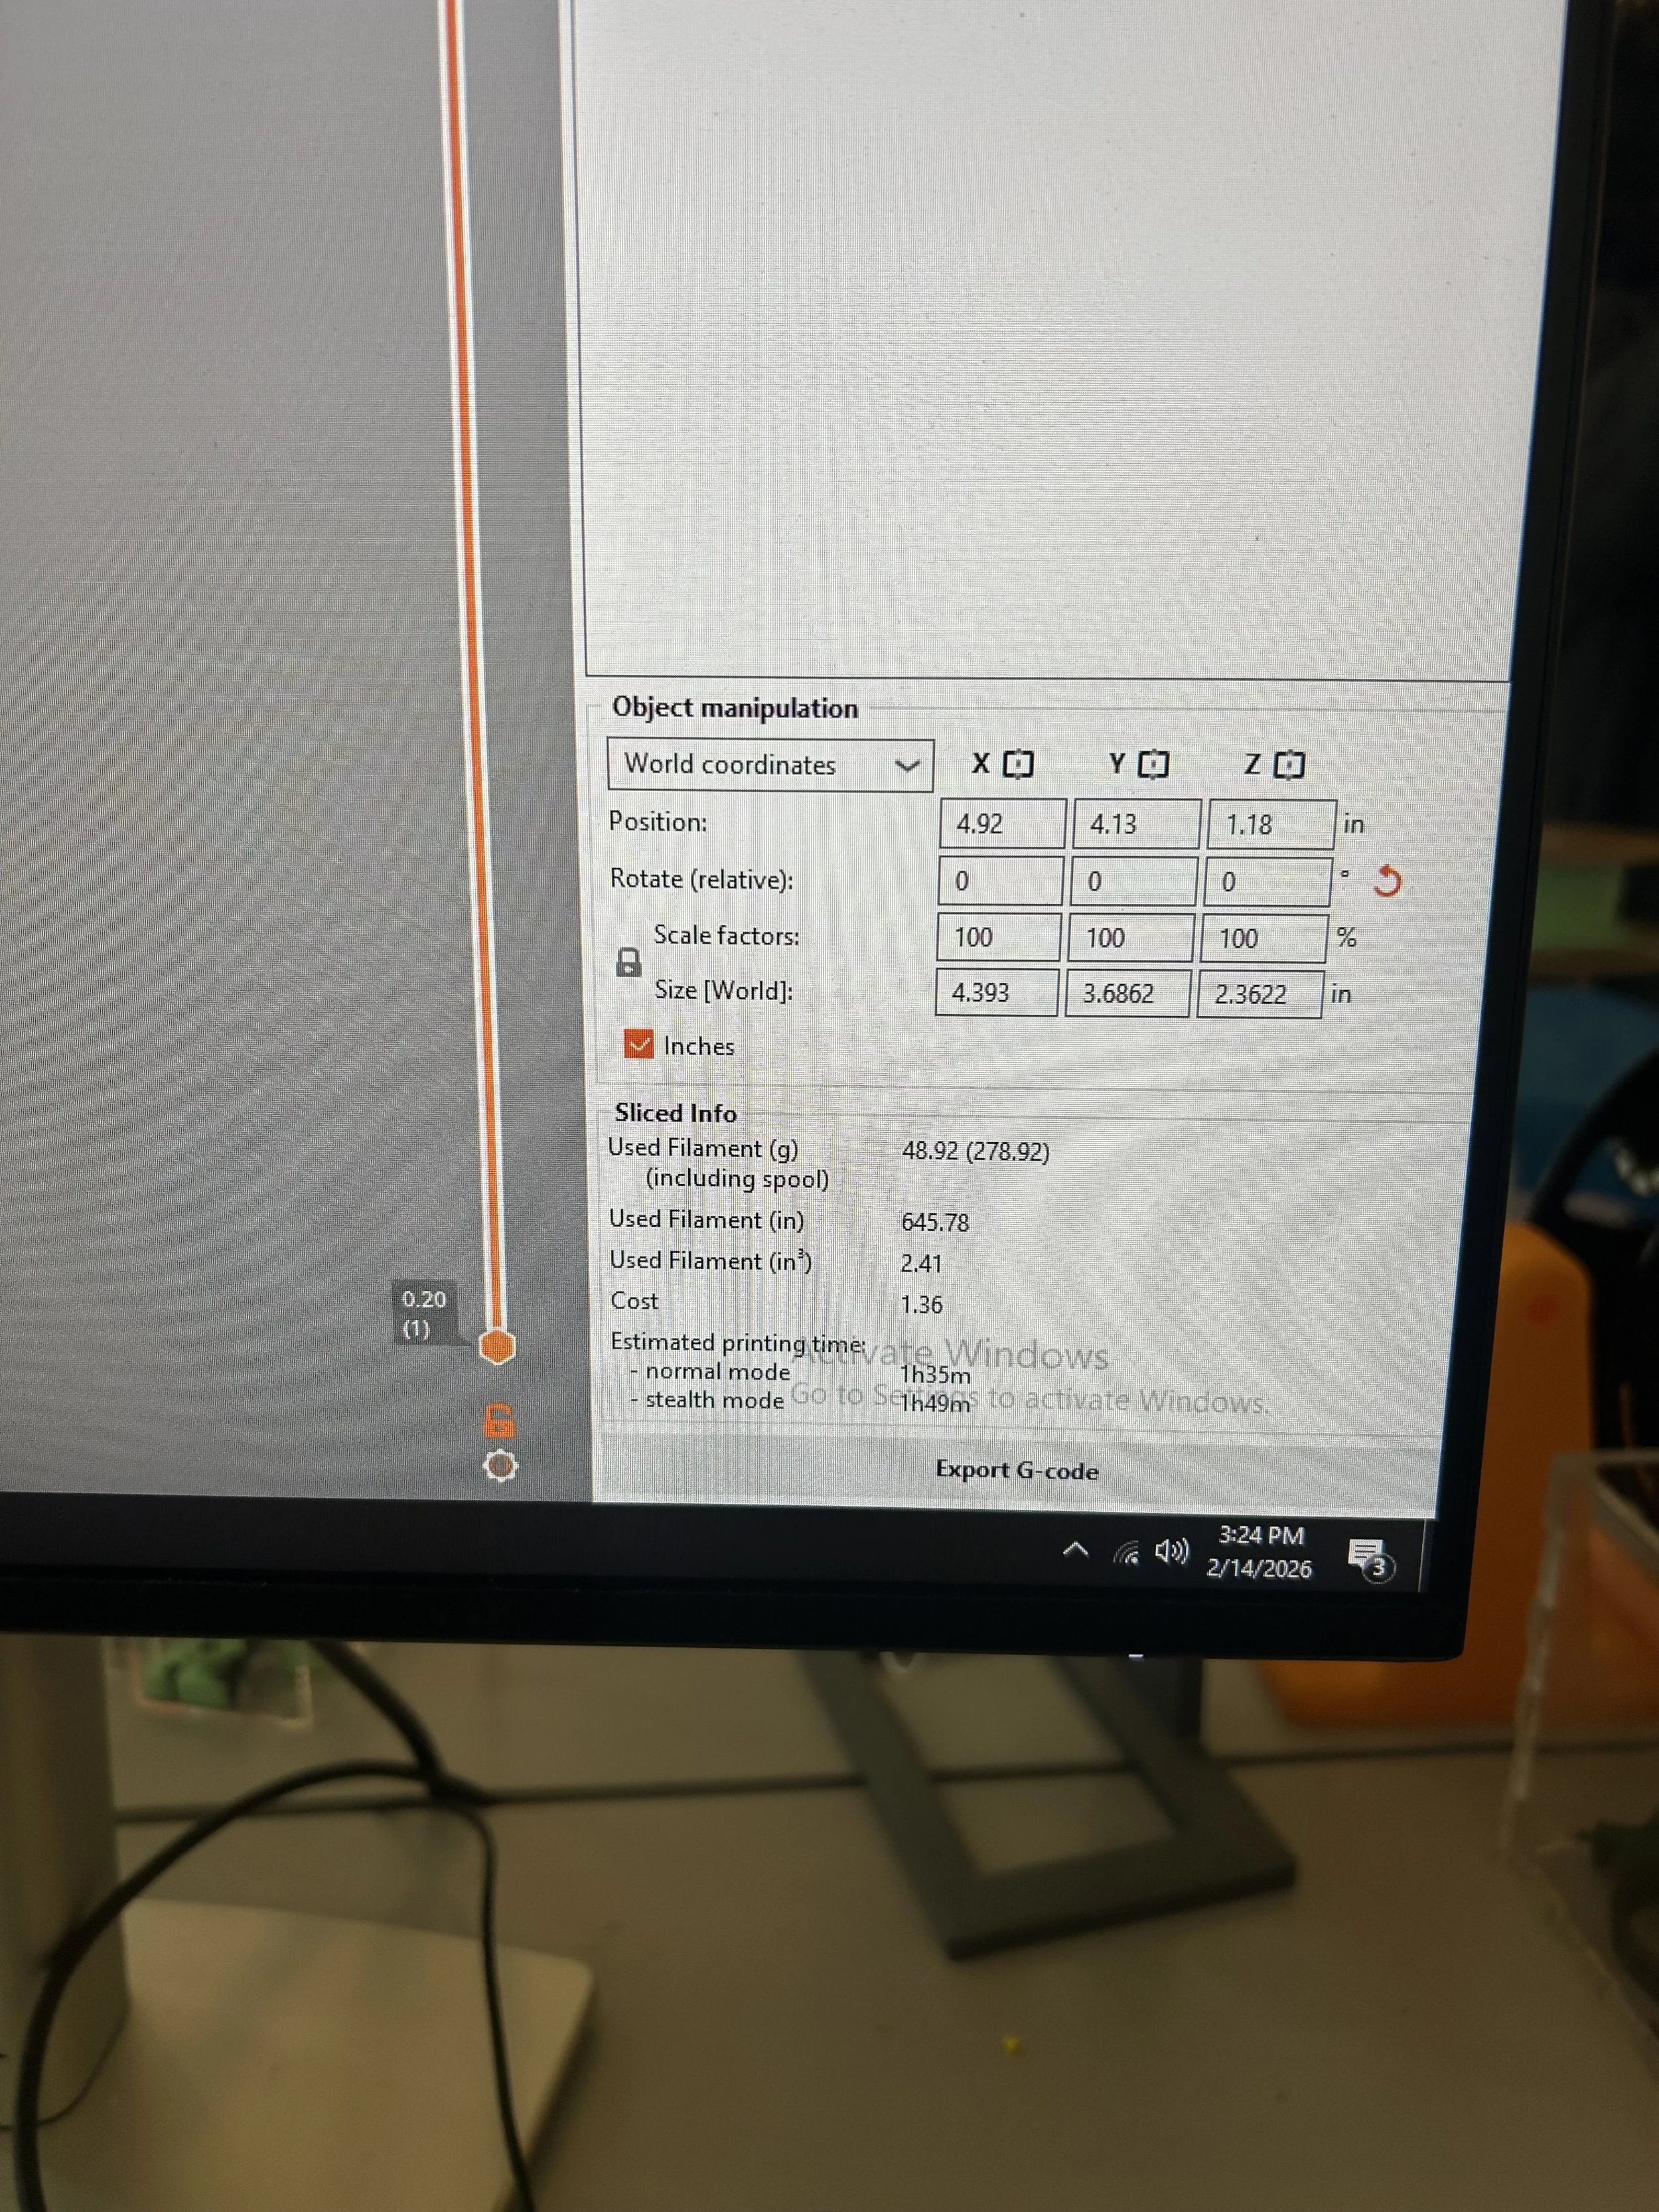
feb 14 2026 3:24 pm
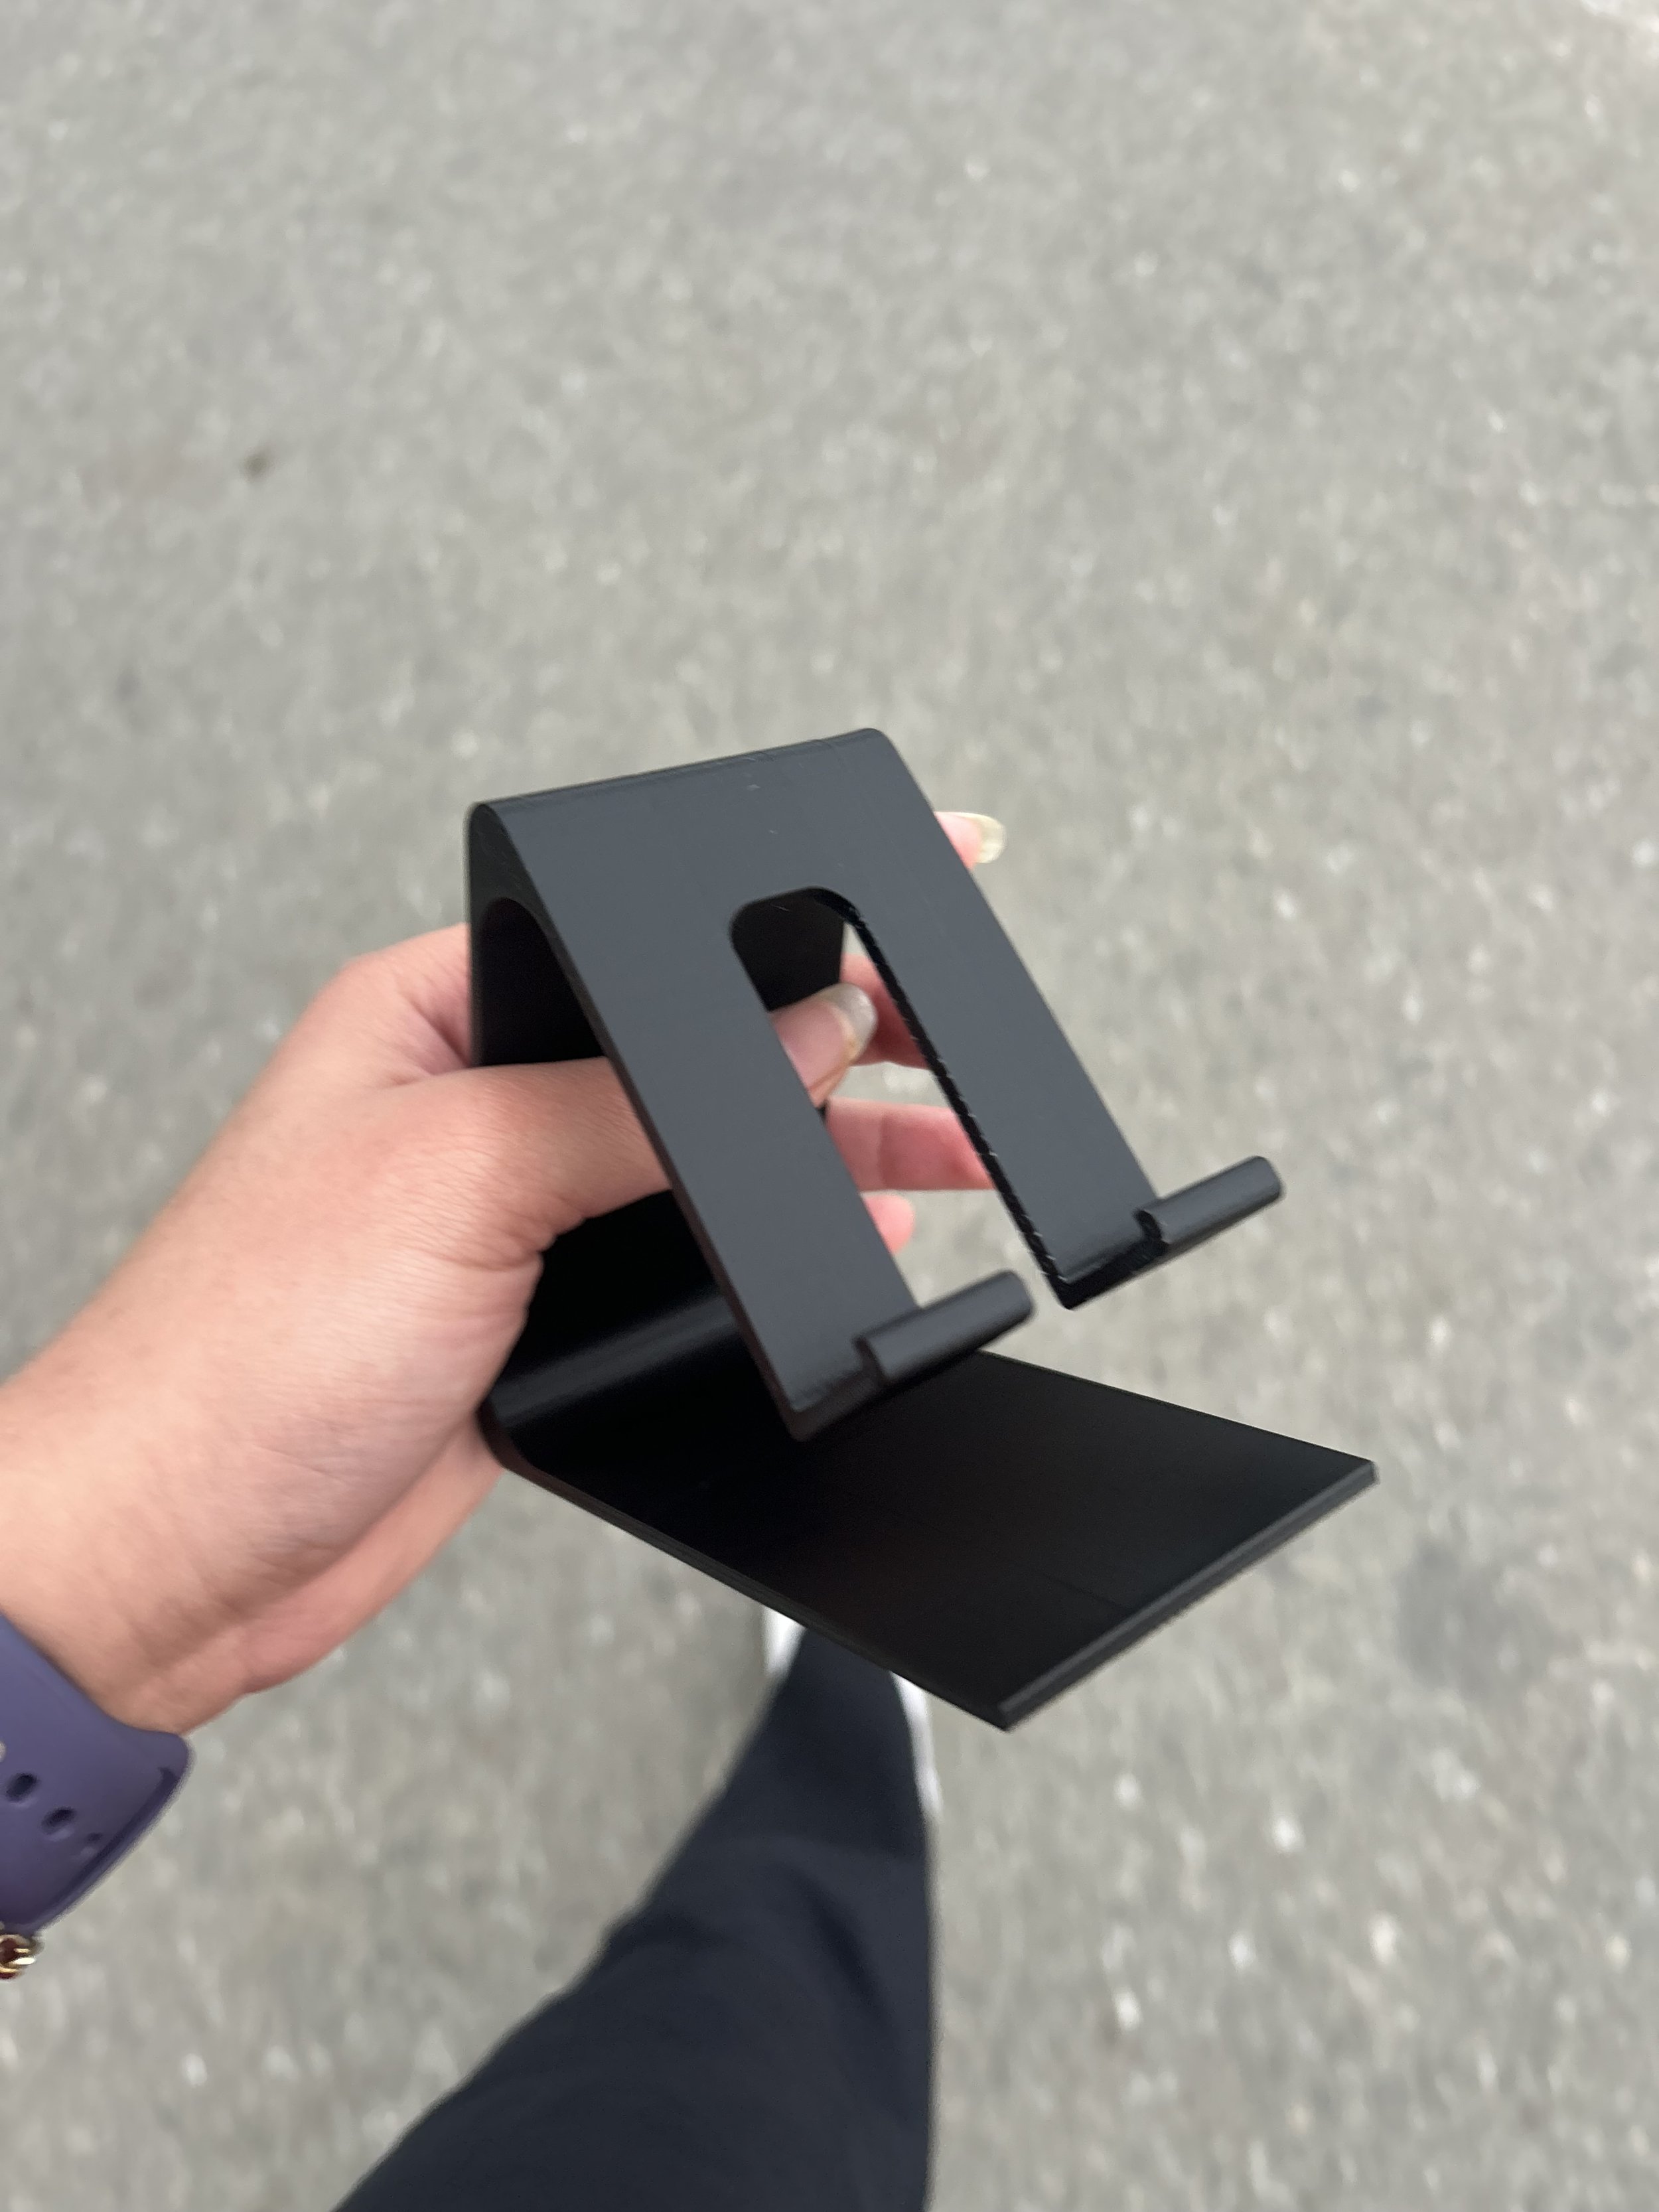
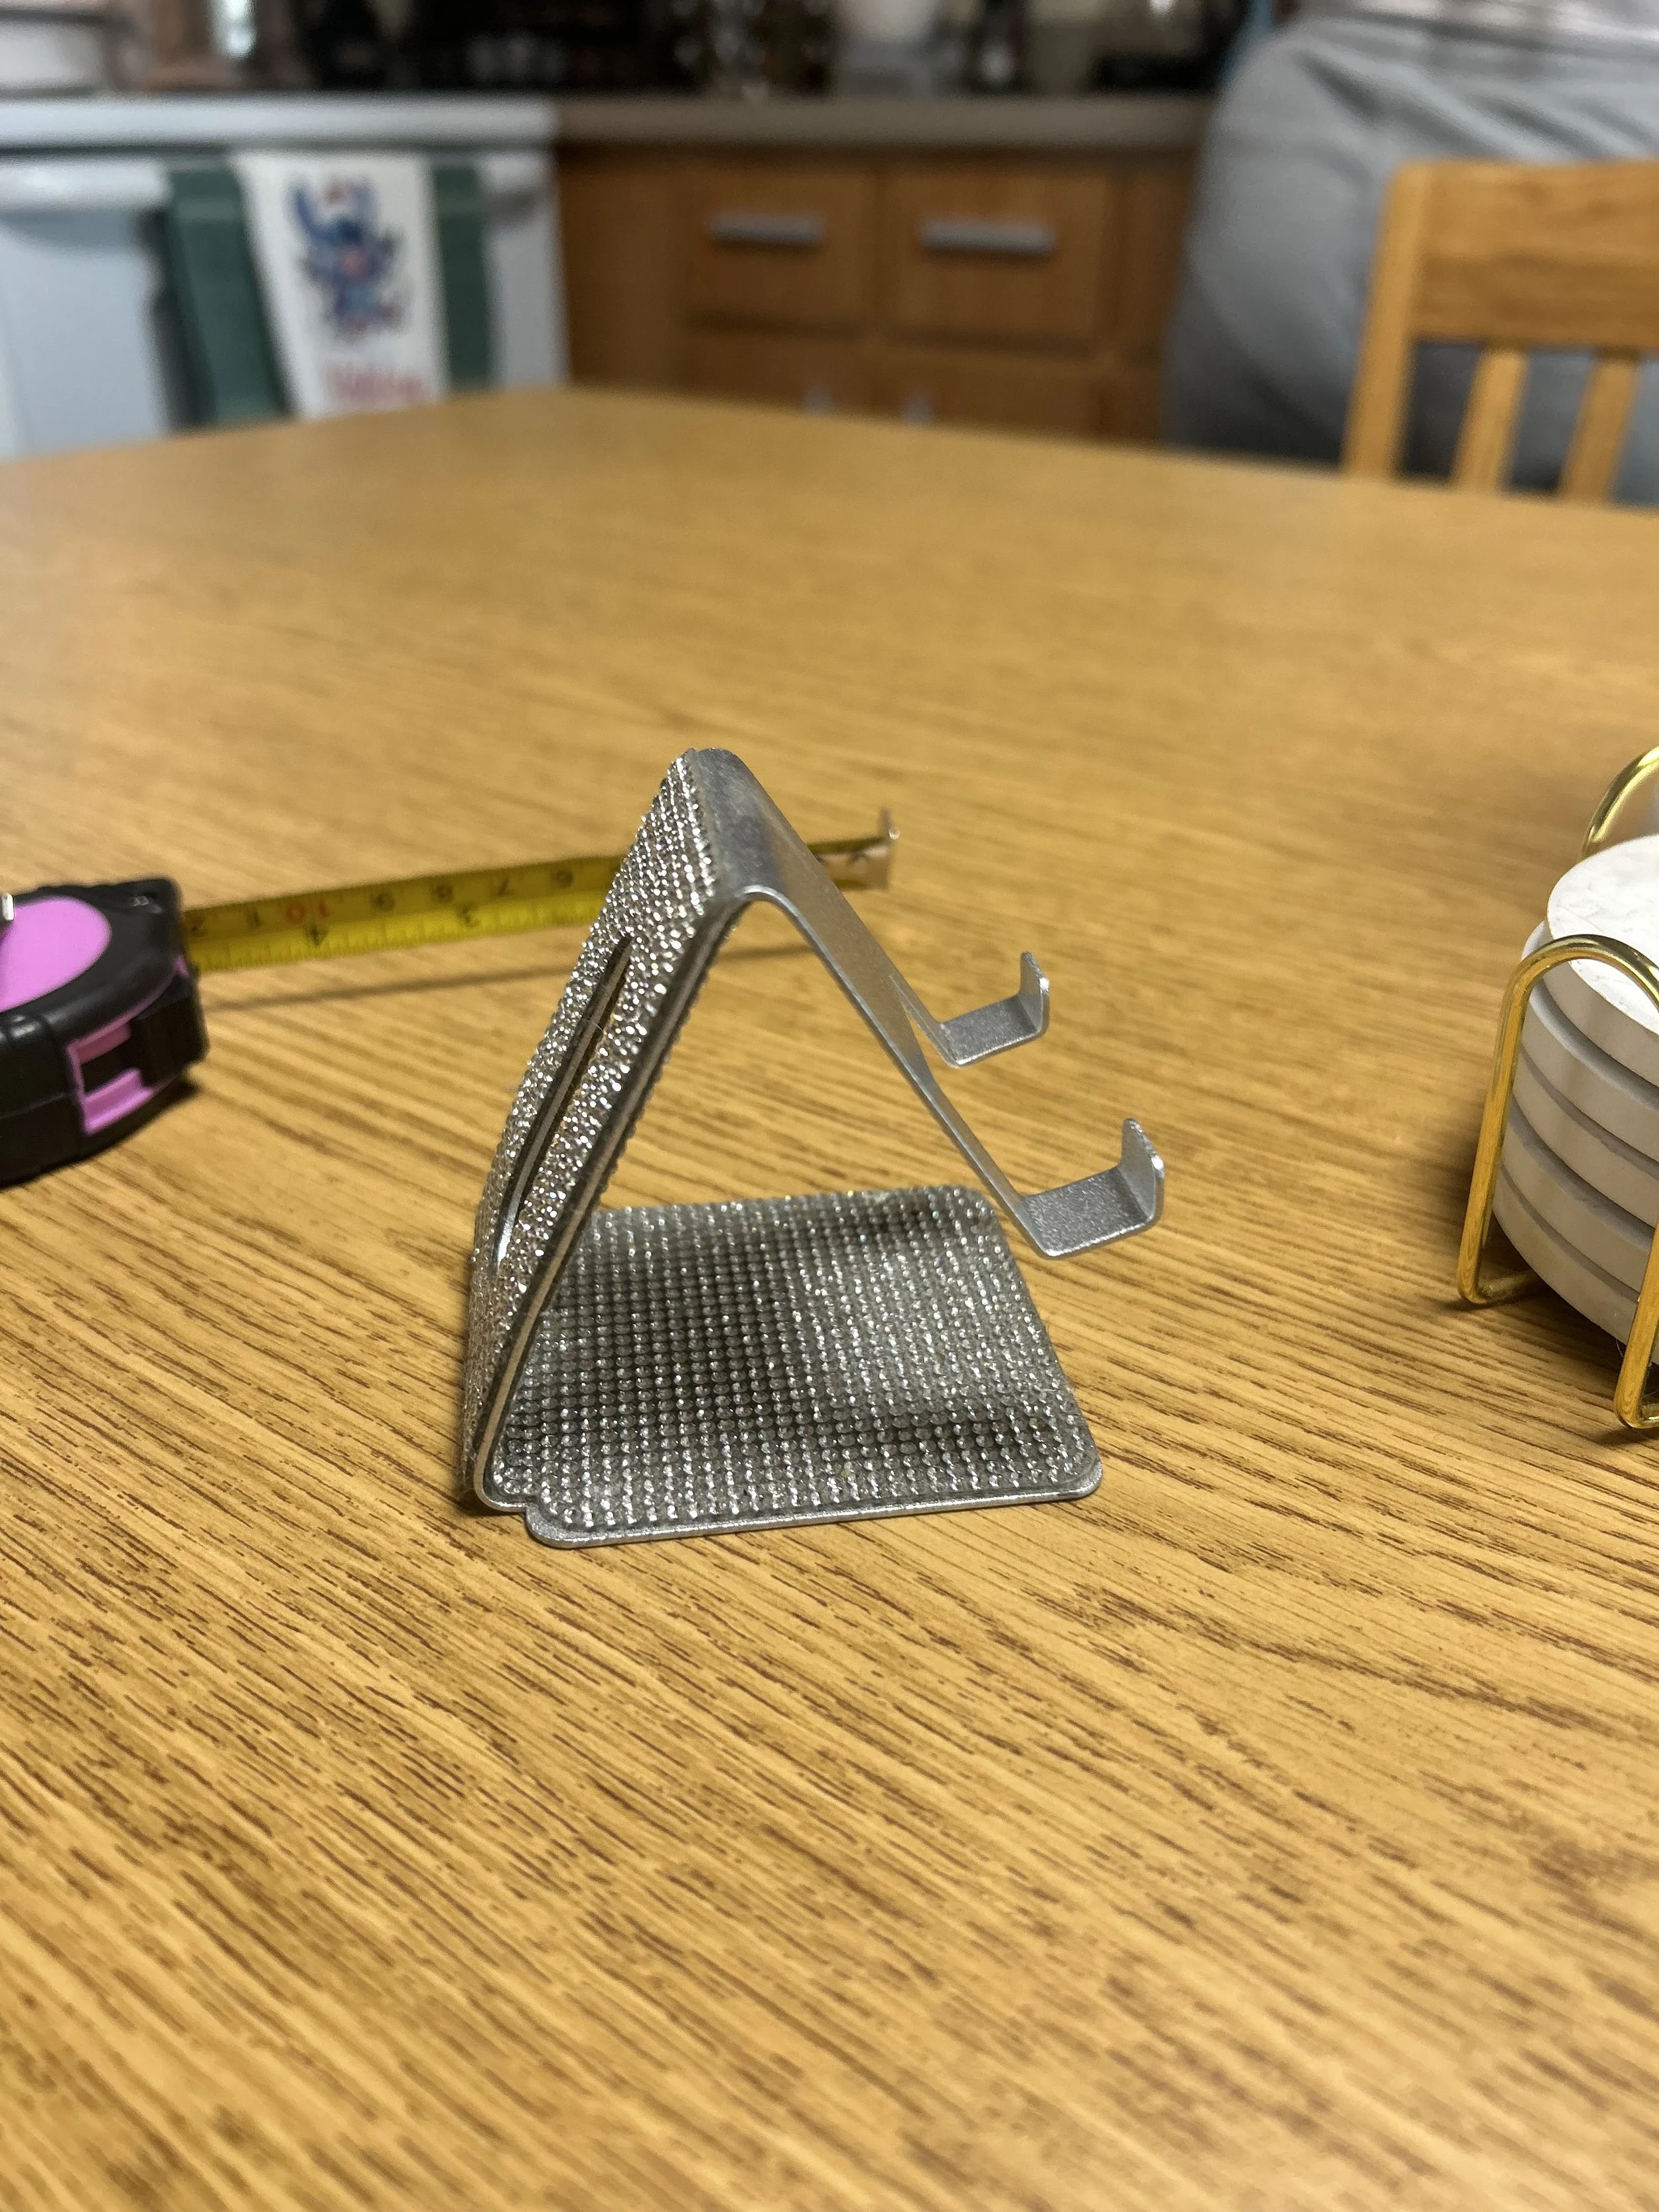
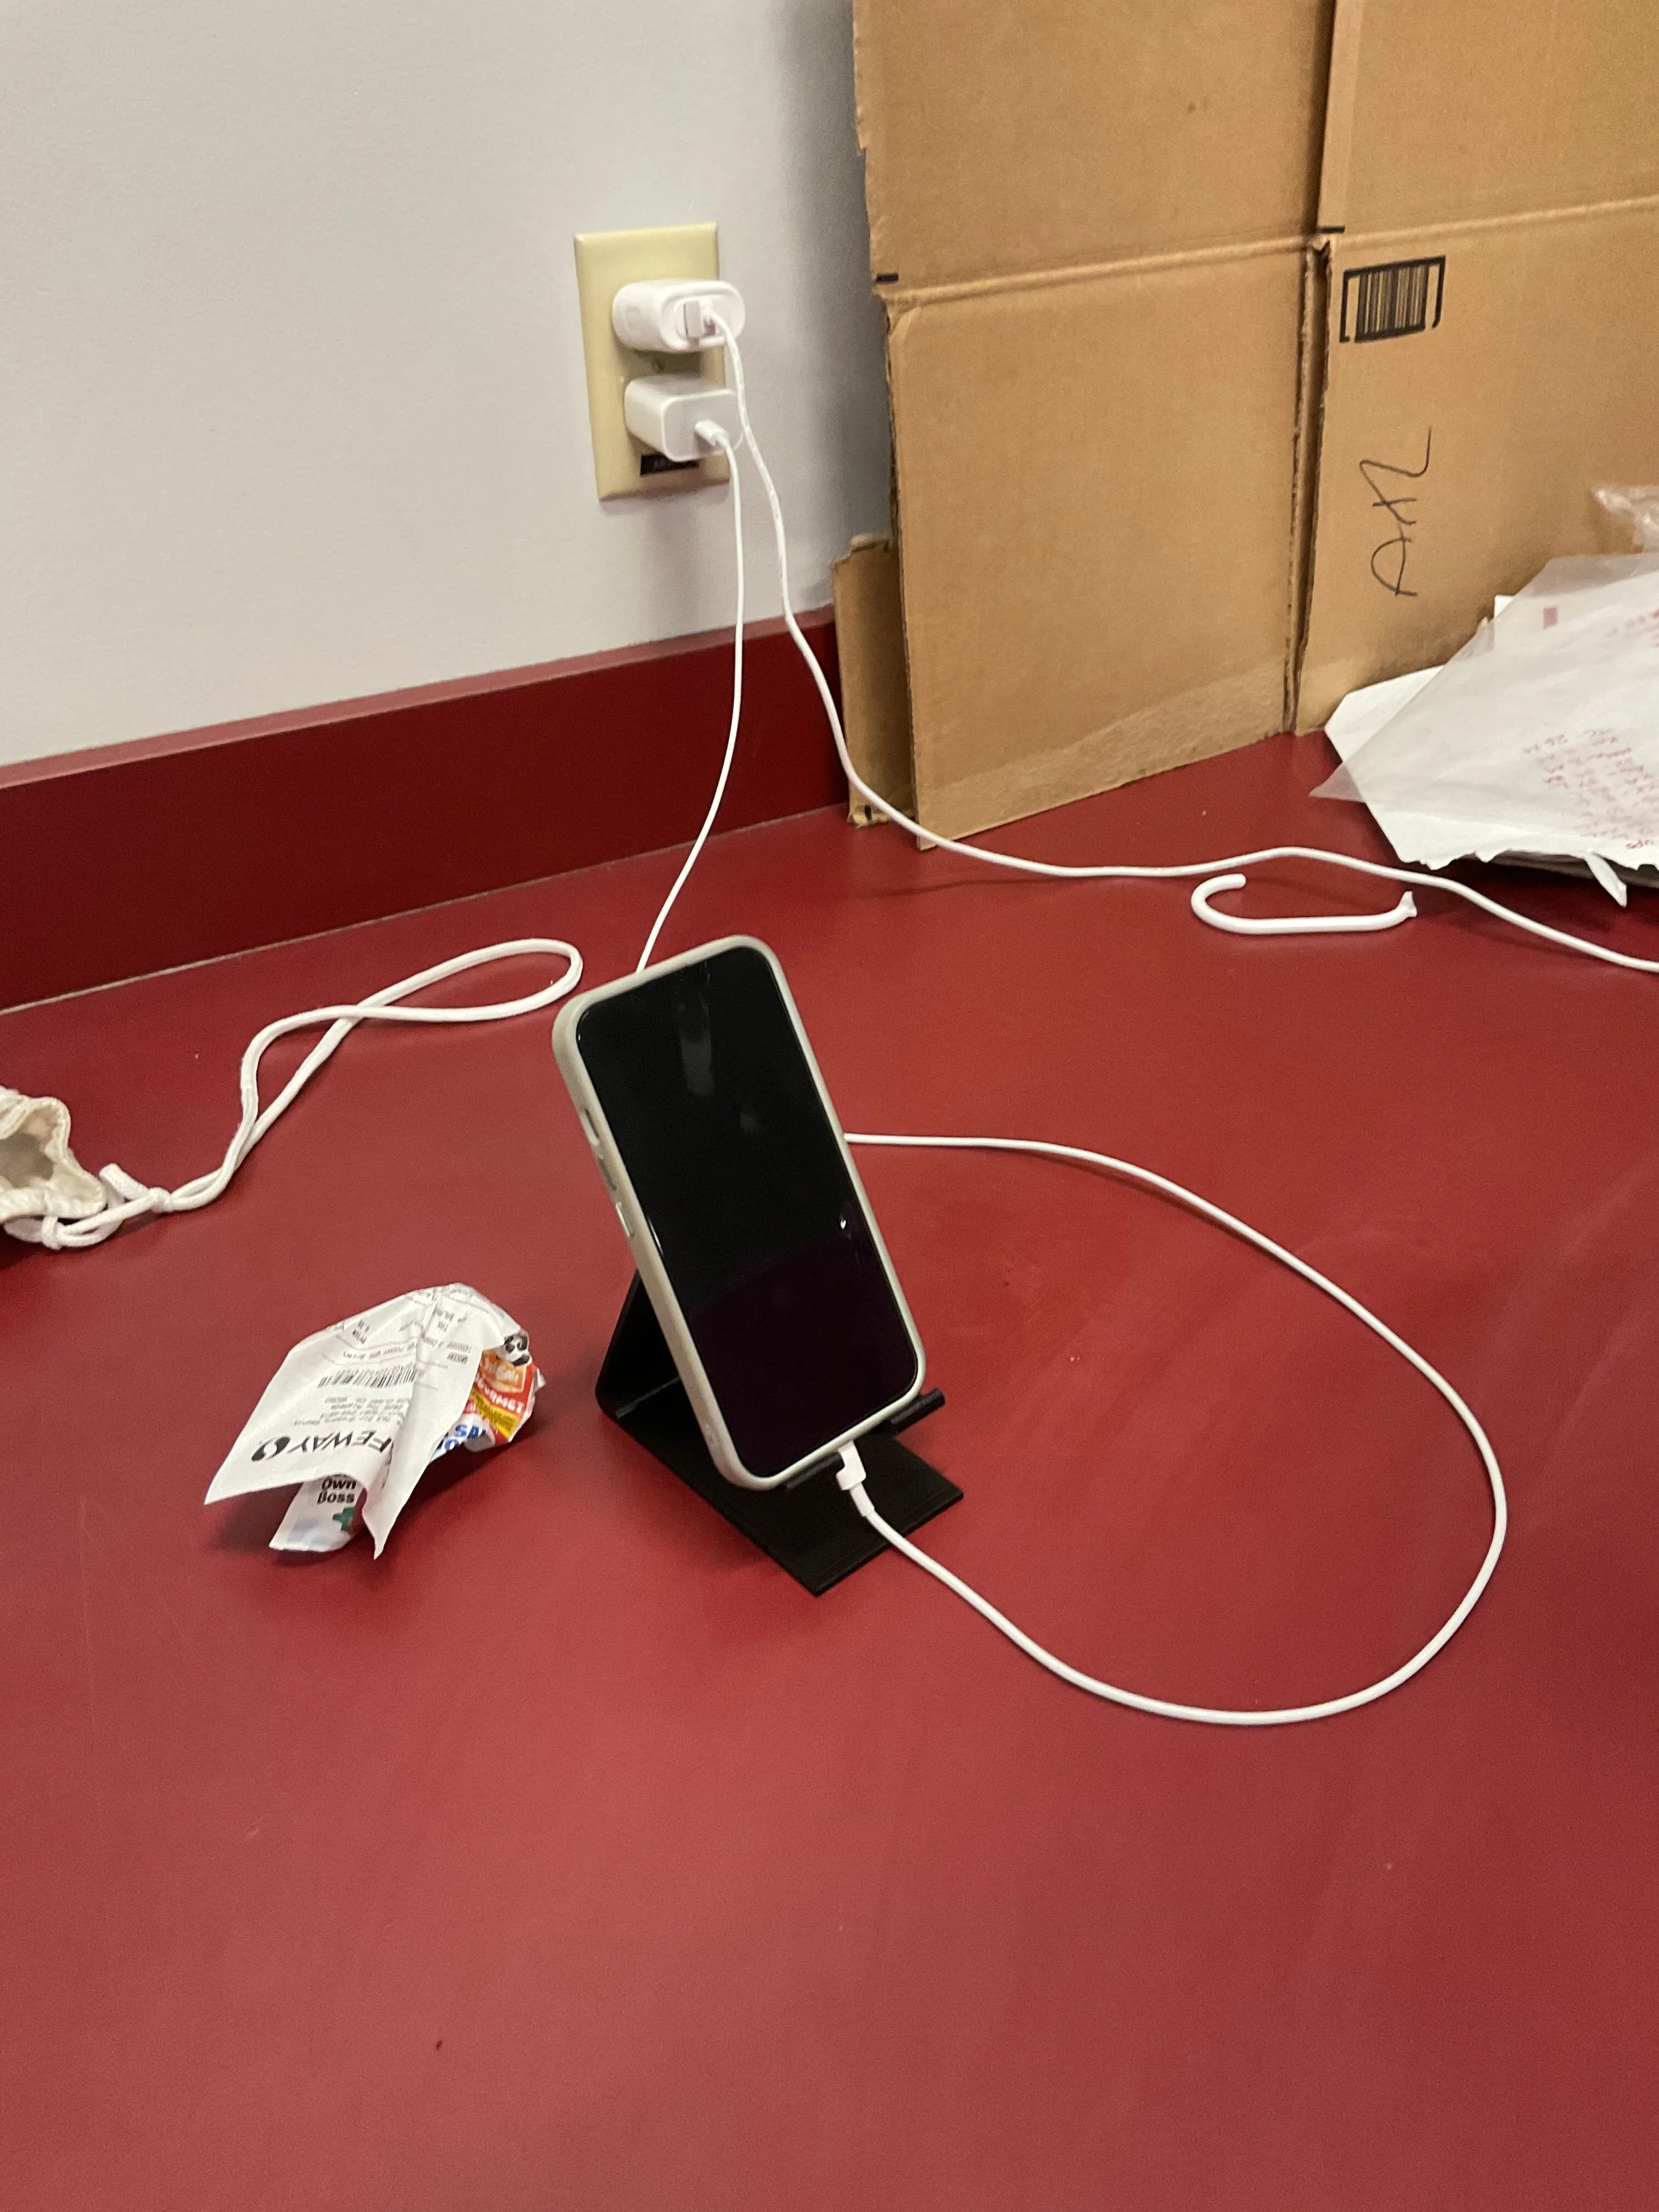
Feb 14 2026 5 pm
This was my final piece. it turned out good and it only took an hour and 53 minutes to be ready.
in this project I spent around a day thinking of a design and getting familiar with different softwares, a total of 1 hour doing my phone stand, and the phone stand took 1 hour and 53 minutes printing. I was able to learn how to use the 3D printer. as well as software such as PrusaSlicer to see how my 3d design would look like before printing and all of the features I can edit before sending in to print. I was also able to get more familiar with tinkercad and play around with the different 3d shapes. lastly, I was able to explore onshape and get a refresher on CAD and if I'm being honest, onshape worked better on the computer than solid works. I